This month I took the plunge and entered the PinkFresh Studio March Monthly Challenge. The theme is layers and since I adore dimension, it really inspired me. Add to that the PinkFresh Studio Create and Connect Virtual Cardmaking Event at the end of February, and I class. It was full of awesome new products and lots of inspiration.
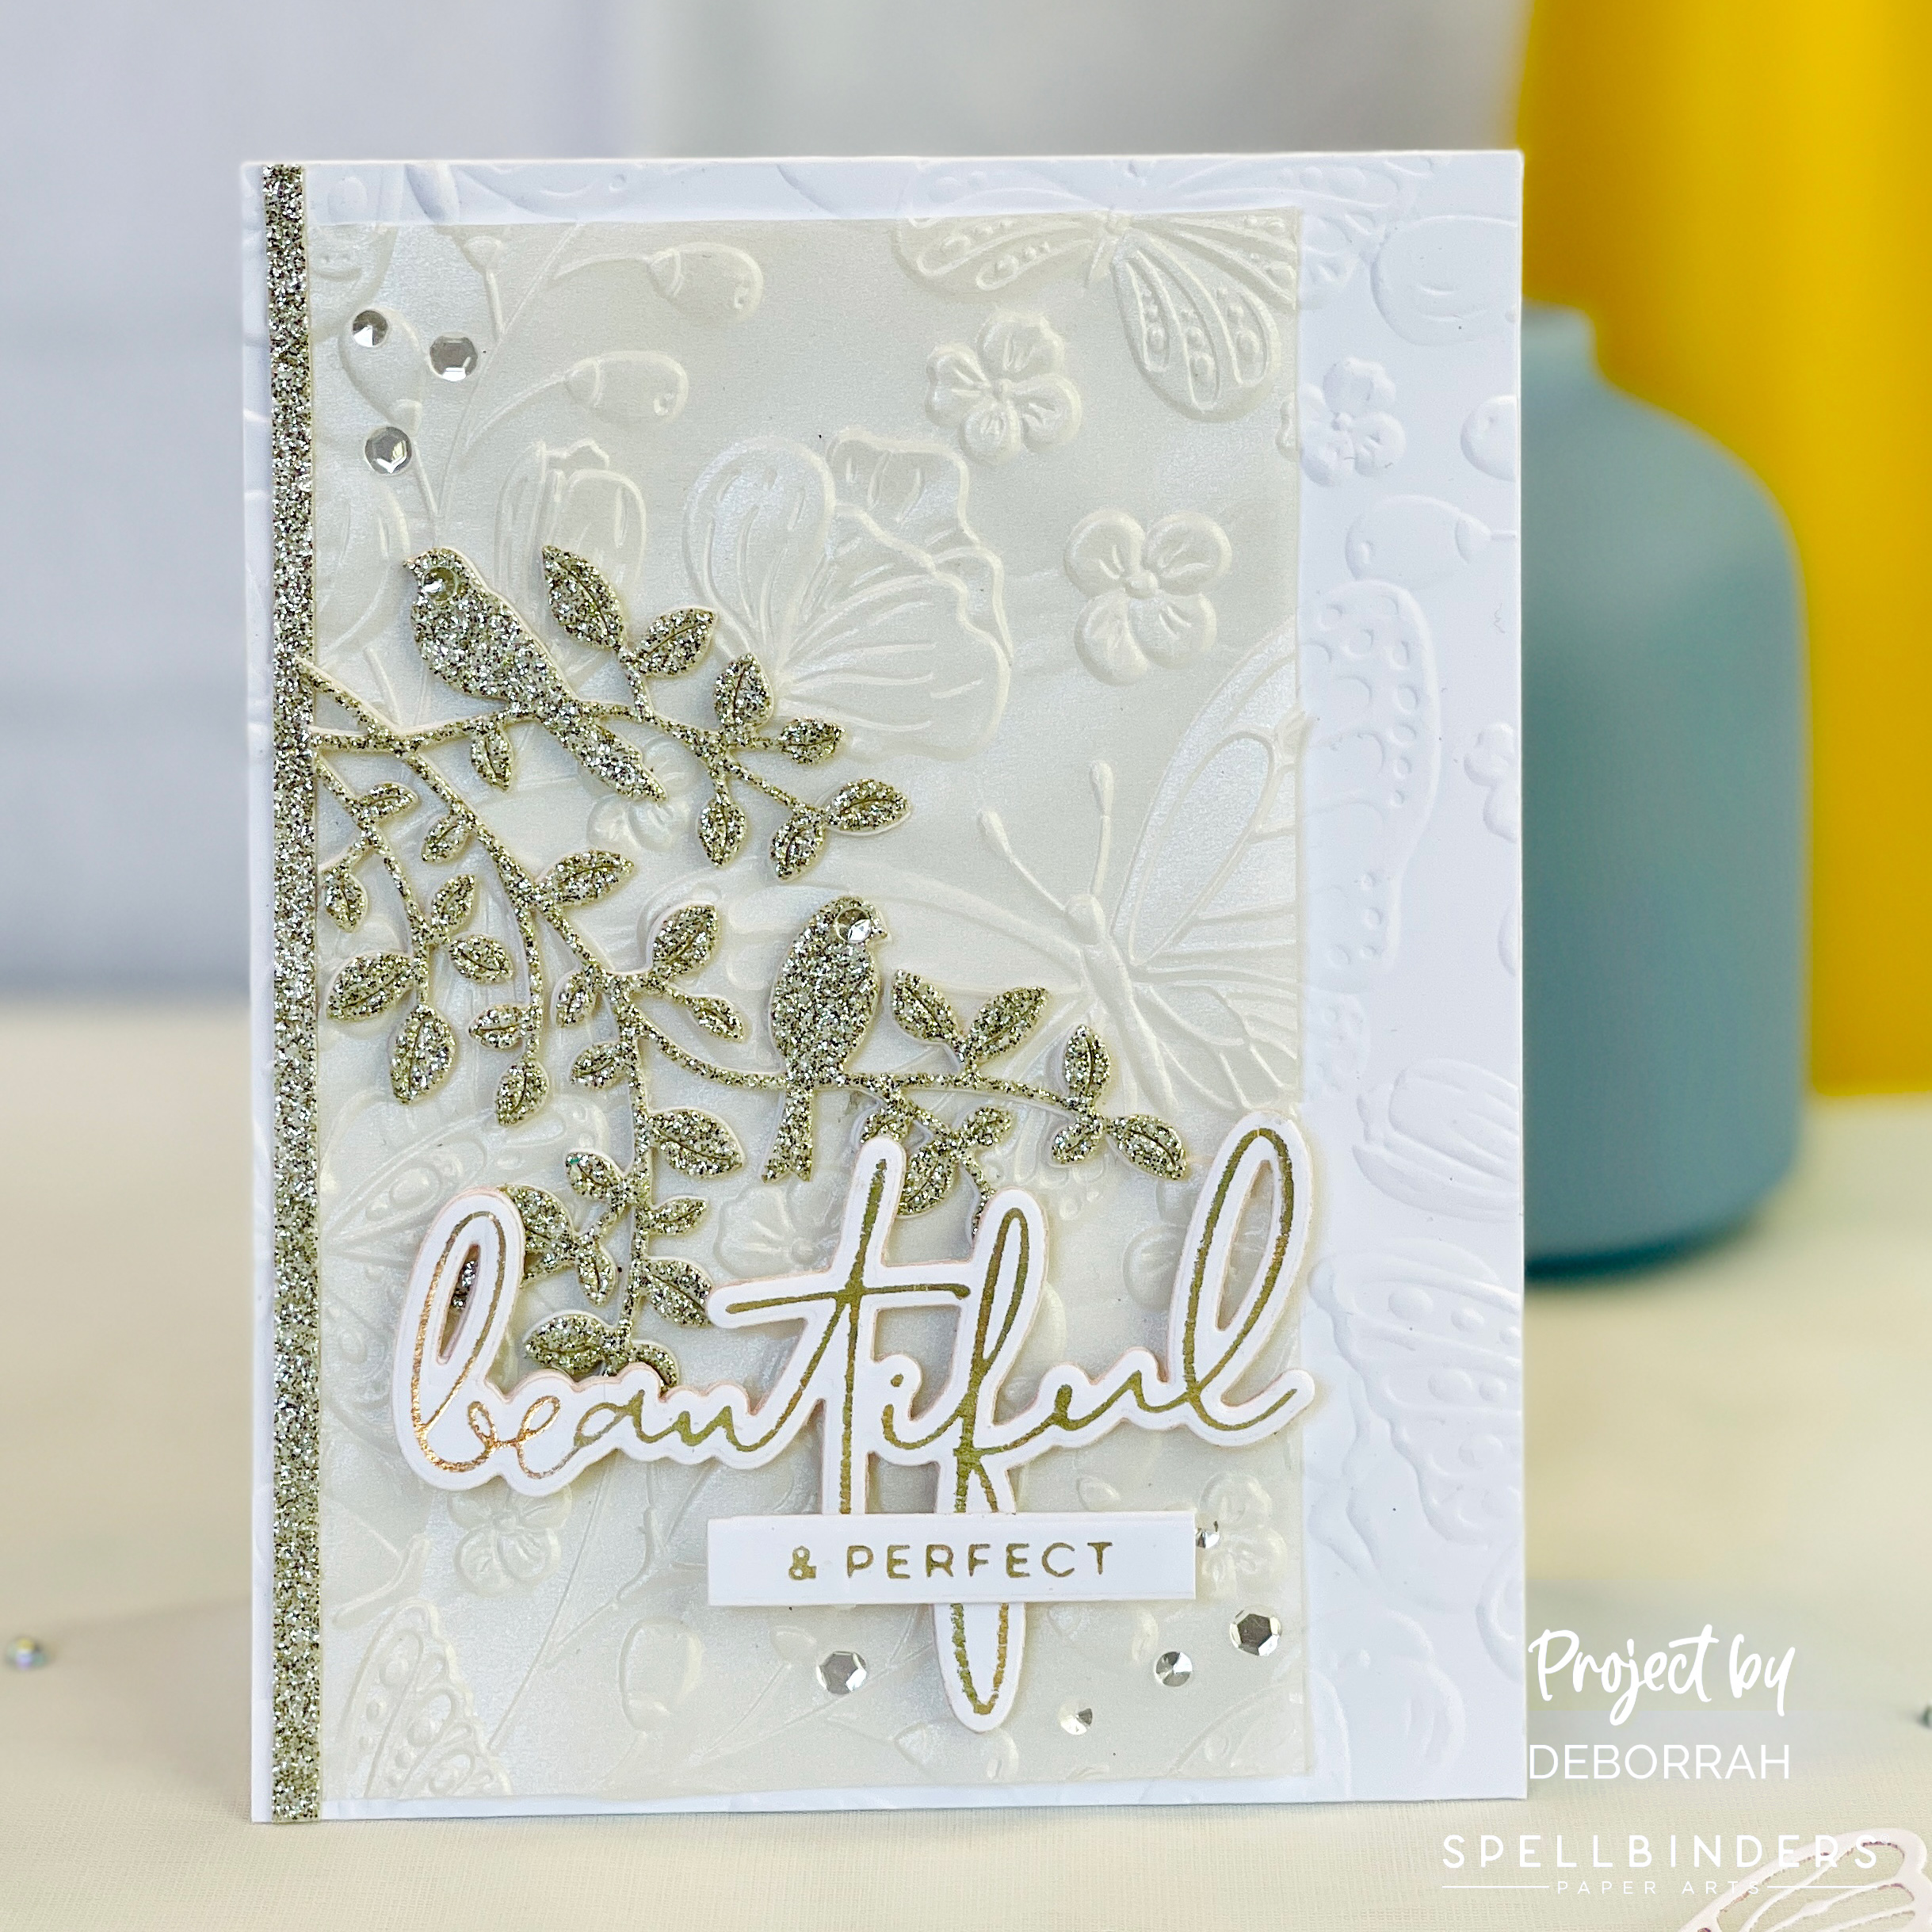
I’ve been thinking about butterflies lately. I’ve wanted to go to a butterfly garden and watch them flit around. But, no time. So instead, I turned to my cards to create some beautiful, airy butterfly cards using some of the products I had on hand and those I received from Create & Connect Event. I combined one of the designs I learned during the Event to create a layered, dimensional butterfly card. I hope you like it.
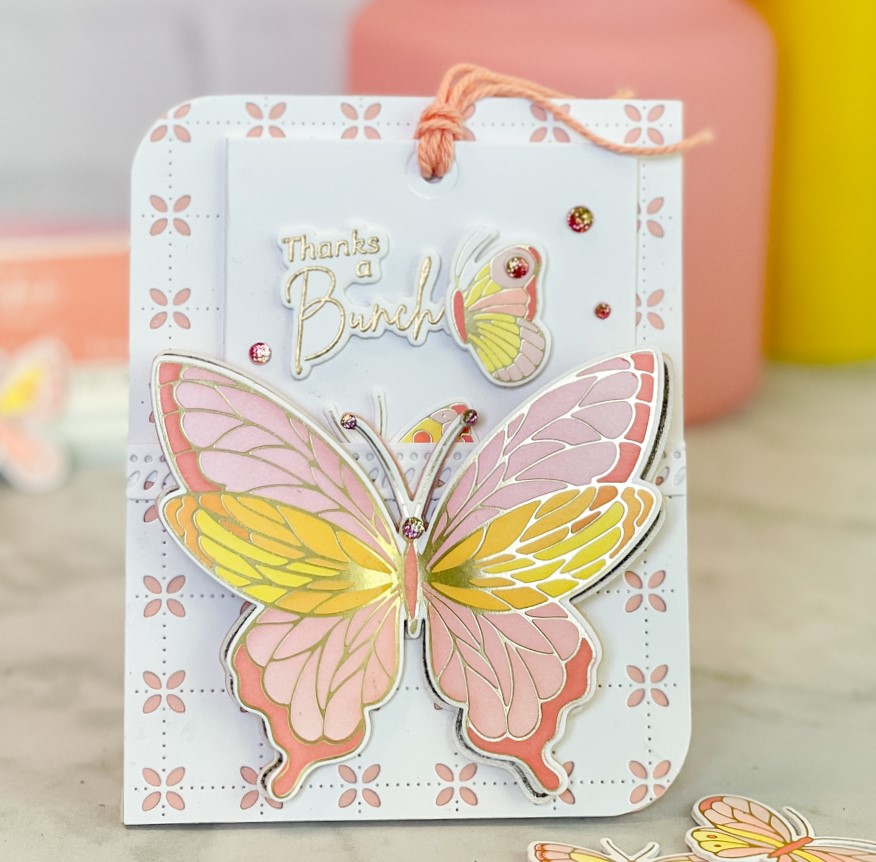
Butterfly Pull-Out Card
PinkFresh Studio Small Butterflies Hot Foil Plate
PinkFresh Studio Small Butterflies Die
PinkFresh Studio Small Butterflies Layering Stencils
PinkFresh Studio Butterflies Stencil Set
PinkFresh Studio Butterflies Hot Foil Plate
PinkFresh Studio Butterflies Die
PinkFresh Studio Butterflies Stamp Set
PinkFresh Studio Daisy Chain Cover Plate
PInkFresh Studio Pixie Dust Ombre Glitter Drops
PinkFresh Studio Rounded & Braided Rectangles
PinkFresh Studio A2 Slider Card Die Set
PinkFresh Studio Beyond Happy Stamps
PinkFresh Studio Beyond Happy Dies
Cut a piece of white cardstock to A2 size (4-1/4 x 5-1/2). Cut a piece of light pink cardstock to the same size. Die cut the white cardstock using the PinkFresh Studio Daisy Chain Cover Plate. Adhere the white piece onto the light pink panel so that the pink shows through the flower holes.
Cut two more pieces of cardstock (one white, one pink) to 2 1/2 x 4-1/4 inches wide. Die cut the white piece using the PinkFresh Studio Daisy Chain Cover Plate. Adhere the white piece onto the light pink panel so that the pink shows through the flower holes.
Now, die cut both panels using the largest outline die from the PinkFresh Studio Rounded & Braided Rectangles die set. Use narrow foam tape to adhere the smaller cut piece to the bottom of the larger die cut rectangle, applying tape only along the bottom and side edges. This will form the pocket of the card.
Cut a piece of white cardstock using the largest detailed rectangle dies from the PinkFresh Studio Rounded & Braided Rectangles die set. Trim one of the sides of the decorative border and adhere it to the top of the pocket edge. Trim off excess.
Create an A2 white card base. Using the tag die from the A2 Slider Card die set, cut the folded card base so that the top of the die “hangs off” the edge just above the circle hole. This will create a folded tag that opens like a notecard.
To create the butterflies, foil the large butterfly from PinkFresh Studio Butterflies Hot Foil Plate onto a piece of white cardstock using Spellbinders Solid Matte Gold foil. Foil the butterfly two more times onto a piece of pearlized vellum (using black foil) and a piece of gold vellum (using gold foil). If foiling is not available to you, use the PinkFresh Studio Butterflies Stamp Set and heat emboss instead.
Using the PinkFresh Studio Butterflies Stencil Set, color the butterfly foiled onto white cardstock using PinkFresh Studio Inks Coral Reef, Sparkling Rose, Lemon Whip and Passion Fruit. Die cut the three butterflies. Die cut two additional butterflies from light colored pink cardstock. Stack them together: Pink, gold vellum, pink, white vellum, colored butterfly. Adhere together in the middle only. Use small foam squares placed under each butterfly wing, close to the center, only adhering the bottom side of the foam square. Leave the top layer on the foam square. Set aside.
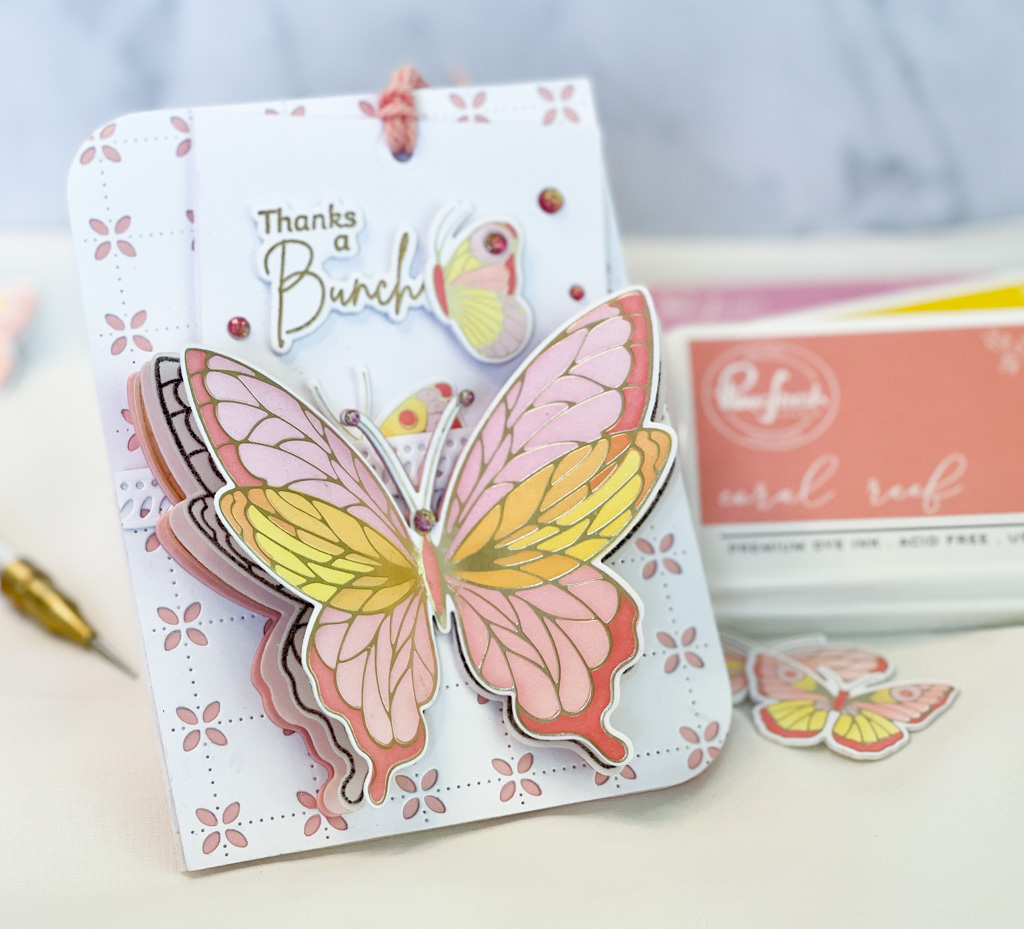
Foil the smaller butterflies from the PinkFresh Studio Small Butterflies Hot Foil Plate onto a piece of white cardstock, and color them using the same colors as before and the PinkFresh Studio Small Butterflies Layering Stencils. Cut them out using the PinkFresh Studio Small Butterflies Die. Optional: Cut out three additional sets of butterflies from white cardstock to build dimension.
Heat emboss one of the sentiments from PinkFresh Studio Beyond Happy Stamps using gold embossing powder and cut them out using PinkFresh Studio Beyond Happy Dies. Embellish with PInkFresh Studio Pixie Dust Ombre Glitter Drops as desired.
To assemble the card: Adhere the large butterfly to the front of the pocket (no glue higher than the pocket edge).
Adhere your sentiment onto the front of the tag, along with three small butterflies, as desired. Run a piece of ribbon, twine or yarn through the hole at the top. Insert the tag into the pocket.

This is such a wonderful card design – you can use it any way you want. I hope you try making one of your own.
Happy crafting!
 My Favorite Card-Making Formula
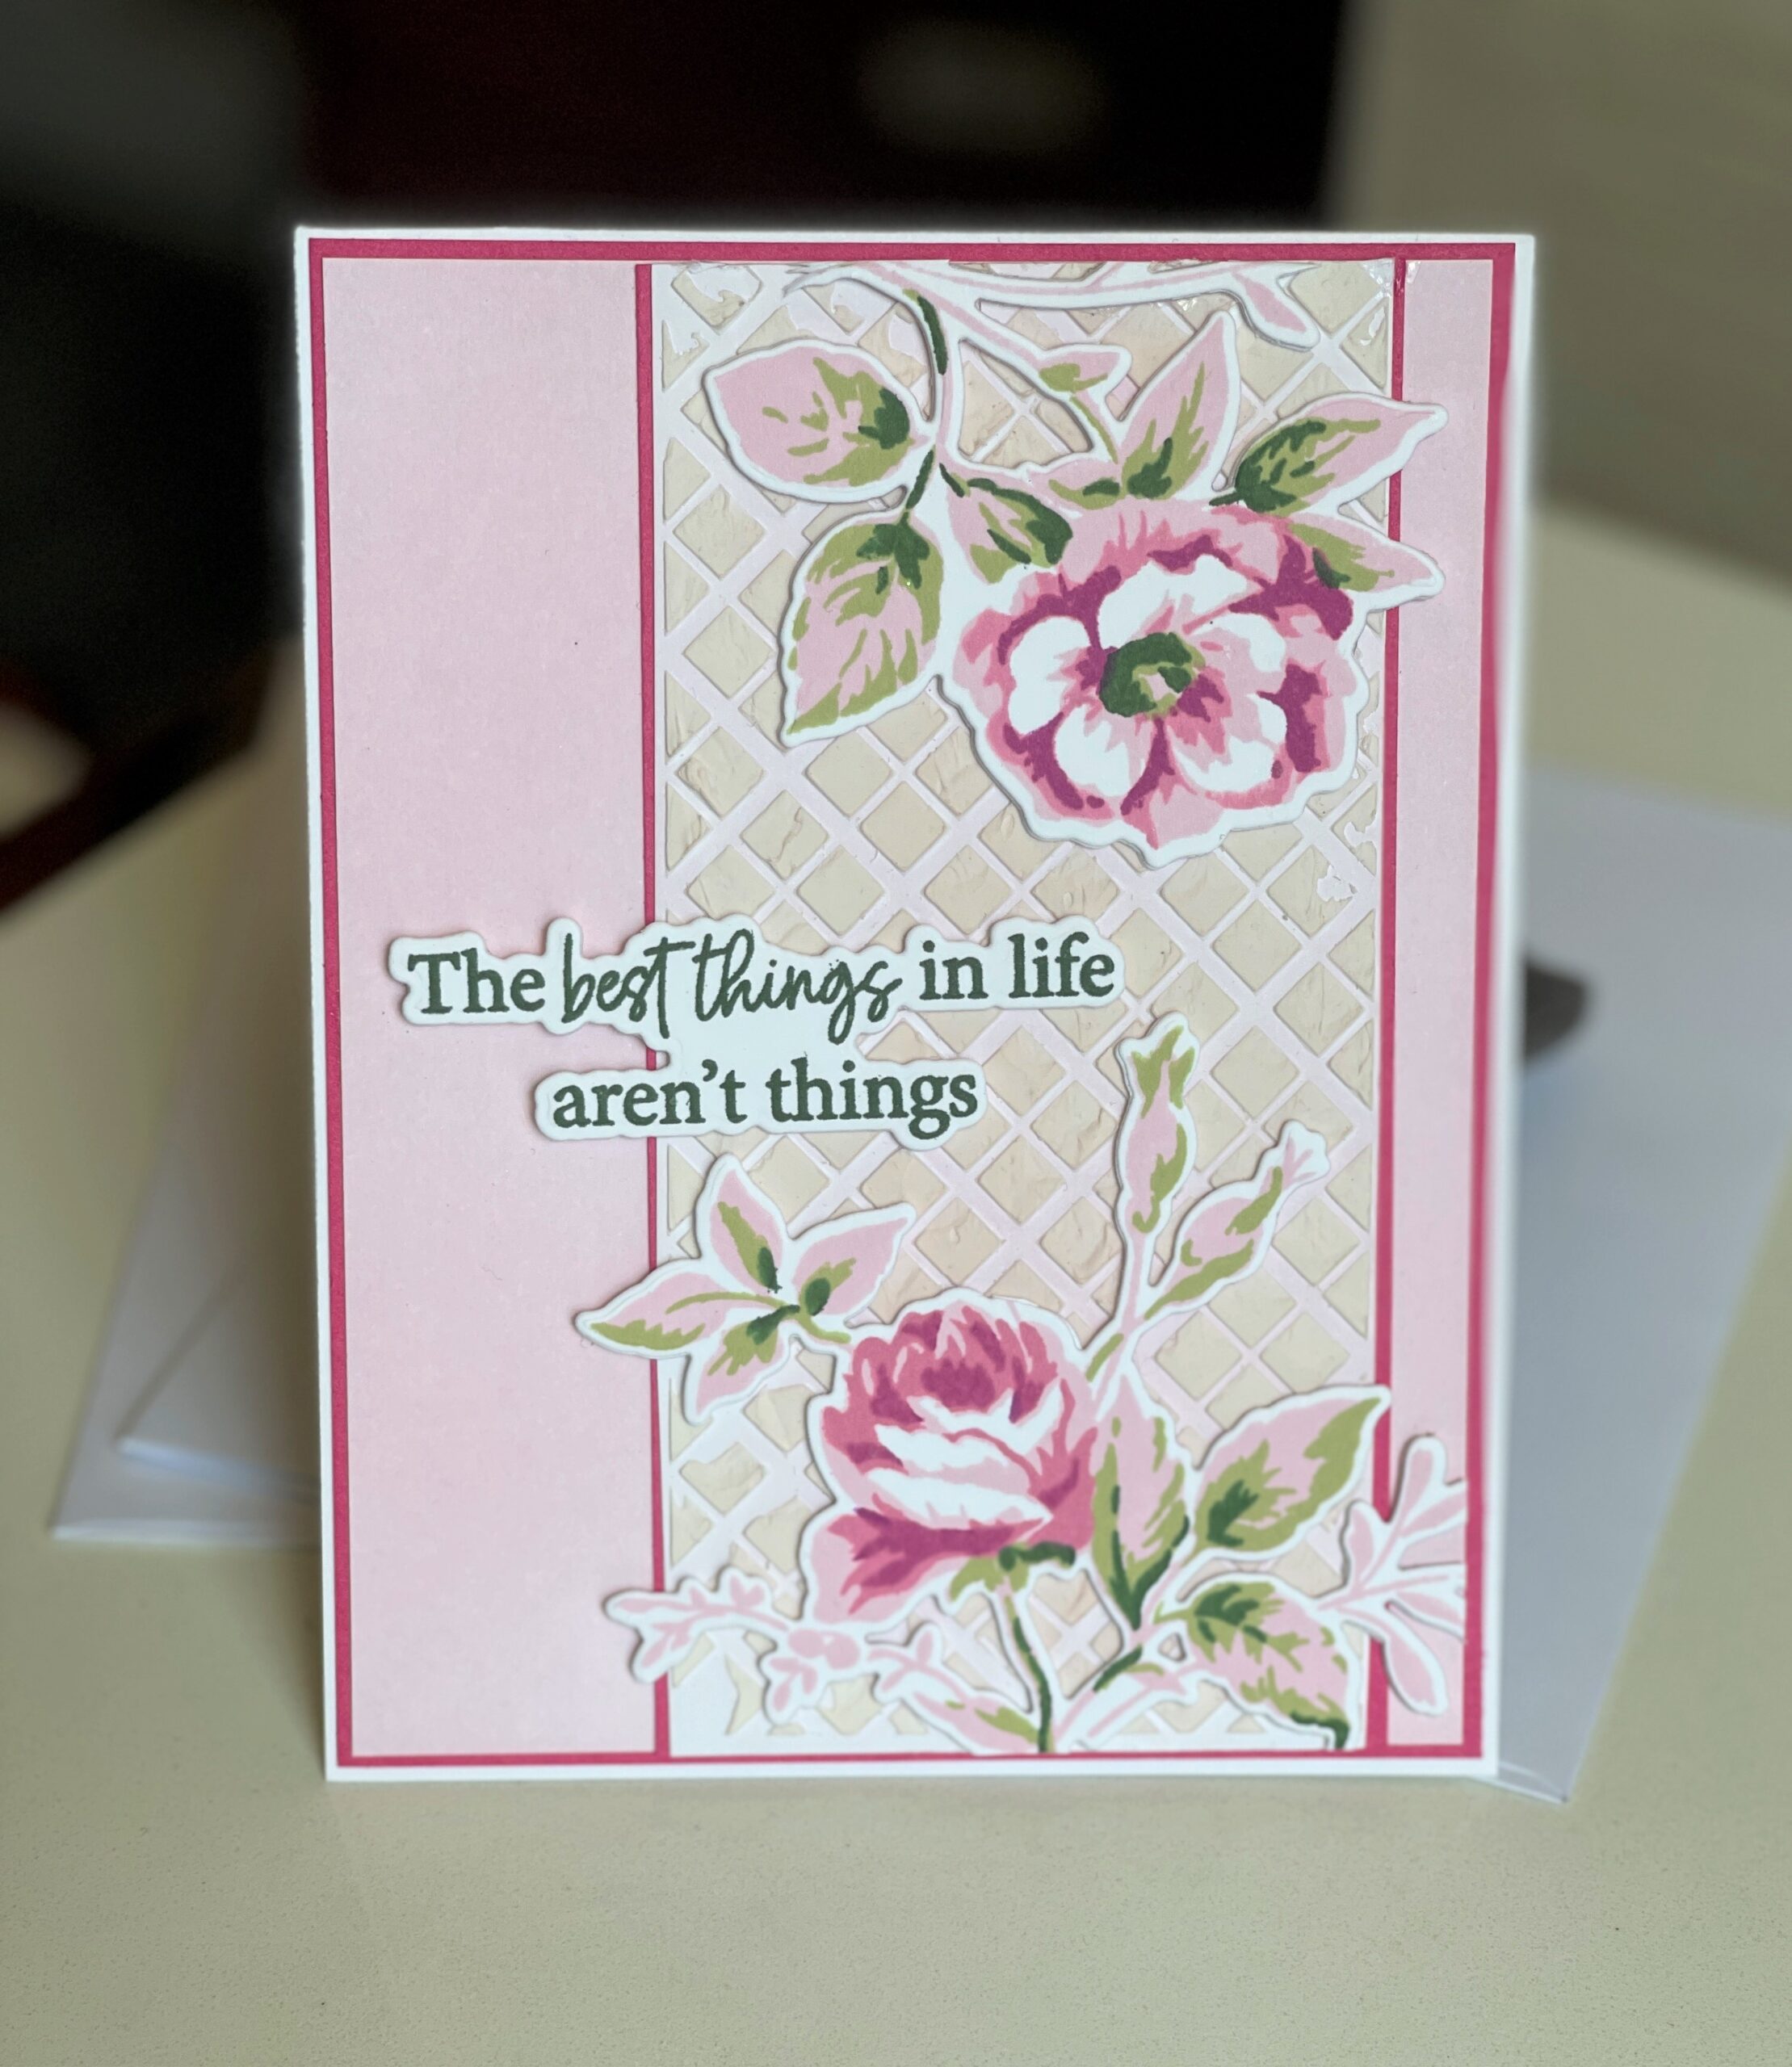 All About Layering 4: The Best Things In Life Aren’t Things
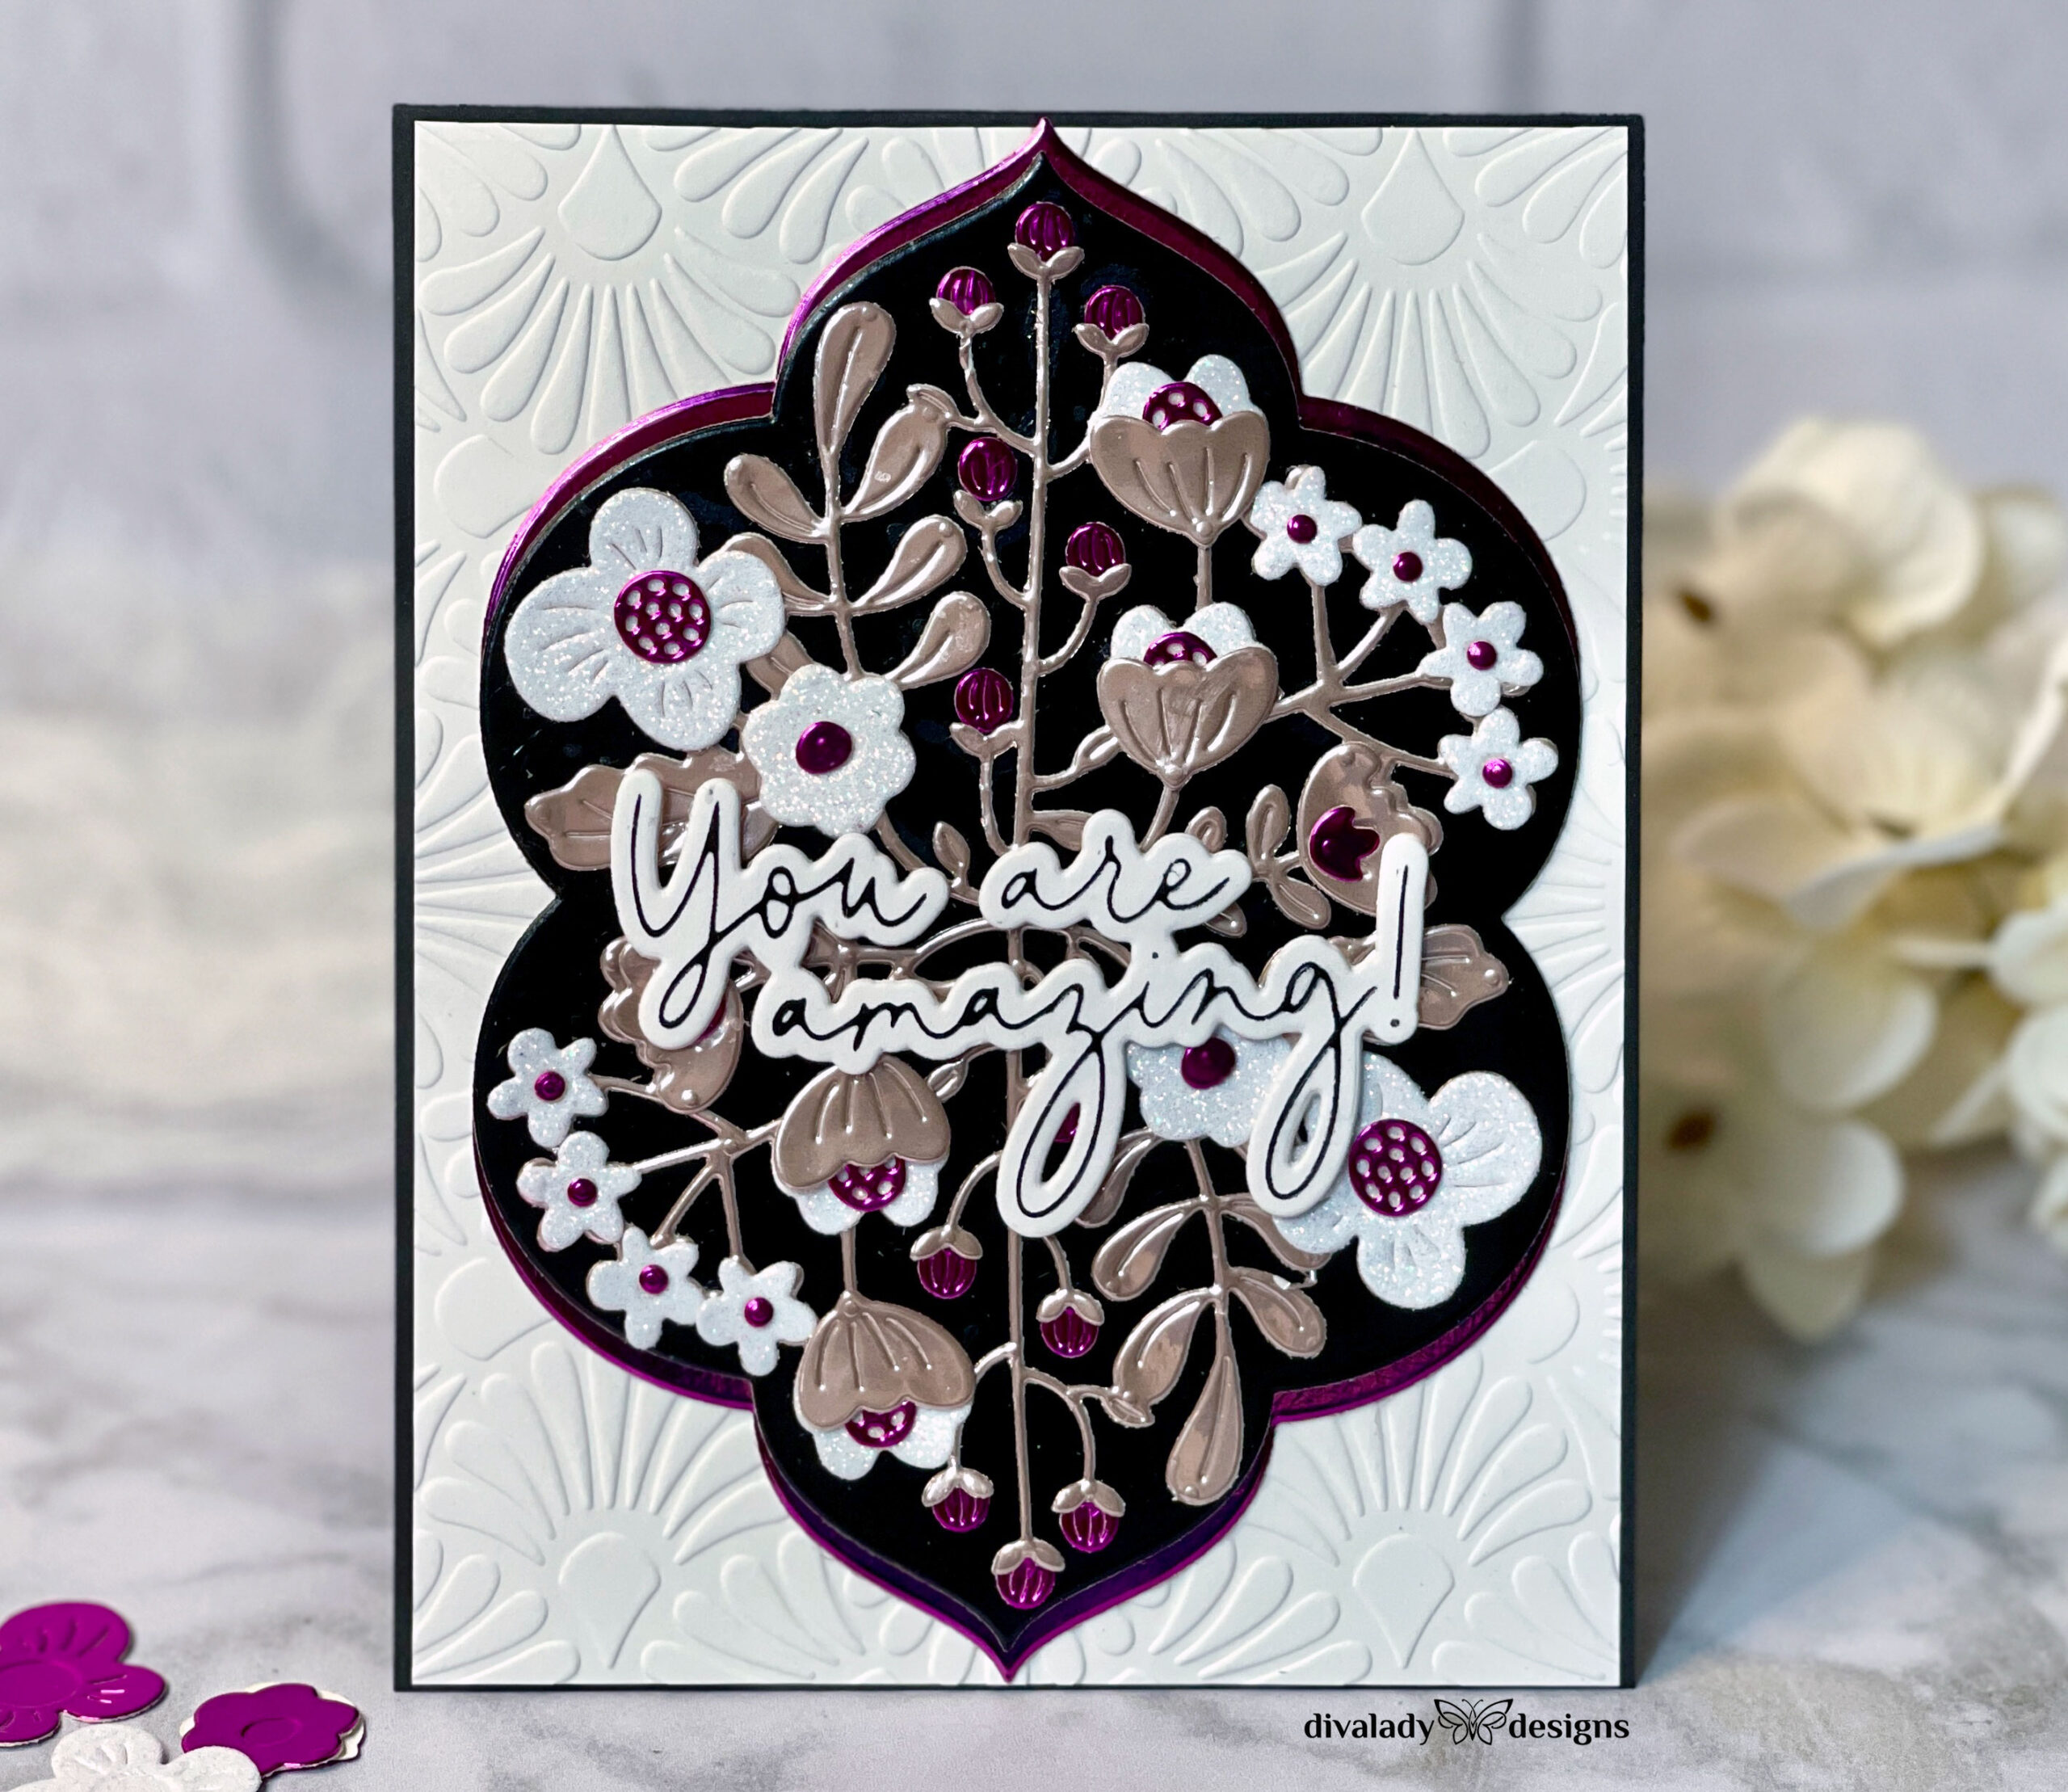 My Favorite Color Rule
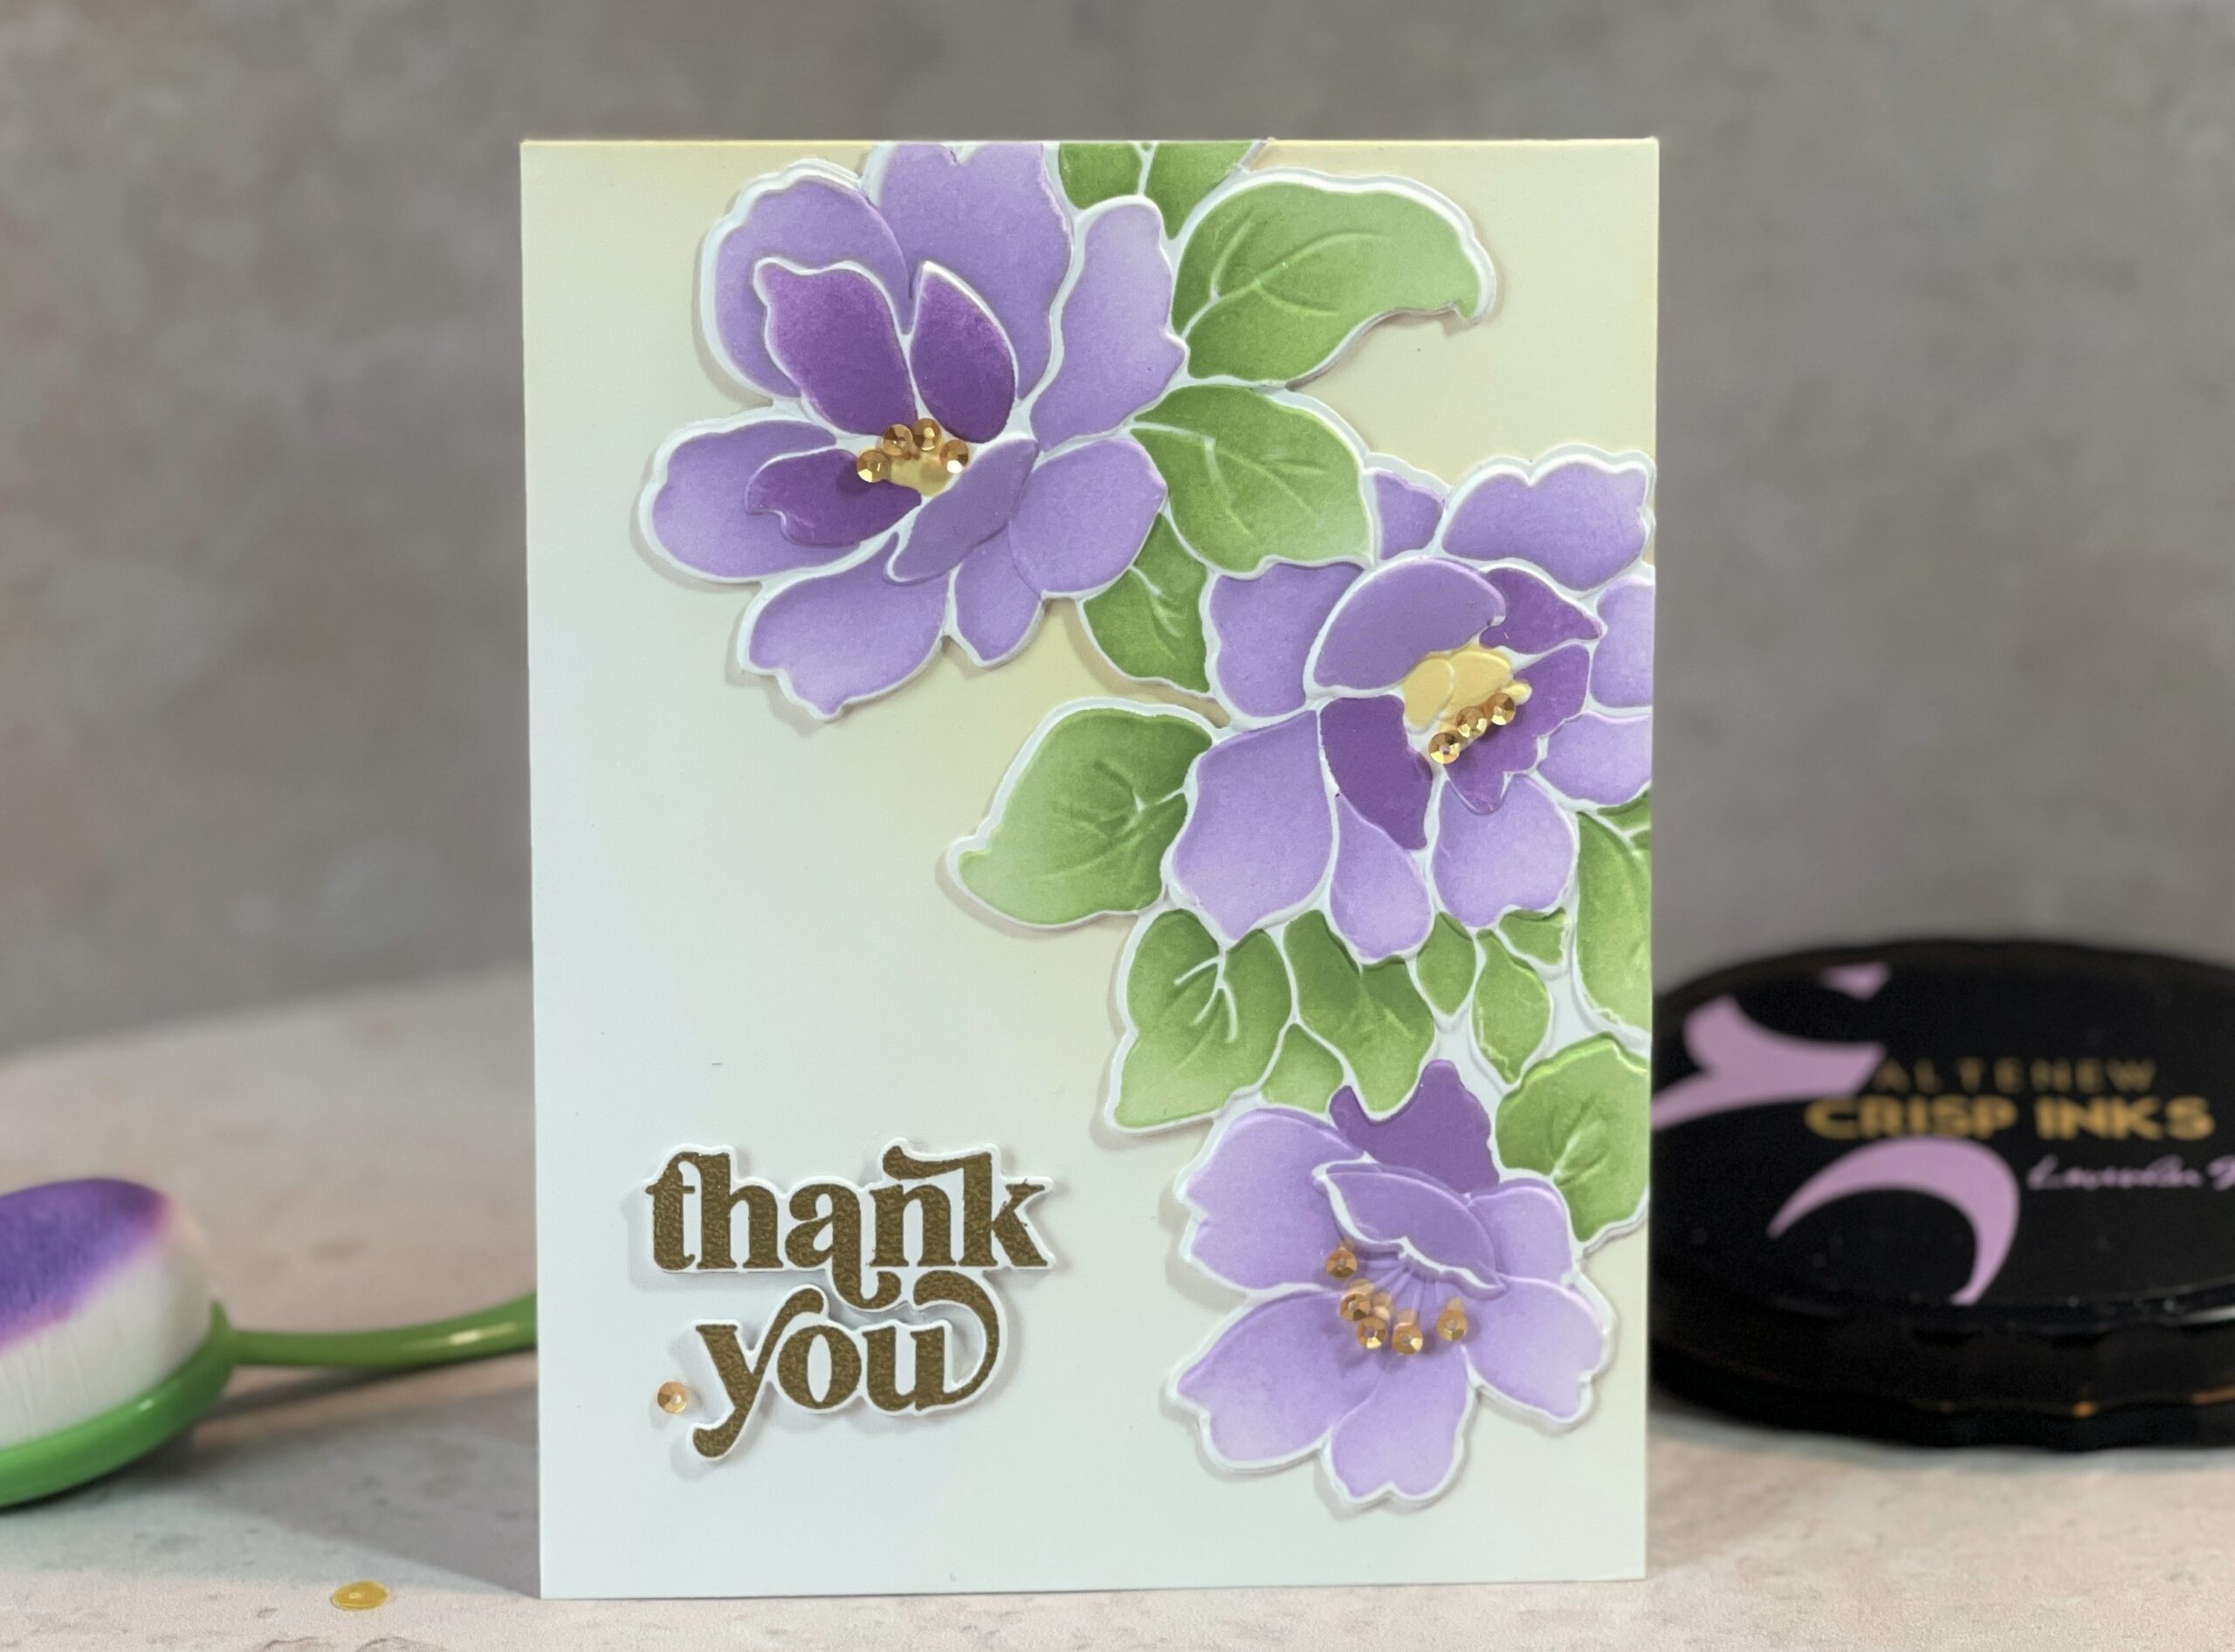 Easy Ink Blending Techniques
