Welcome to my newest adventure! I have begun the next step in my artistic journey and joined the Altenew Educator Certification Program. This series of courses will take me through both familiar and new cardmaking techniques. It is my hope that through this program, my artistic skills will be stretched and I can take my crafting to the next level.
Today, I am sharing the cards I created for my first course, All About Layering 3, taught by Lydia Evans.
Layering stamps are not new to me, so this was a fun course. Lydia took us through the basics of stamping with layers, showing us how to line up the stamps and giving us both color and design ideas. I decided to use Altenew Morning Flowers stamps and dies for my cards.
Card #1
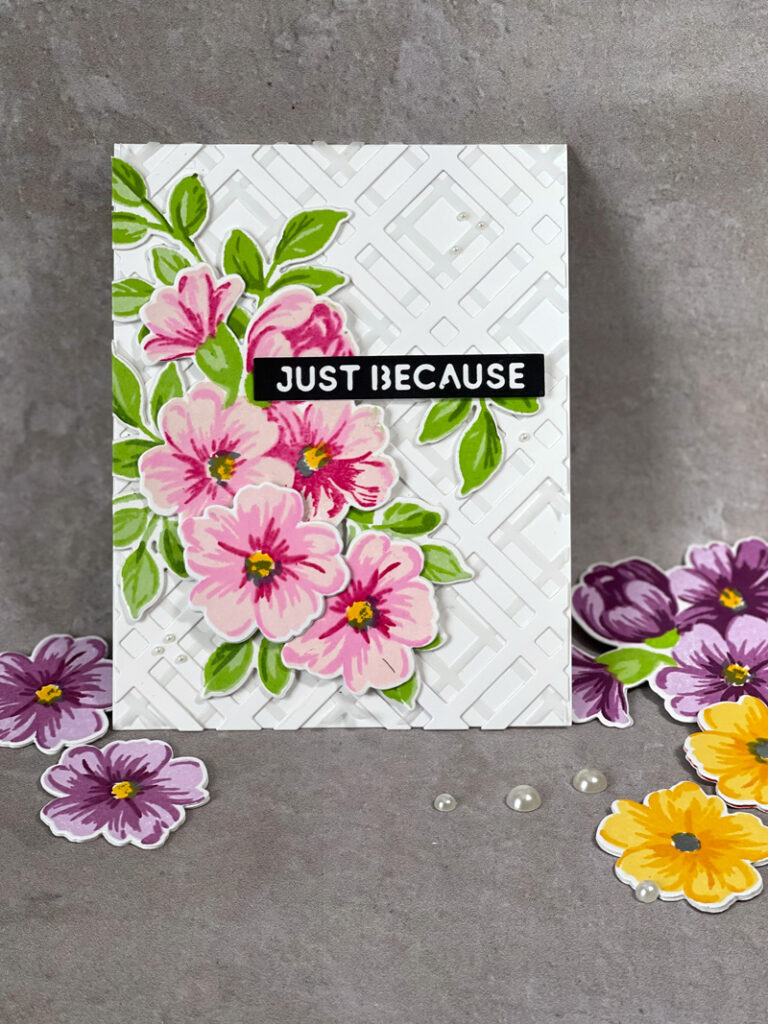
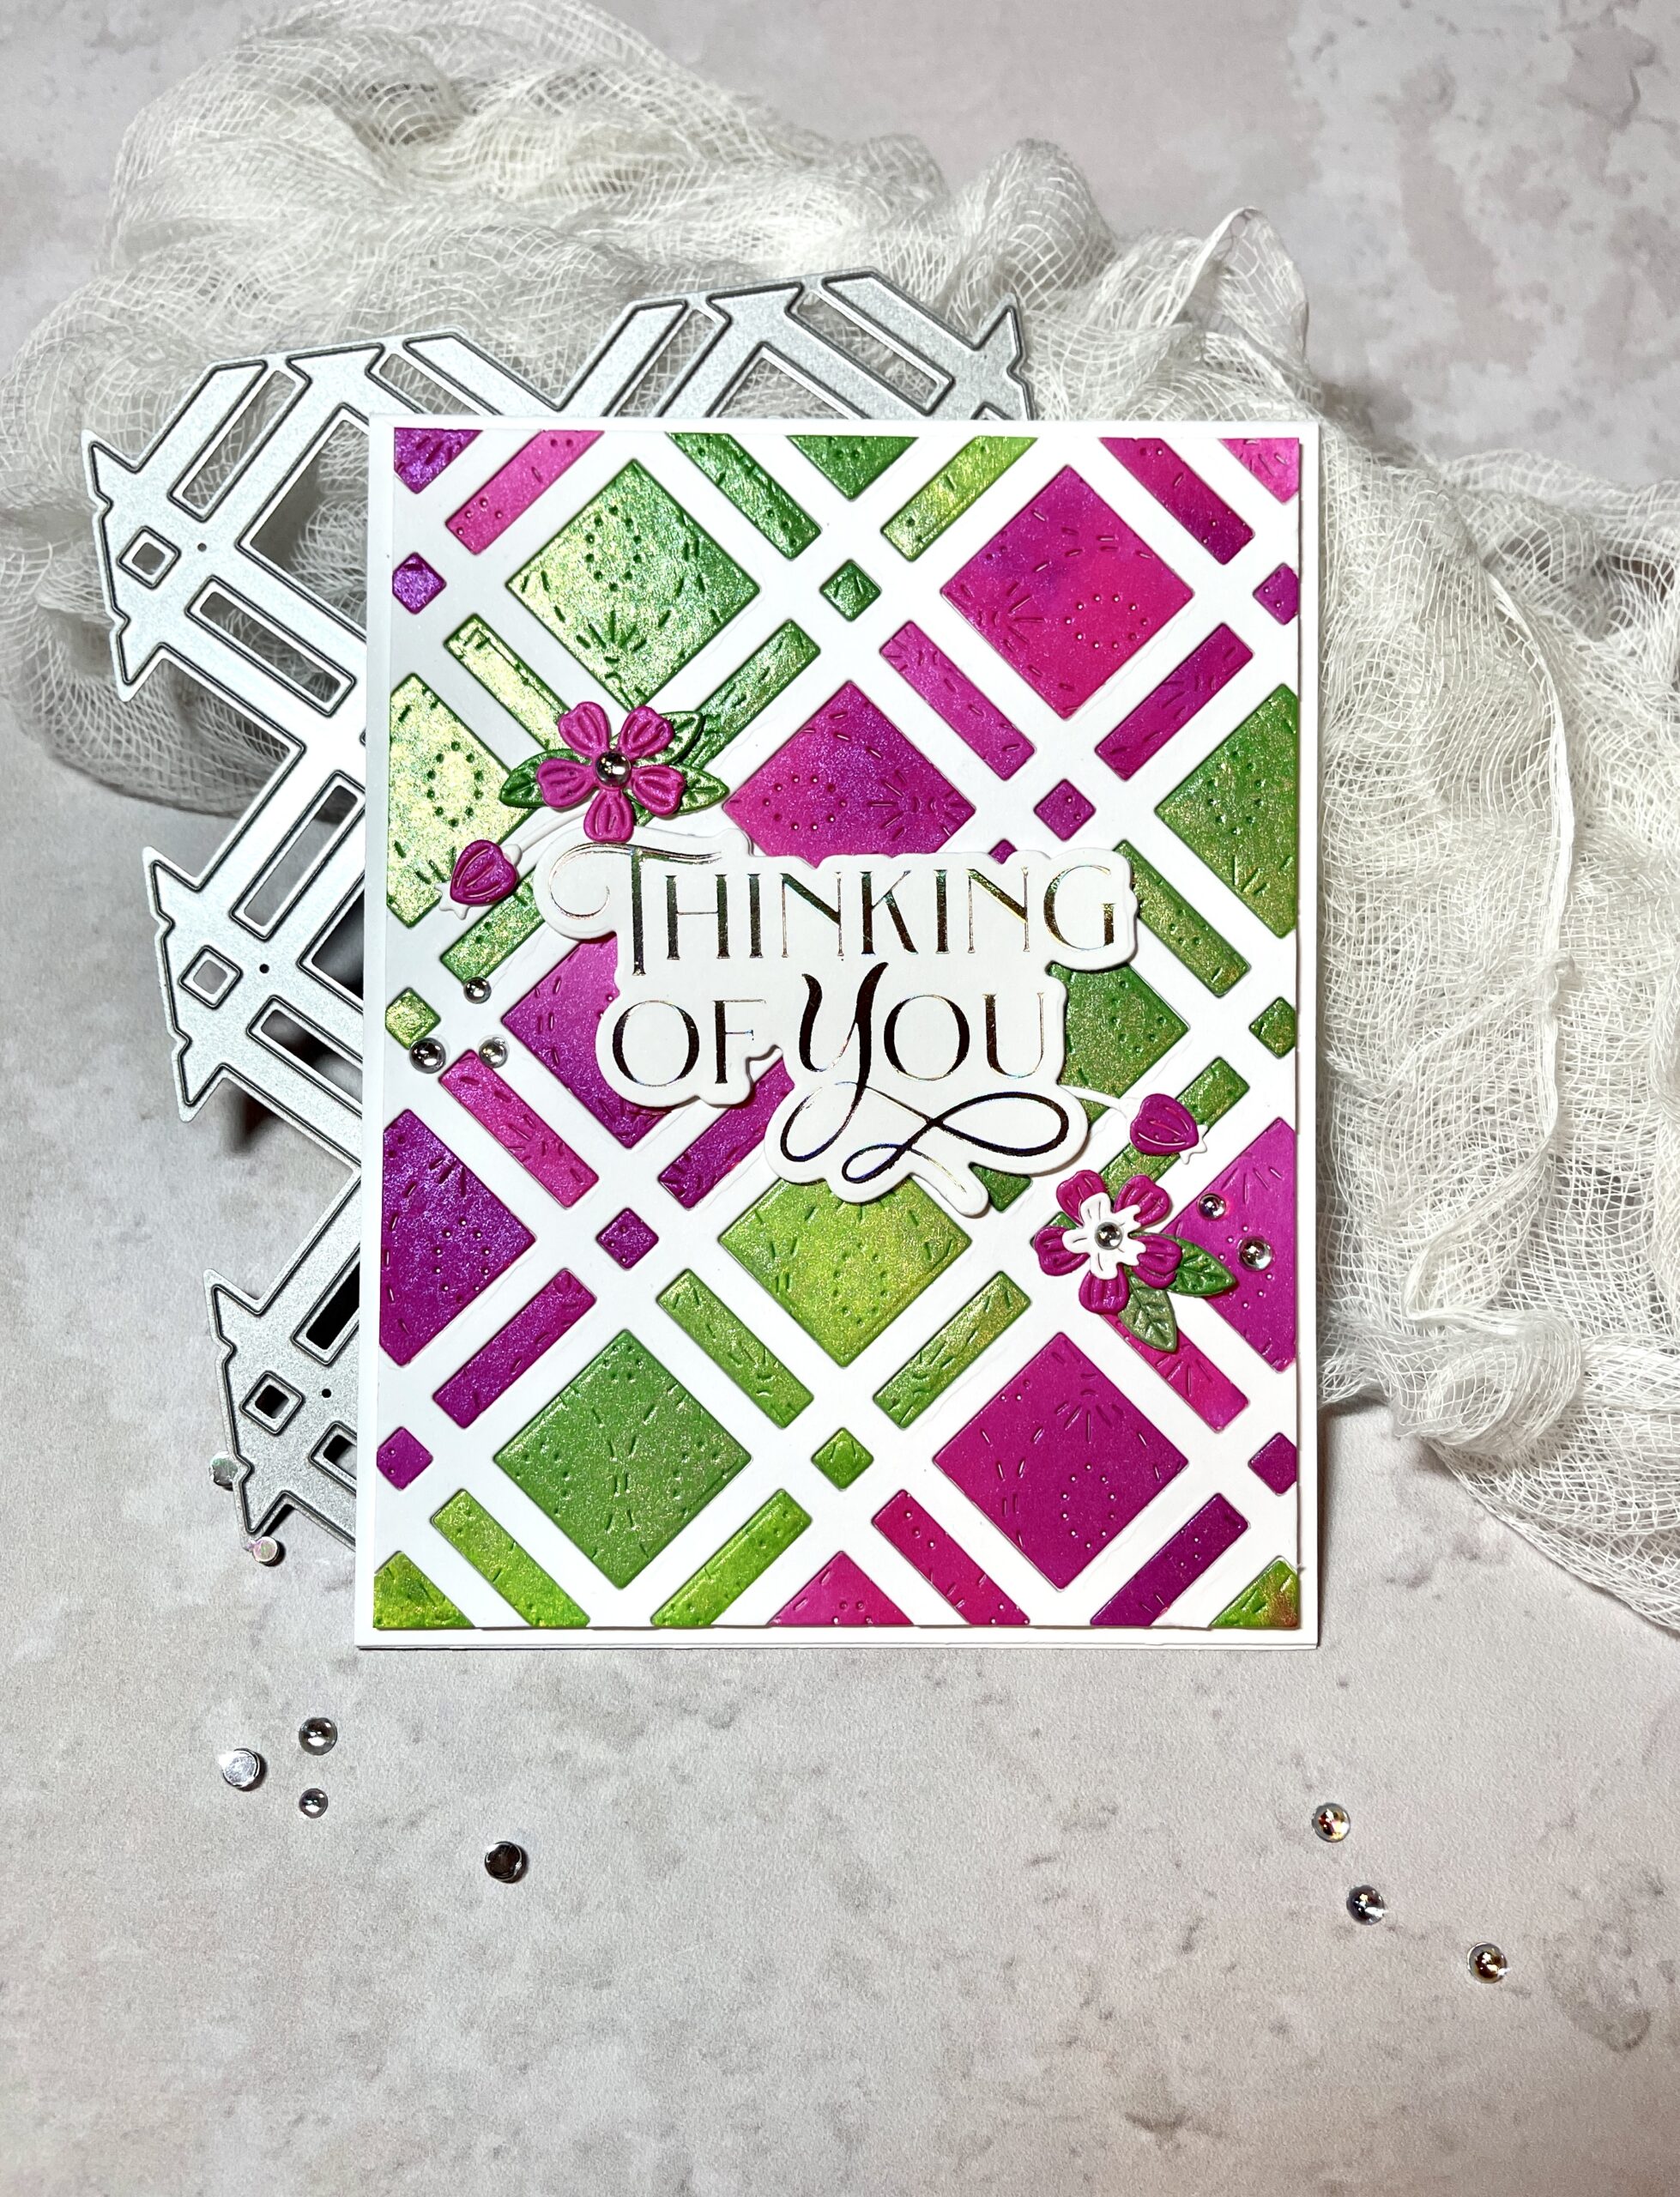
I use a MISTI stamp positioning tool for most of my stamping and for this set, I created a jig for each stamp to help with placement. The jig allows me to create lots of stamped flowers in a relatively short period of time. I think I might have gone a little overboard with stamping the flowers!
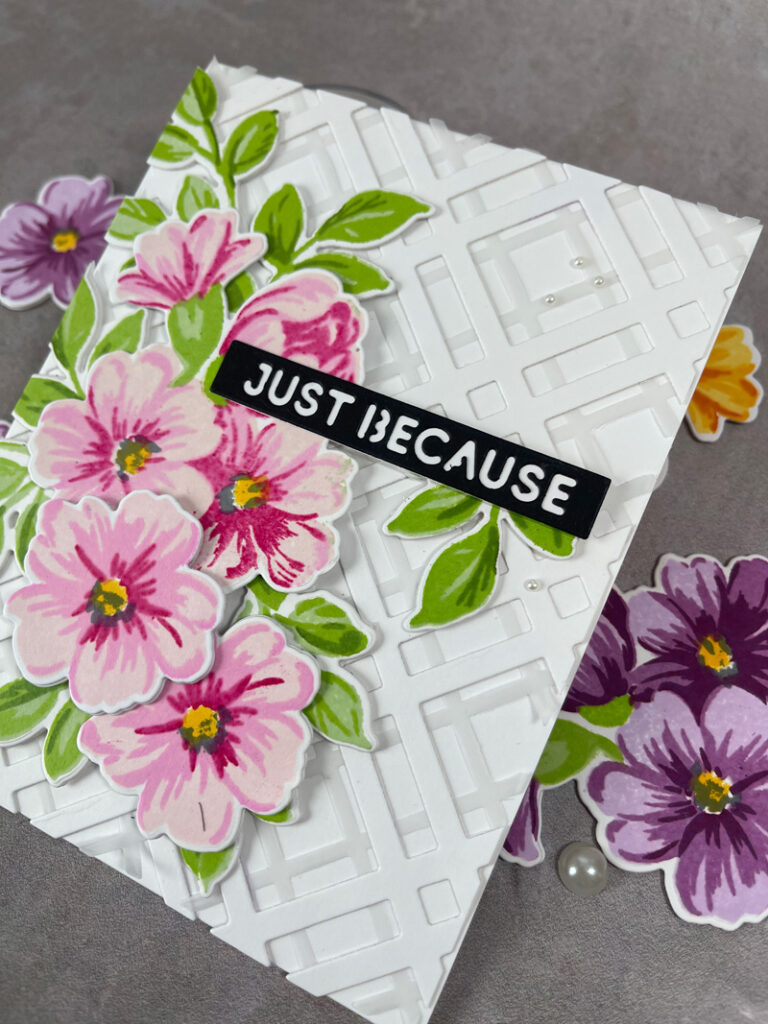
I also created a soft, fun background for the florals by die cutting a lattice panel from white cardstock and then another one from vellum. The vellum helps to give a soft feel to the card. For this, I used two cover plate dies that I had in my stash from Concord & 9th: Diagonal Plaid Cover Plate (vellum) and Plaid Card Front (white).
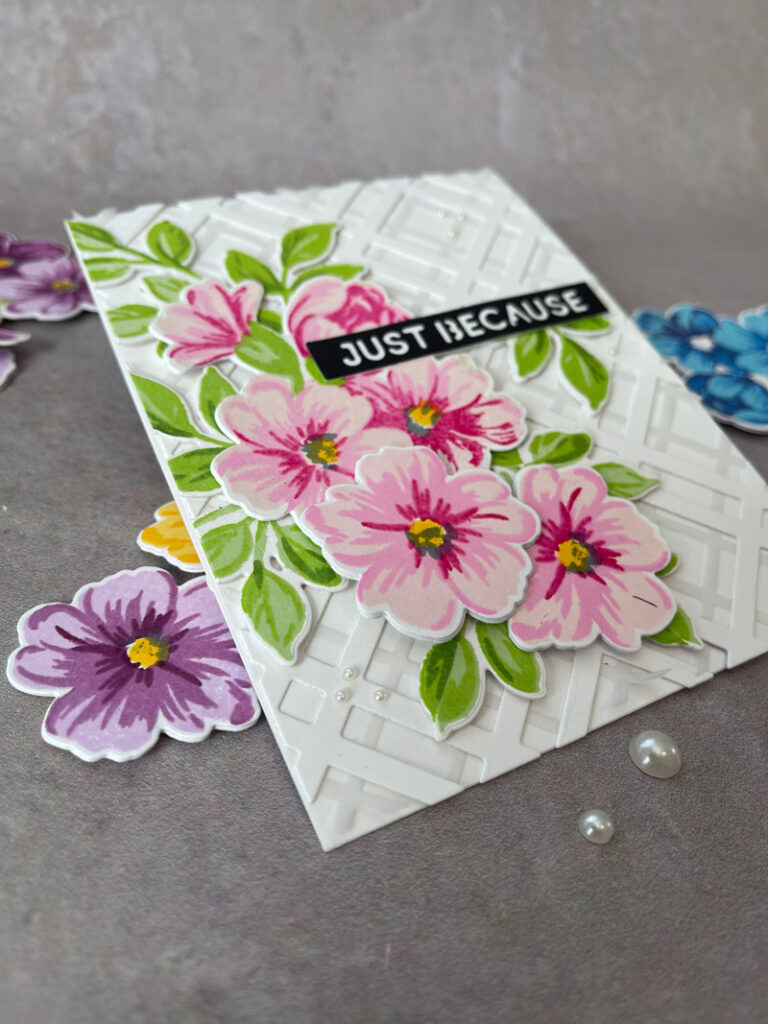
I love dimension, so I die cut lots of flowers out of white cardstock (I used Neenah Class Crest 80 lb Solar White) and then stacked three of them together before adhering the stamped flower on top. It gives great dimension and is less likely to be smushed in the mail. You could also use foam tape for this, but I like the look of the stacked cardstock layers.
I finished this card with a sentiment from Altenew’s Essential Sentiment Strips Die Set and some pearl embellishments I had on hand. All of my inks are from PinkFresh Studio.
Card #2
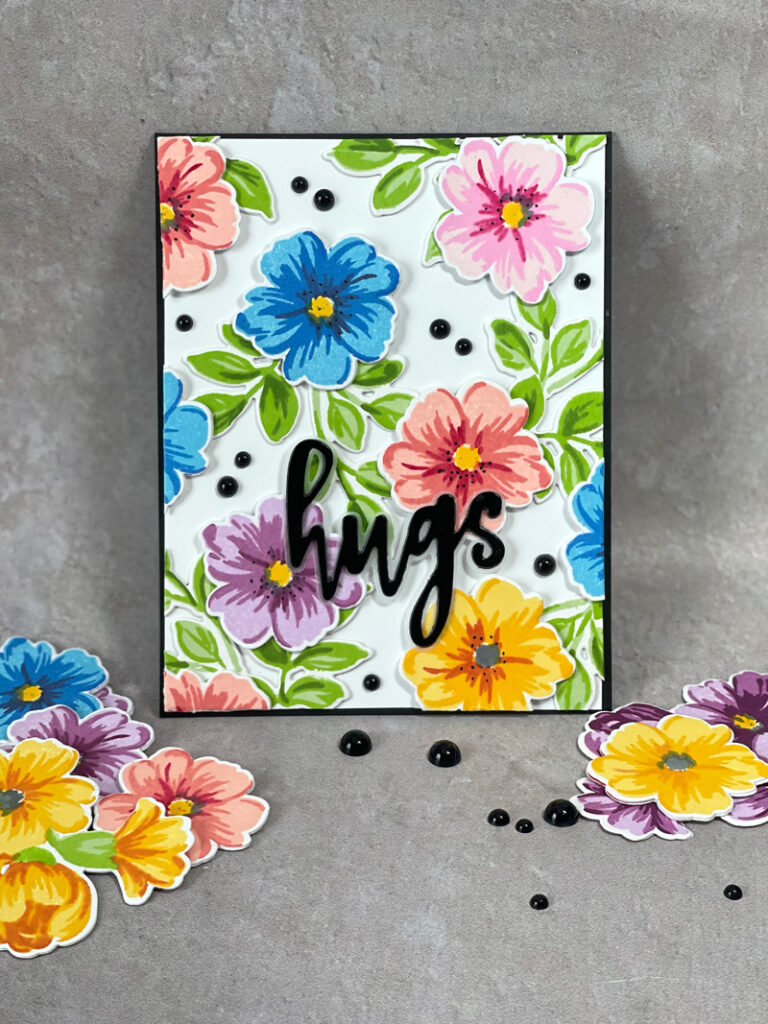
Remember when I said I went overboard with stamping my flowers? Well, yeah, I did. So I decided to create another card using lots of flowers and leaves. It’s amazing how one can get a totally different look from the same stamp set!
For this card, I used a plain white card panel (4-1/4″ x 5-1/2″). I began placing my leaves down and then arranging my flowers around the leaves. I made sure that each flower touched a leaf at least once to give the card a nice flow. Many of the flowers and leaves hung off the end and I cut them off; but, I used the excess to fill in some of the edges of the card that needed it.
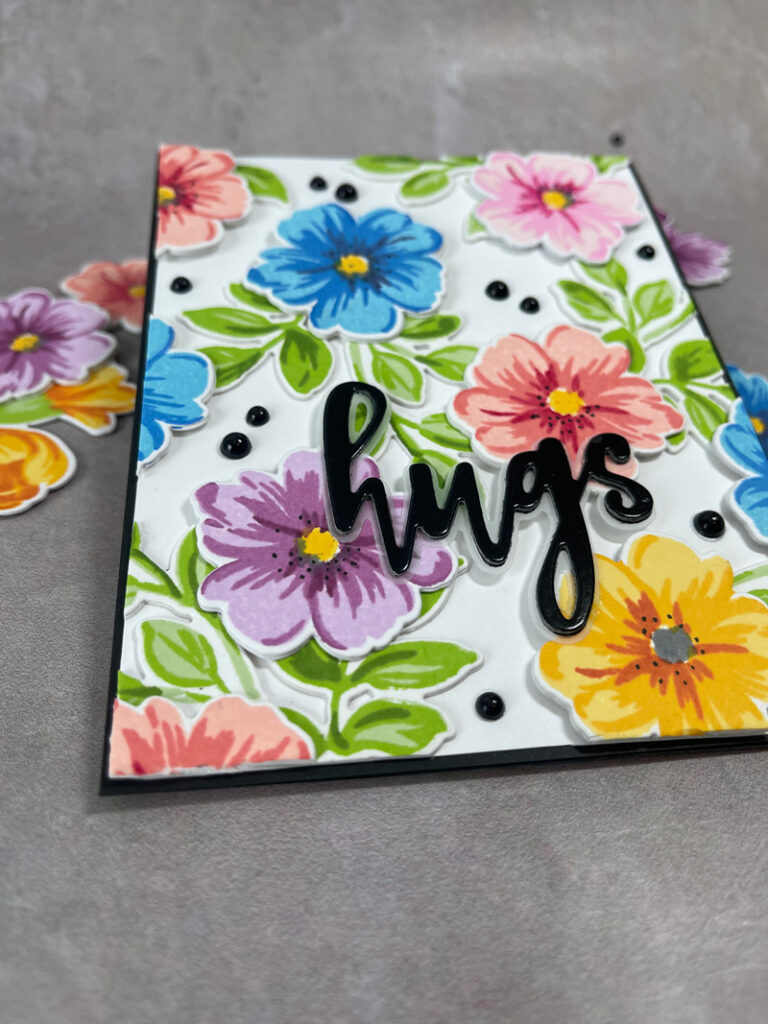
For my sentiment, I used the Hello and Hugs Die Set from Altenew. This is a favorite of mine because it has two dies for each word – one script and one shadow (or background). I cut the script sentiment from glossy black cardstock from Simon Says Stamp, then used vellum for the shadow. I thought the vellum would give some contrast to the black script, but not add too much since the card itself is so busy. I finished it off with some black enamel dots and mounted the panel on a black card base.
Course 1 now done! On to the next class, All About Layering 4. I’ll be creating more cards this week and posting soon. Thanks for reading, and happy stamping!
 Spring Online Card Camp 2022
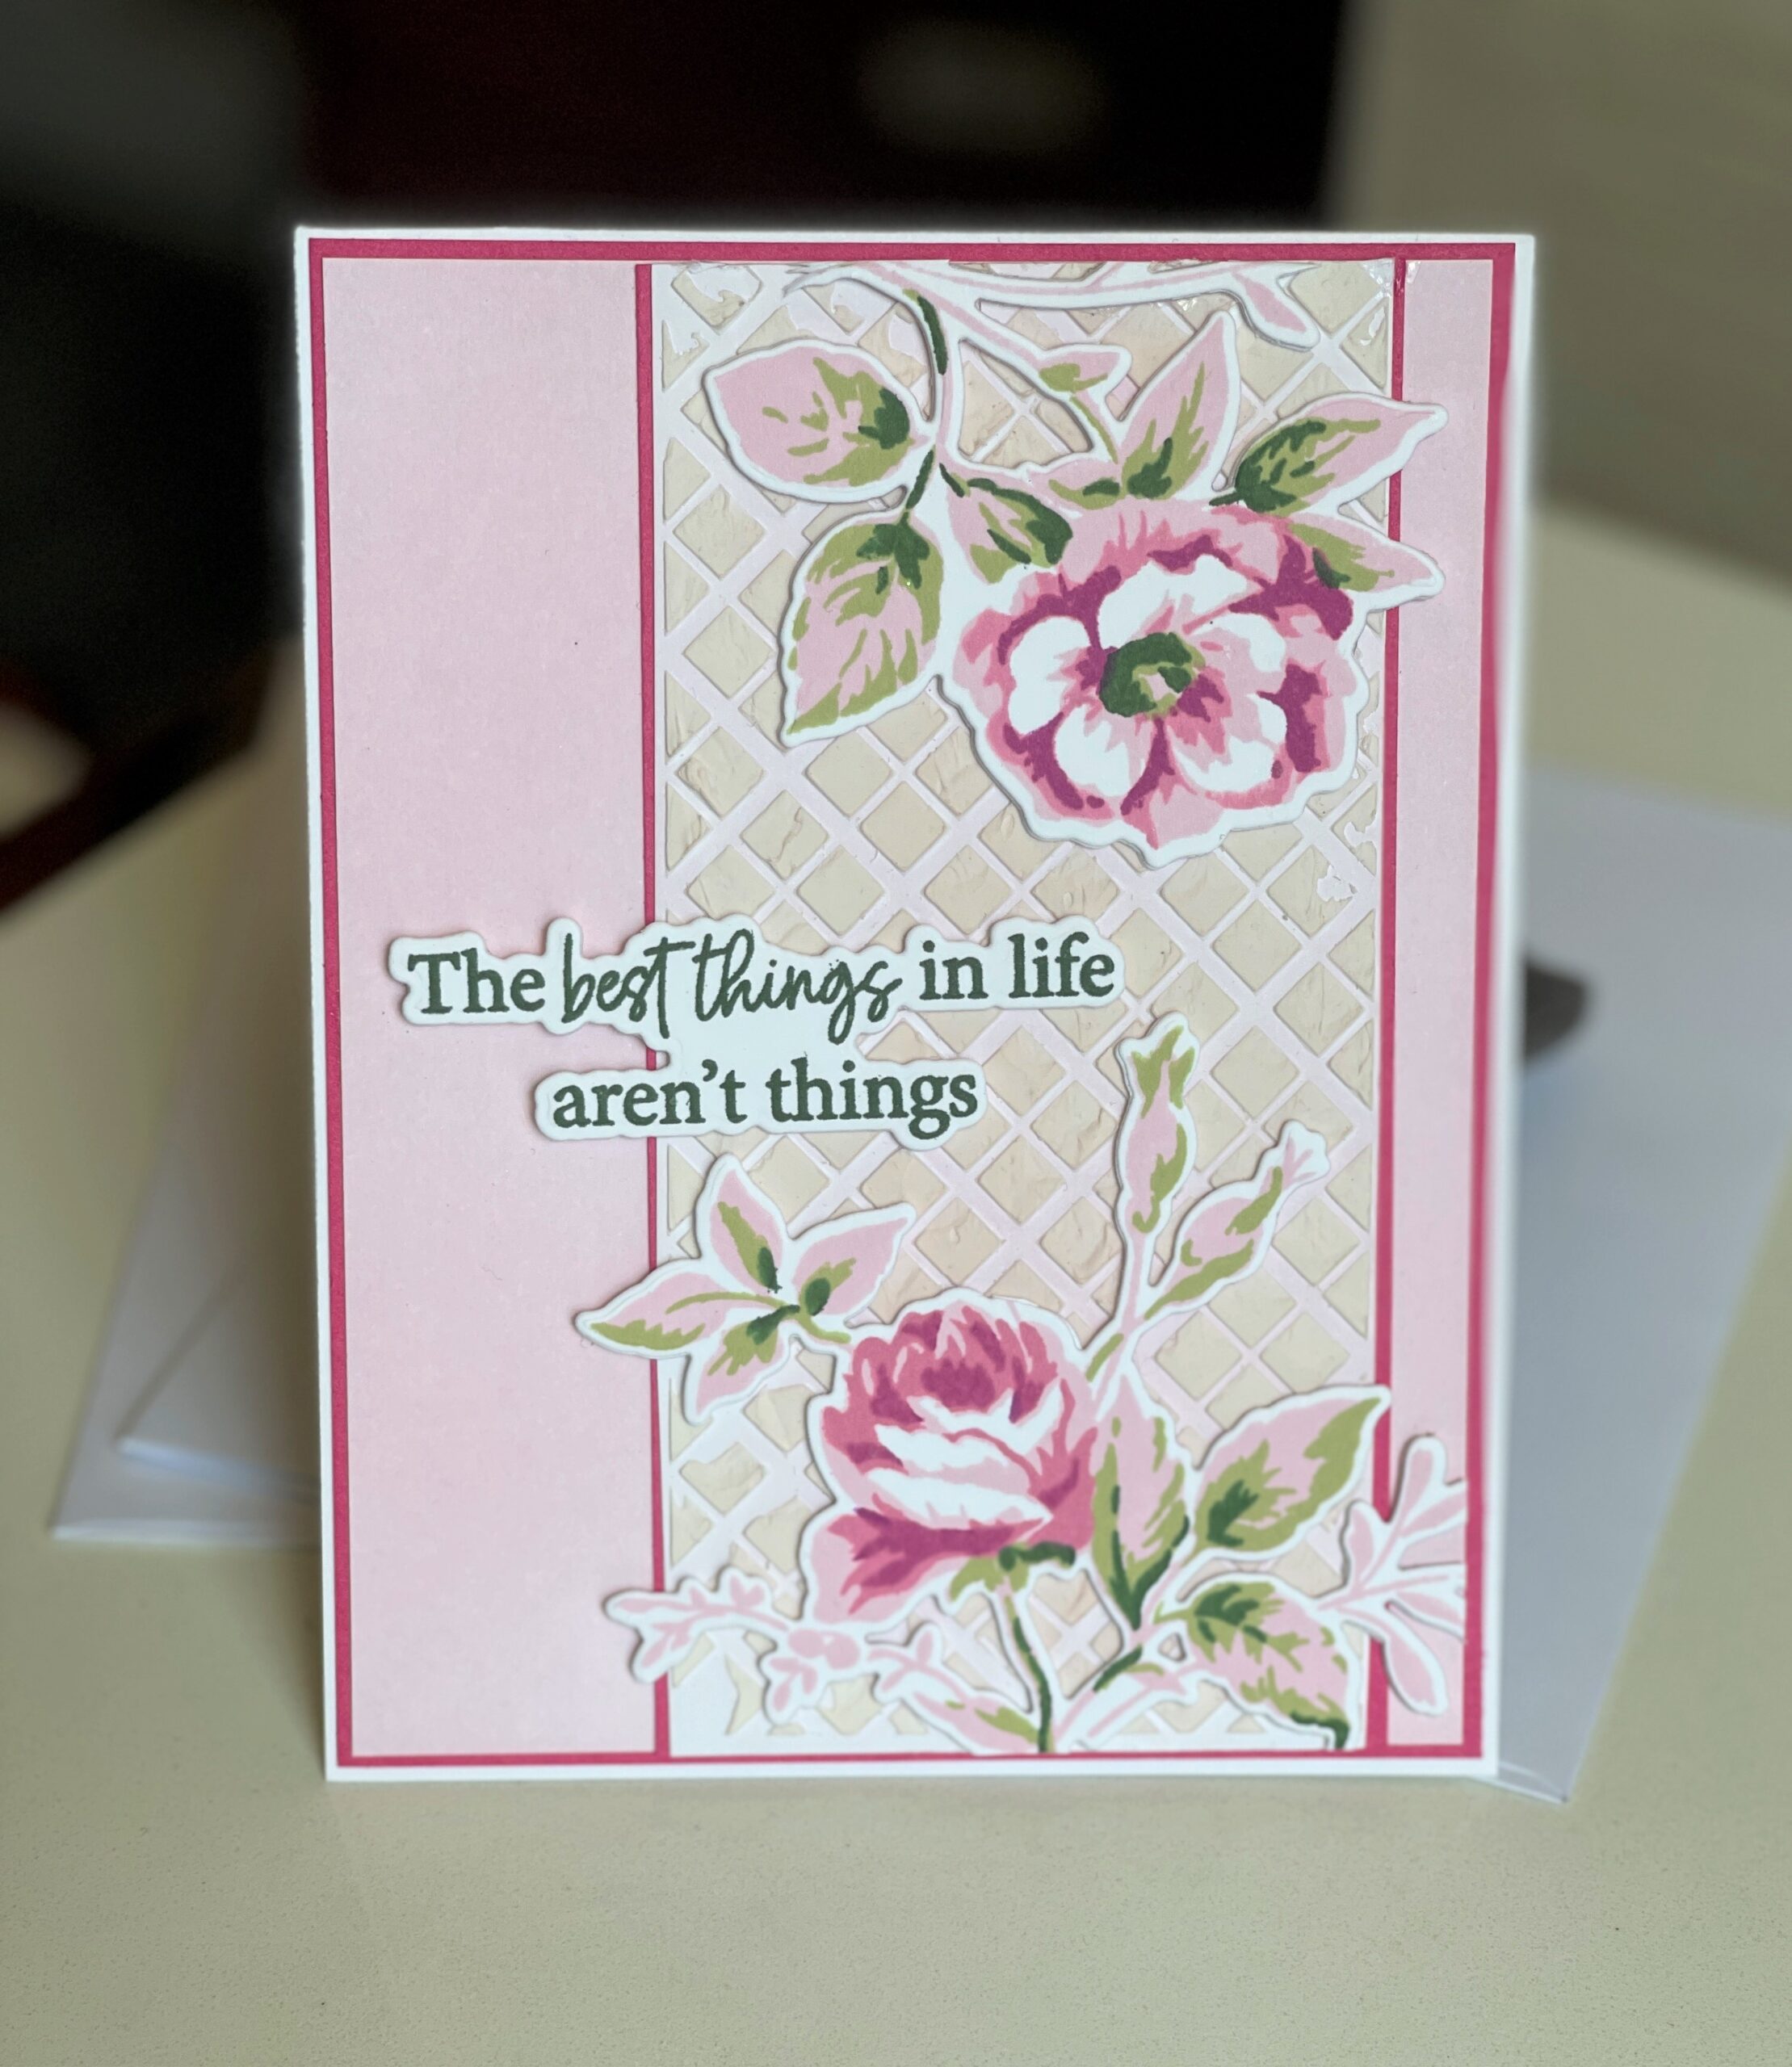 All About Layering 4: The Best Things In Life Aren’t Things
 Whimsical Easel Card

Congratulations on your first submission for AECP! WOOT! Your projects are absolutely stunning!! LOVE LOVE LOVE them!!!
These are beautiful!!!