Hey everyone! Thanks for joining me today as we celebrate Spellbinders Stylish Ovals Release. Spellbinders graciously asked me if I would like to create with some of these products and I couldn’t resist.
As you know by now, I love butterflies. I also love embossing folders, so this new embossing folder from Spellbinders is a NO BRAINER! OMG – it’s gorgeous! I couldn’t wait to play with it and I ended up making a ton of cards. I’ll be sharing them over the next ten days, so check back!
For today, I thought I’d be adventurous with the 3D embossing folder and try my hand at embossing vellum. The results are spectacular! I’ve listed all the links to the products I used below. They are affiliate links, which means that if you click on my link and purchase the item, I receive a small commission at no charge to you. Use the links if you like. Totally up to you.
Enjoy!!
Embossed Vellum Over Embossed Cardstock
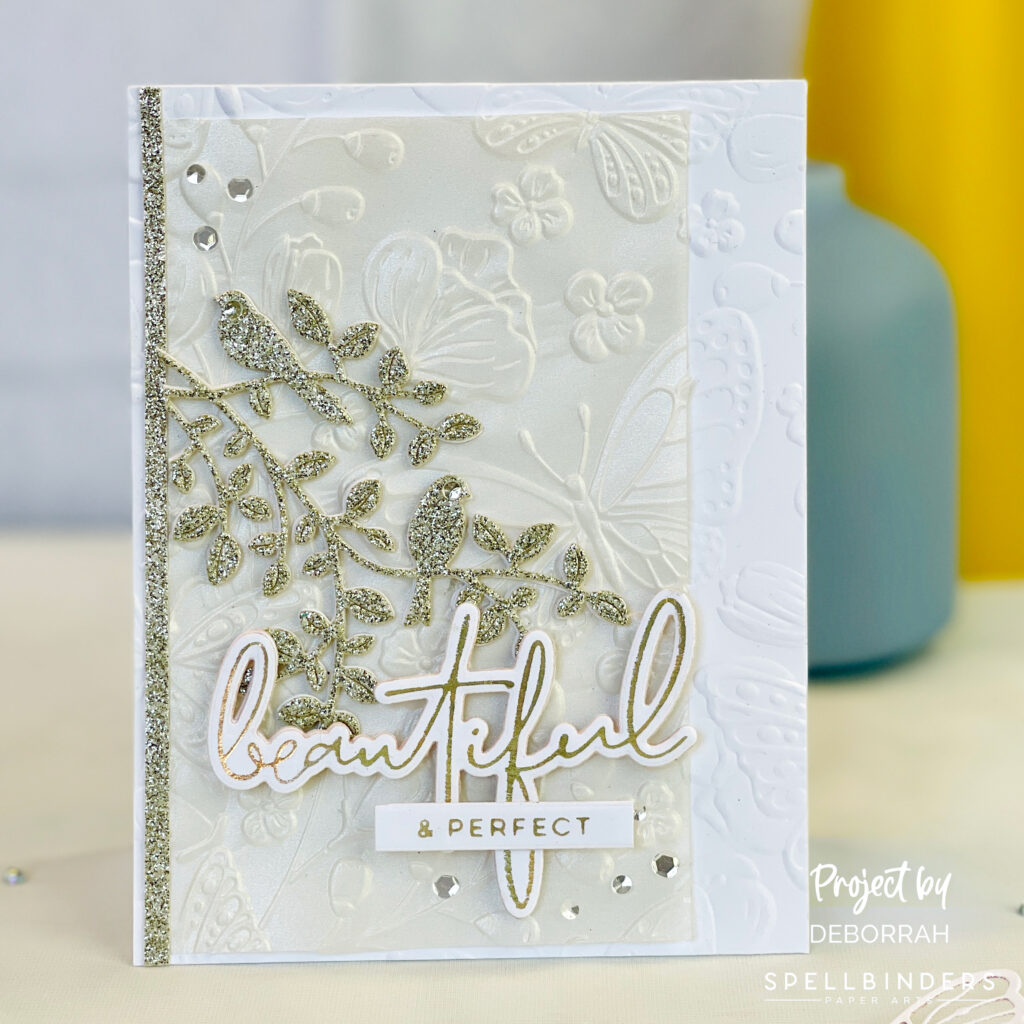
Spellbinders Beautiful Butterflies 3D Embossing Folder
Spellbinders Sealed Birds Etched Dies
Spellbinders Hello Friend Sentiments Glimmer Hot Foil Plates
Spellbinders Wonderful Script Sentiments Etched Dies
Tonic Pearled Silver Vellum
For this card, I used Tonic Pearled Silver Vellum and embossed it with the Spellbinders Beautiful Butterflies 3D Embossing Folder. I also used the same folder and embossed some white cardstock. I trimmed down the vellum and layered it over the white cardstock. Then I die cut the Spellbinders Sealed Birds Etched Dies from champagne colored glitter cardstock. I love the look of the embossed vellum over the embossed cardstock!
Embossed Vellum & Vellum Over Cardstock
Spellbinders Beautiful Butterflies 3D Embossing Folder
Spellbinders Yana’s Layered Script Sentiments Etched Dies
Spellbinders Stylish Oval Hello You Floral Etched Dies
Tonic Pearled Silver Vellum
Spellbinders Fog Color Cardstock
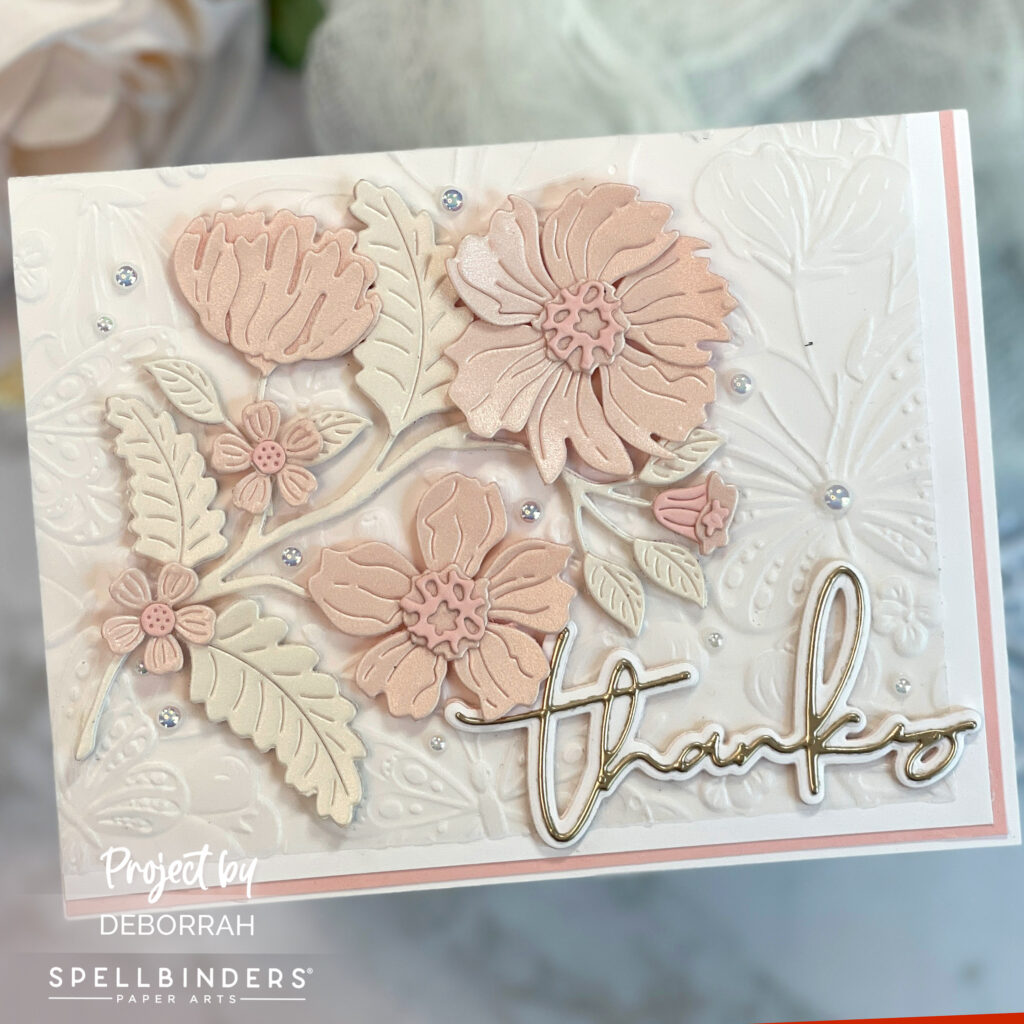
For this card, I embossed some pure white vellum with the Spellbinders Beautiful Butterflies 3D Embossing Folder. For my flowers, I layered some Tonic Pearled Silver Vellum over light pink cardstock using double sided adhesive sheets. Then, I cut the flowers from the resulting cardstock. The petals have a beautiful pinky, pearl finish! I did the same thing with the leaves using Spellbinders Fog Color Cardstock. Then I layered the embossed vellum over white cardstock and matted the panel with the same pink cardstock as I used for the flowers. A simple Thanks from Spellbinders Yana’s Layered Script Sentiments Etched Dies was the perfect sentiment.
Embossed Vellum with White Pigment Ink
Spellbinders Beautiful Butterflies 3D Embossing Folder
Spellbinders Infinity Punch & Pierce Plate Etched Dies
Spellbinders Delicate Butterflies Etched Dies
Tonic Pearled Gold Vellum
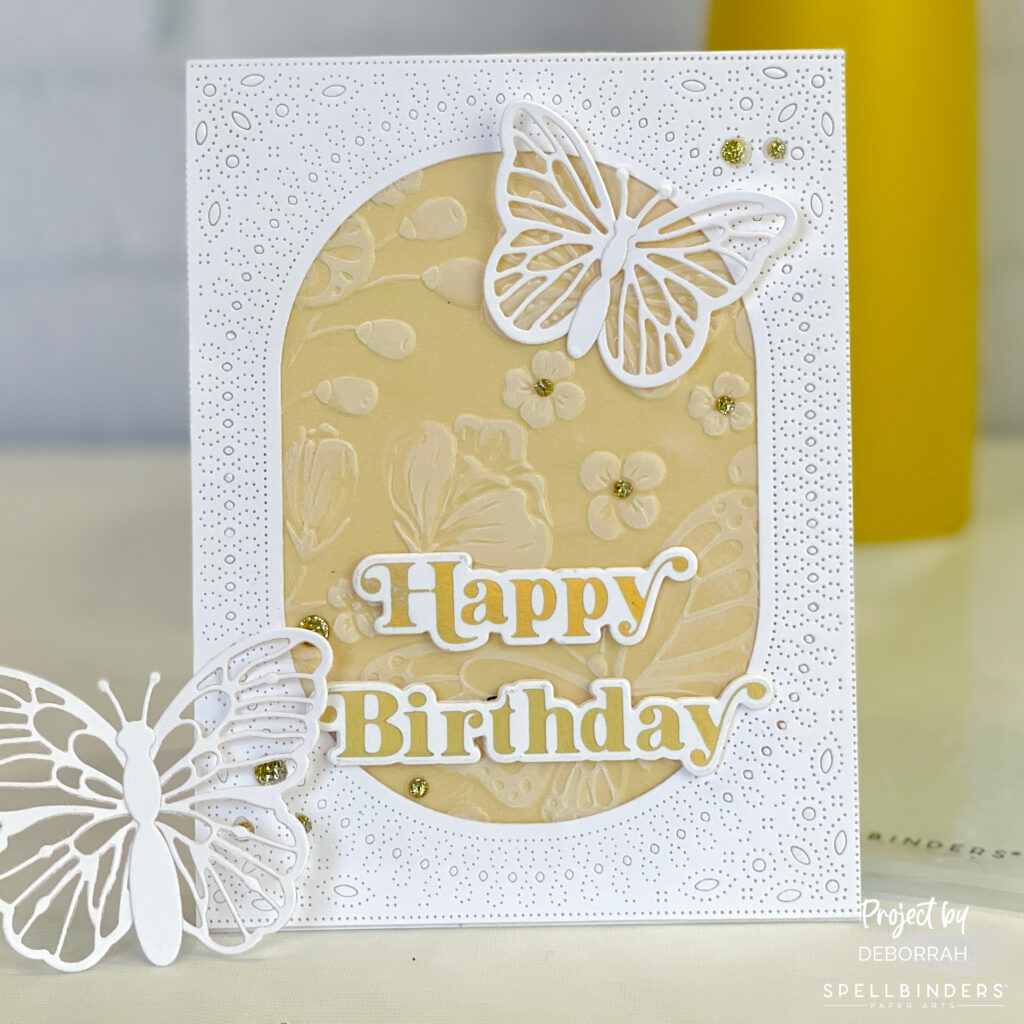
For my last card, I embossed a piece of Tonic Pearled Gold Vellum with the Spellbinders Beautiful Butterflies 3D Embossing Folder. Then using white pigment ink, I gently ran the pad over the raised embossed surface of the vellum until I liked the coverage. I allowed the vellum to dry overnight.
I used the gorgeous Spellbinders Infinity Punch & Pierce Plate Etched Dies and cut a panel from white cardstock. Gently, I removed the center two pieces being careful to keep all the little die cuts in the surrounding panel. I trimmed down the vellum to fit behind the large oval opening and adhered to the back. Then, using a double-sided adhesive sheet, I adhered the entire panel to another piece of white cardstock. The resulting texture is absolutely delicious!
I finished my card with some butterflies from Spellbinders Delicate Butterflies Etched Dies and some glitter gems.
I hope this encourages you to take your own adventure with Spellbinders Stylish Ovals release! Have fun, and happy crafting!!
 Spring Online Card Camp 2022
 Alcohol Markers & Vellum – One Cool Technique
 Painting with Shimmer
 Super Easy Heat Embossing Technique
