Hey everyone! Welcome to my blog!
Today, I want to show you a super fun and inky technique using alcohol markers and vellum cardstock. This technique creates a beautiful, mottled panel that can be used as a background or focal point.
I got the idea for this technique from a class I took at the Altenew Academy. Magical Marker Techniques, taught by Sara Naumann, explored different ways of using alcohol markers from coloring on foil to watercolor. But the idea that immediately captured my interest was her work with vellum. While Sara used her vellum for coloring, her choice of material got me thinking about the different ways in which vellum could be used and led me to the creation of these cards.
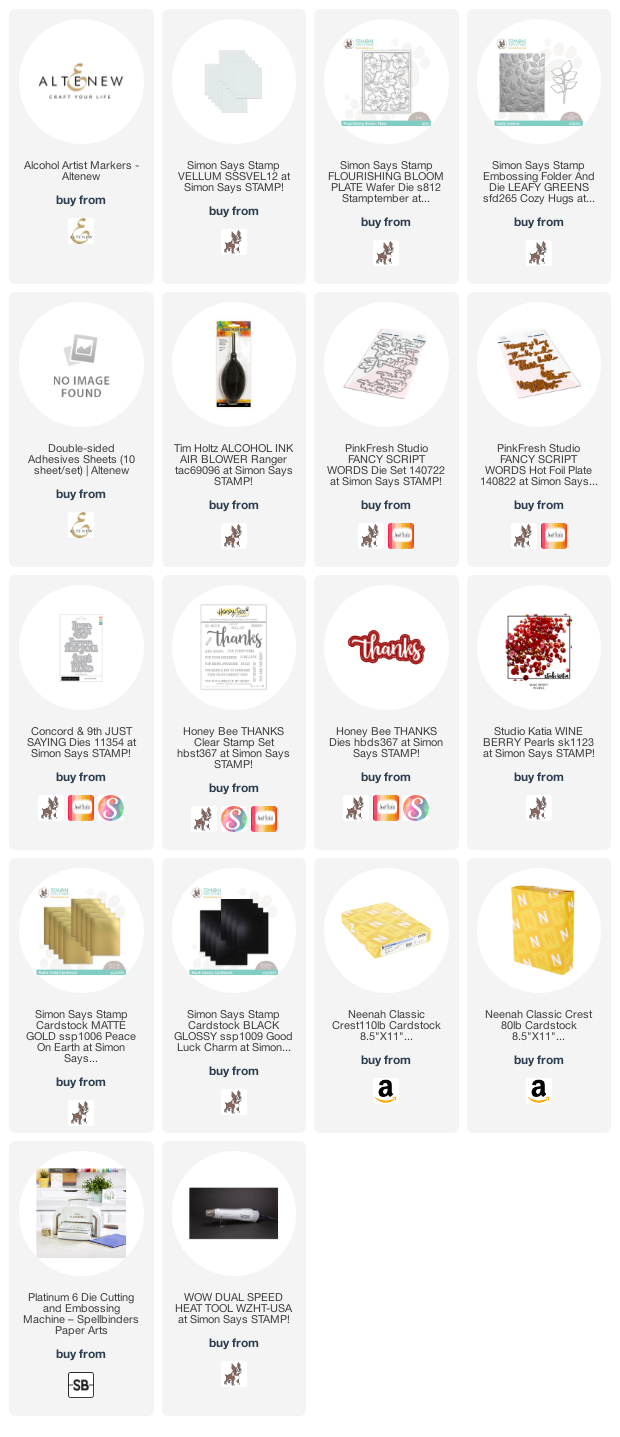
Featured Products For All Cards
Altenew Double Sided Adhesive Sheets
Altenew Alcohol Artists Markers
Simon Says Stamp Vellum
Tim Holtz Alcohol Ink Air Blower
Simon Says Stamp Flourishing Bloom Plate Wafer Die
Simon Says Stamp Leafy Greens Embossing Folder & Die Set
Simon Says Stamp Matte Gold Cardstock
Simon Says Stamp Glossy Black Cardstock
Concord & 9th Just Saying Die Set
PinkFresh Studio Fancy Script Words Hot Foil Plate
PinkFresh Studio Fancy Script Words Dieset
For this technique you will need a piece of vellum cardstock cut to 4 & ¼ by 5 & ½”; alcohol markers (I used Altenew Alcohol Artists Markers); some alcohol in a spray bottle; and a Tim Holtz Alcohol Ink Air Blower.
To watch the complete process, check out my video on YouTube.
Begin by scribbling blocks of color onto the vellum cardstock. I chose to scribble in horizontal blocks, but you can scribble vertically, diagonally – whatever direction you want. Remember to choose colors next to each other on the color wheel – otherwise, you’ll get a lovely muddy brown color.
When you’re done scribbling, spray the vellum with alcohol. Use as much or as little as you want. I got really inky and tilted the vellum from side to side to let the colors blend. Then, I used the Tim Holtz alcohol ink air blower to create some blotches on the vellum.
I discovered that the longer I left the alcohol wet on the vellum, the more the color tended to dissipate. That’s fine if you’re going for a softer look, but I wanted deep, vibrant color – so, I carefully dried the vellum a bit with my heat tool and I ended up with much deeper color. Even though I used my heat tool, I set aside the panel to completely dry for about an hour.
One of the challenges when using vellum on cards is how to adhere it to the cardstock without the glue or tape showing through. I found that using double-sided adhesive sheets solves this problem, and Altenew Double Sided Adhesive Sheets are the perfect thing! I cut a piece of the double-sided adhesive sheet a little bigger than my vellum panel, then laid the vellum down on the sheet a little at a time. I used a plastic edged scraper to make sure the vellum was adhered smoothly.
I created several different vellum panels using this technique. Now, it’s time to make the cards!
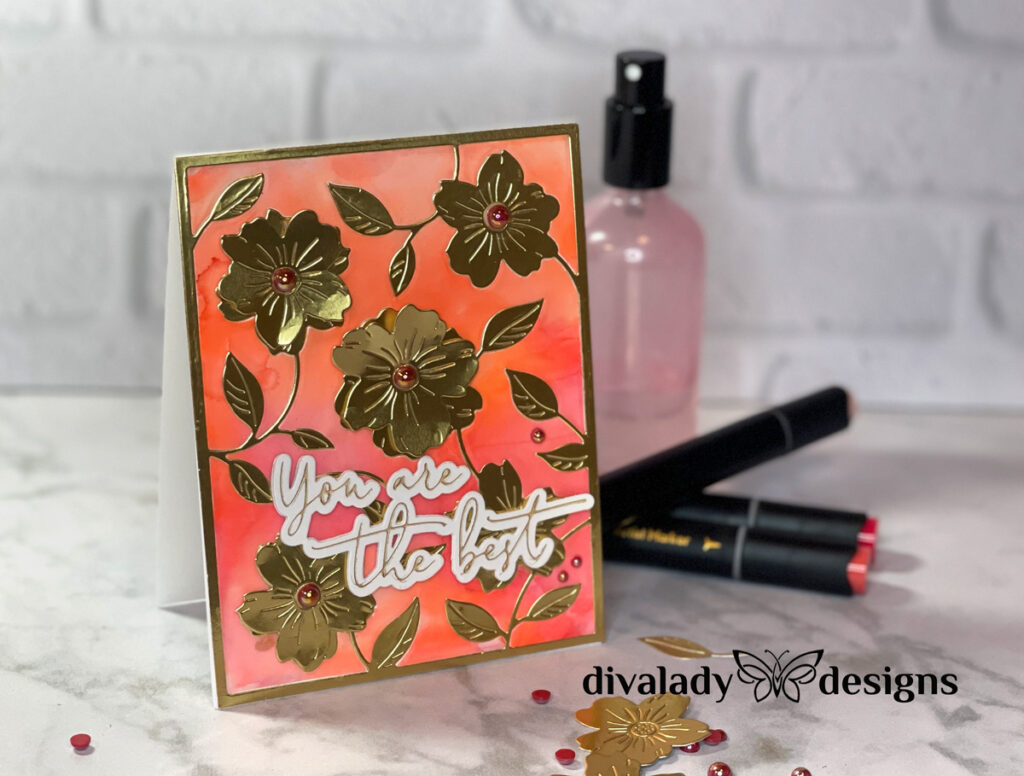
For my first card, I used the new Simon Says Stamp Flourishing Blooms Cover Plate. It’s from their new Stamptember release. I love the winding flowers and leaves in this plate. I’ll use it to die cut both my vellum panel and a panel of Simon Says Stamp Matte Gold cardstock.
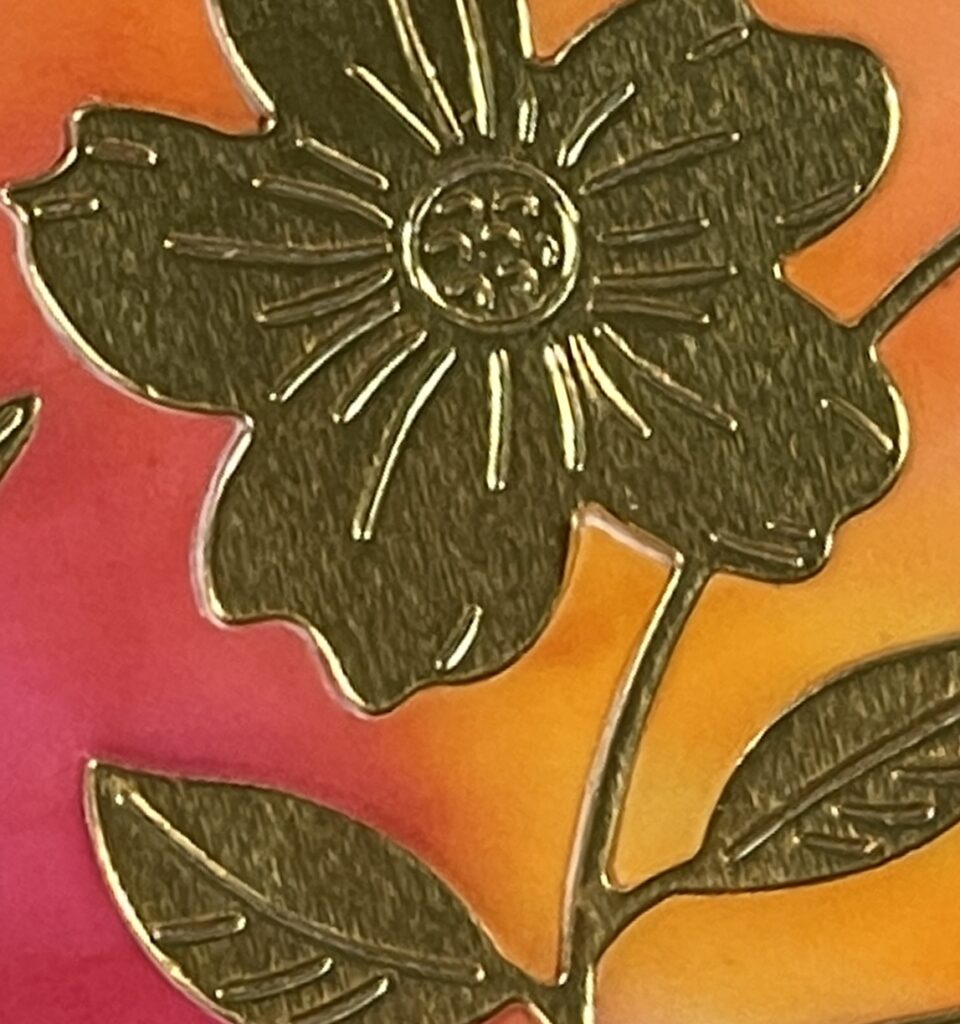
I want to use my vellum panel as a background, and use the gold cardstock for the flowers and leaves. But the flower and leaf part of the die is very delicate and doesn’t lay perfectly by itself. So, I’m going to use the gold cardstock as pattern for the inlay.
For a walkthrough of this technique, see my video.
After cutting the gold cardstock, I begin applying glue to the flowers and leaves of the die leaving the background portion free of glue. Then, I’ll place a piece of white cardstock on top and press it together securely. Now, when I gently begin to peel away the unglued background, the flowers and leaves stay on the cardstock and leave me a perfect pattern in which to adhere the vellum die cut.
Now, remove the adhesive back of the vellum bit by bit and lay it down on the white sections of the cardstock. This adhesive sheet doesn’t permanently adhere immediately. So, if you lay the vellum down incorrectly, you can carefully lift it to reposition. Continue working down the die cut until the background is in place.
To finish my card, I cut another panel of gold cardstock with the die, then cut out the flowers and leaves. For my sentiment, I used the PinkFresh Studio Fancy Script Words Hot Foil Plate. The gold foil was perfect to pick up the gold of the flowers. I finished it off with some red pearls rom Studio Katia and then adhered the panel to a white 4 & ¼ by 5 & ½” card base.
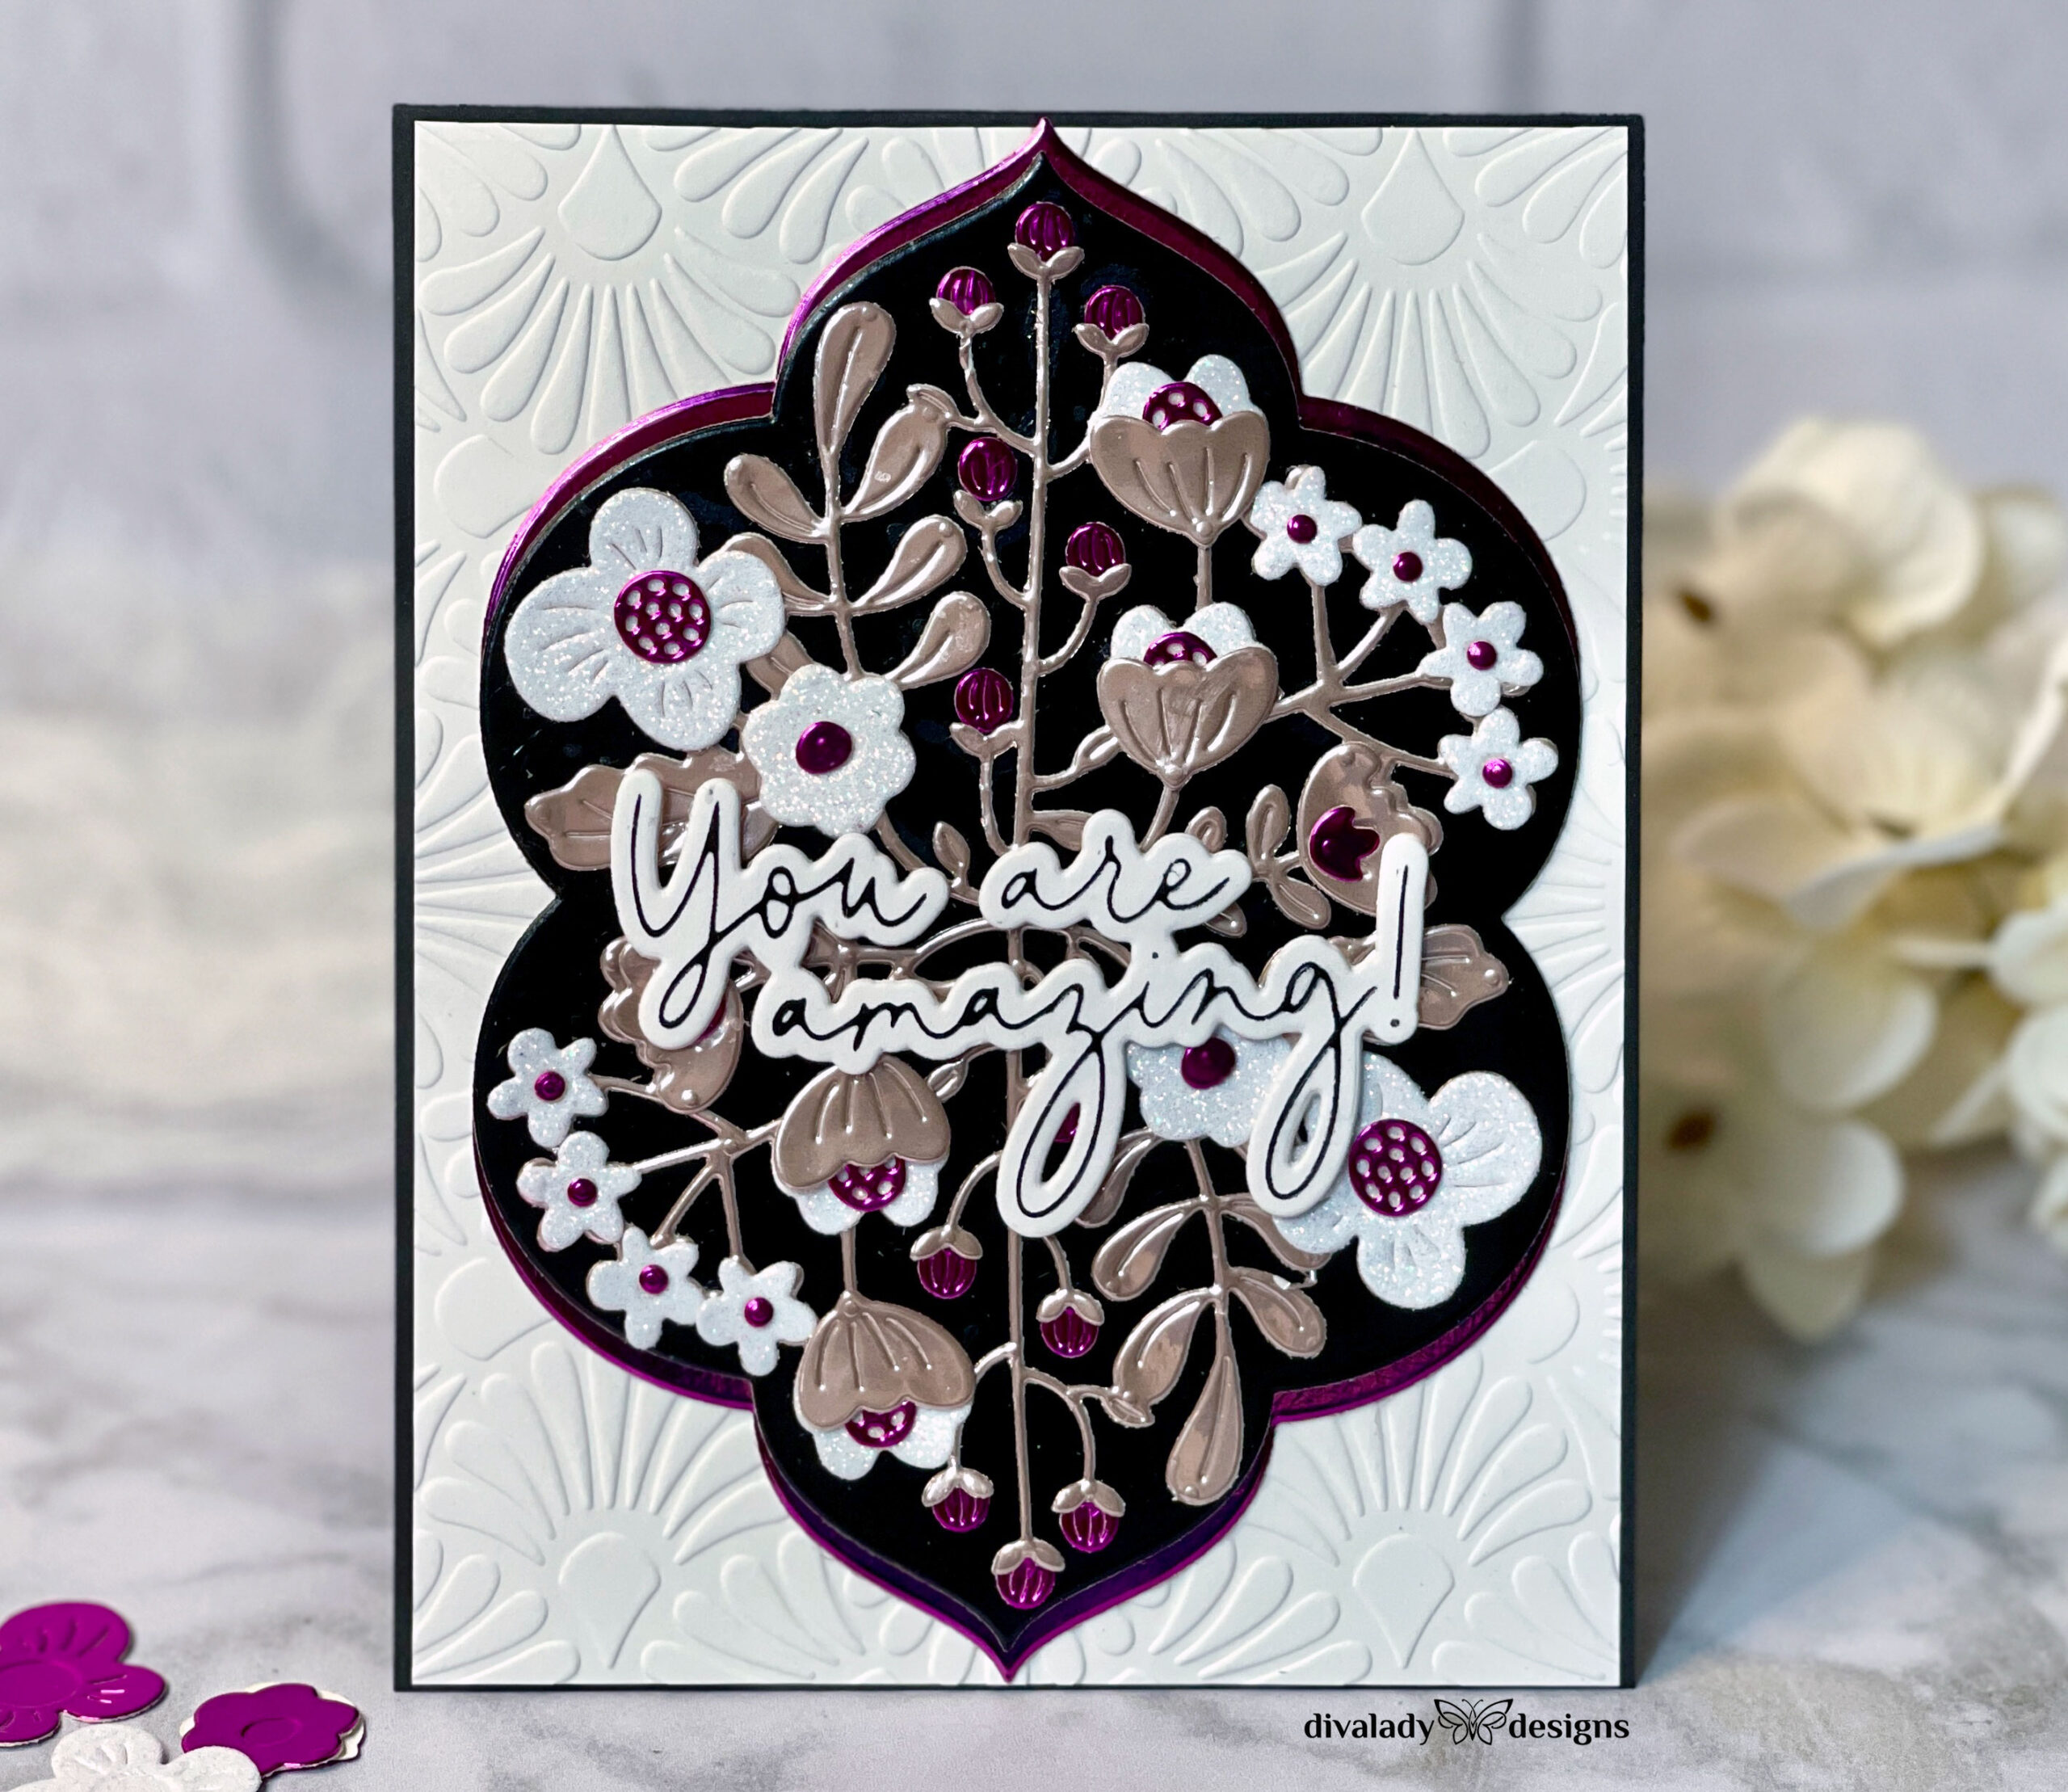
Remember the die cut left over from the first card? Let’s use it to make a totally different card!
Since the vellum is light and airy, and the flowers and leaves are so delicate, I’m going to cut another panel from Simon Says Stamp Black Glossy cardstock to create a background on which I can inlay the vellum die cut. Again, don’t separate the layers of the die after cutting. Instead, apply glue to the background portion of the die cut and adhere it to a piece of white cardstock. Then, gently remove the flower and leaf portion of the black die cut. This will leave a perfect pattern in which to place our vellum.
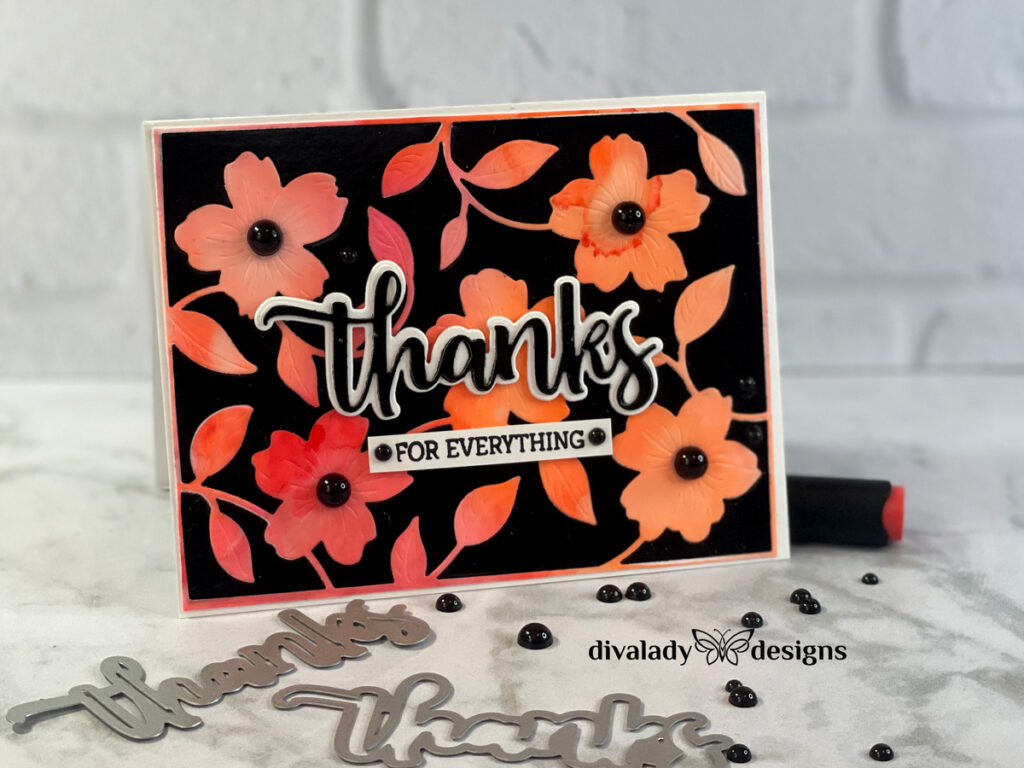
Look at that beautiful background! Again, the contrast between the vellum and the background is fabulous, but totally different.
For my sentiment, I decided to use the Thanks Stamp and Die set from Honey Bee Stamps. I finished it off with some black enamel dots from Taylored Expressions.
Amazing how you can achieve two such totally different looks from the same panel and die plate.
But wait! I had made several vellum panels and I decided to make a third card but this time, I used an embossing folder!
I used the Simon Says Stamp Leafy Greens embossing folder. This was a freebie embossing folder over the Labor Day weekend. Now, it’s available in their store as part of their newest release. Don’t let it get away!! And, always check your favorite crafting sites over a holiday! They often run wonderful sales and many times offer gifts with purchase, as was the case at Simon Says Stamp.
I adhered my vellum panel to a piece of Altenew Double Sided Adhesive Sheets, and then placed it in the embossing folder which I ran through my die cut machine. The result is just stunning! Look at that gorgeous embossed image!

To adhere the vellum panel, I placed a panel of white cardstock cut to 4 &1/4 by 5 & ½” into the corner of my score tool. This gave me a corner to use to place the vellum onto the cardstock.
For my card, I cut a plain piece of vellum cardstock to 1 & ¾” by 5 & ½” and placed it across the middle of the vellum panel. Then, from my sentiment stash, I pulled this sentiment that I had prepared a few months ago. This is from Concord & 9th Just Saying die cut set. I used the leaves that I had cut for the previous card and tucked them behind the sentiment. I glued the vellum strip down under the spot where I knew I would be gluing the sentiment.
And there you have it! Three beautiful cards using alcohol markers and vellum.. I love the results you can get from this technique and I’m sure there are more that I haven’t even discovered.
Thanks so much for visiting my blog. I’ve linked all supplies used below. Happy crafting!!
 My Favorite Color Rule
 Creating Mood with Color
 Layers and Butterflies


Ooh vellum and alcohol markers are always SO fun!! I love these cards!! Thank you so much for submitting your wonderful work to the AECP assignment gallery.