Hey everyone! Thanks so much for checking out my blog today.
Today, I want to show you a really cool technique that you can use to create a stunning background which can be turned into many different cards. I love taking supplies I have in my craft room and using them in different techniques. This technique uses a white pigment ink pad to add depth and dimension to a die cut background. From this background, I’ll make three different cards!
(Supplies used in today’s post are linked to sources. I may use compensated affiliate links at no cost to you. For more information about affiliate links, see my disclosure page. Thank you for using these links and helping me bring you more designs and ideas!)

Featured Products
Simon Says Stamp Tattered Leaves Wafer Die
Simon Says Stamp Cardstock MATTE GOLD
Studio Katia Hibiscus Pearls
Spellbinders Dancin’ Deer Etched Dies
Spellbinders Yana’s Christmas Sentiments Glimmer Hot Foil Plate & Die Set
Spellbinders Holiday Blooms Etched Dies
Spellbinders Glitter Wishes Hot Foil Plate and Dies Set
Spellbinders Scarlet Smooth Discs Color Essentials Sequins
Spellbinders Glimmer Hot Foil Roll Green
Hero Arts Unicorn White Pigment Ink
The Technique
You can find the entire technique on this video on my YouTube Channel.
For this background, I’m using the Simon Says Stamp Tattered Leaves Wafer Die. I purchased this a few months ago, but never got around to using it. I love the versatile shape of the leaves on this die. I die cut nine leaves out of dark green cardstock and I’ll layer three of them together to create one thick leaf. I need the thickness for this particular technique.
When you have three thick leaves, begin to position them on a cardstock panel of the same color as your leaves, cut to 4-1/4 x 5-1/2”. You can play around with the positioning, moving your leaves as desired. Cut off the edges of any leaves that are hanging off, but save them. You’ll want them to finish your panel.
Now for some fun! I’m going to use some white pigment ink to create a wintery background. I’m using Hero Arts Unicorn White Pigment Ink because that’s what I have in my craft room, but I know there are other brands which are just as wonderful. Use whatever you have on hand.
Gently apply the white pigment ink over the tops of the leaves using a soft blending brush. You can add as much or as little pigment ink as you like. Let it dry and that’s it! Now you have a fabulous background that we can use to make three gorgeous cards.
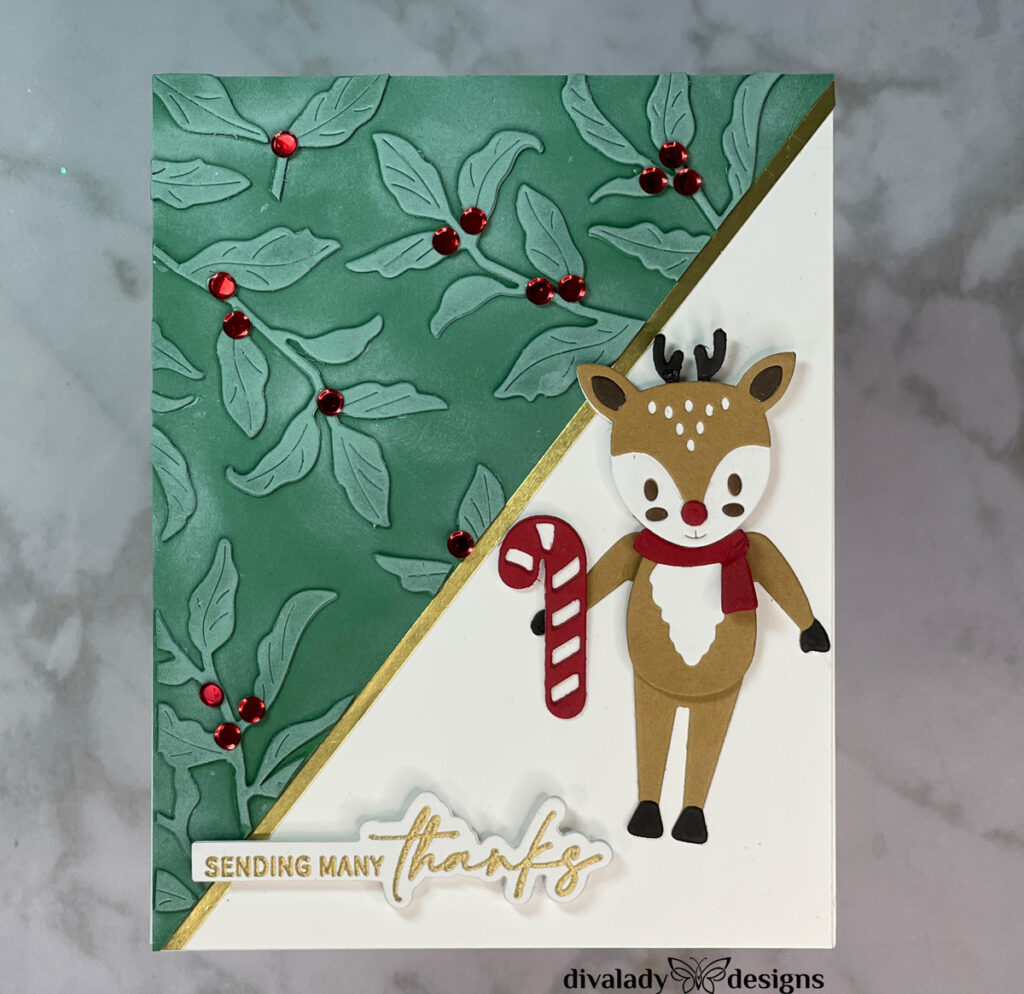
For my first card, I decided to use the Spellbinders Dancin’ Deer Etched Dies. I just recently discovered this collection and it’s brilliant! All you have to do is hang the legs by a foam dot behi body and voila – you have a dancing element. I show you how to create this in my video. For my card, I chose a white head/body with lighter brown arms and legs. It’s a lot of fun to create your character with different colors.
I cut my background in half diagonally, from corner to corner. I’ll use one piece for this card, and save the other one for my next card. I adhered the green piece to a white 4-1/4 x 5-1/2″ white panel and glued a thin strip of Simon Says Stamp Matte Gold Cardstock along the diagonal edge. I chose a sentiment from my stash, then added berries to the leaves using Spellbinders Scarlet Smooth Discs Color Essentials Sequins. I love these sequins! They come in red, green, silver and gold, and I’ll be getting all of them before the season is over. I love the solid look and shine.
After adhering my deer, I glued the entire panel to the front of a 4-1/4 x 5-1/2” white card base. I love how the deer dances!!
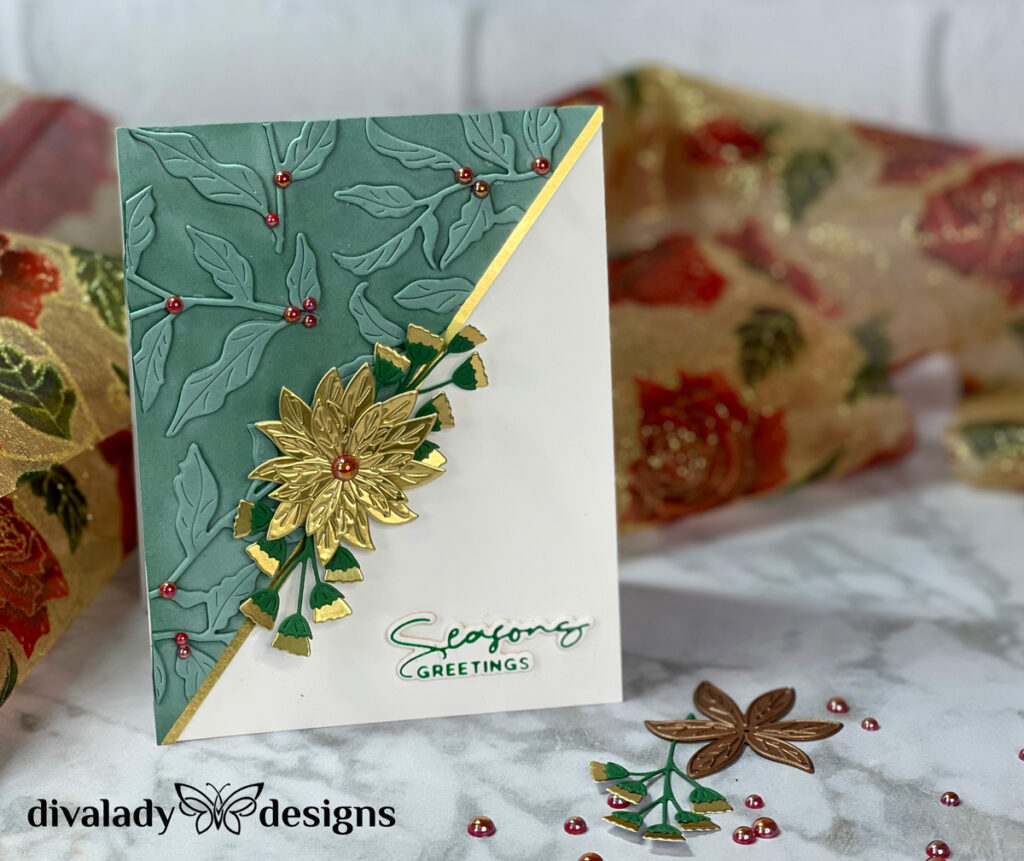
I took the other half of my background panel and created this card. I used the same design, but achieved a totally different look by using Spellbinders Holiday Blooms Etched Dies.
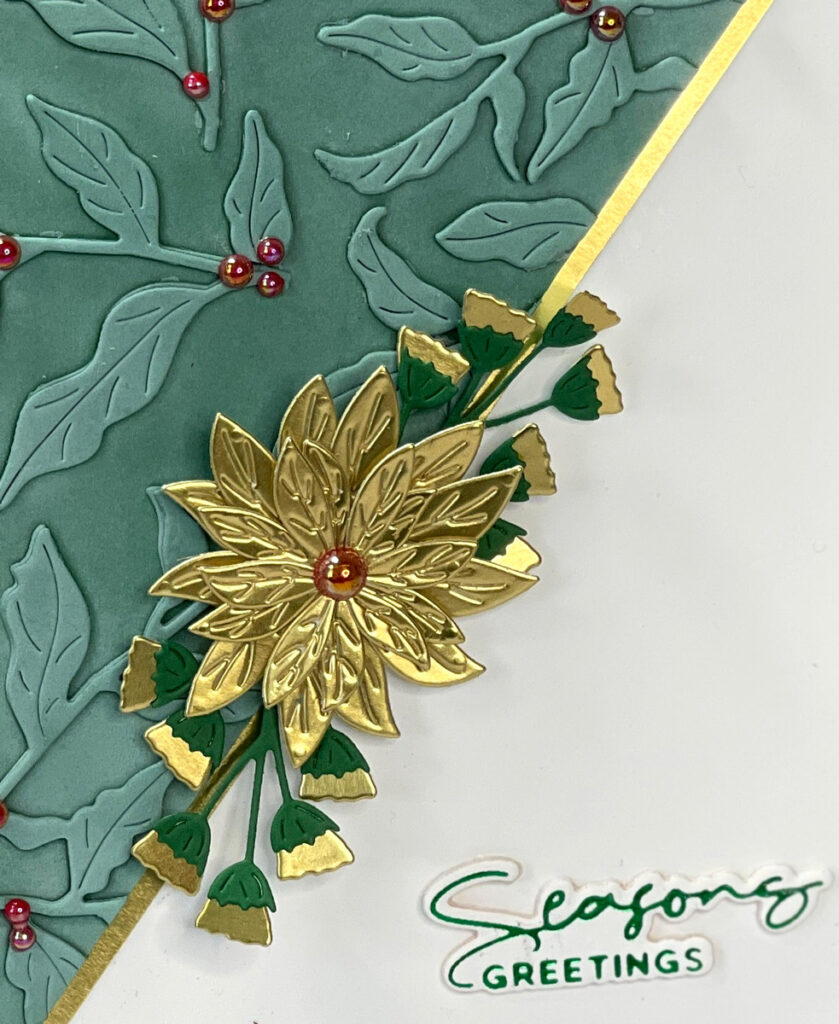
It’s just like the Be Bold Blooms set, but for the holidays! I’ll be using this one a lot over the next few months. Look how gorgeous the die cuts are.
I cut the flowers from Simon Says Stamp Matte Gold Cardstock and the branches from the same green cardstock as my leaves. The sentiment is from one of my favorite holiday sentiment sets, Spellbinders Yana’s Christmas Sentiments Glimmer Hot Foil Plate & Die Set. The font is fabulous! I used Spellbinders Glimmer Hot Foil Roll Green to foil and it’s perfect!
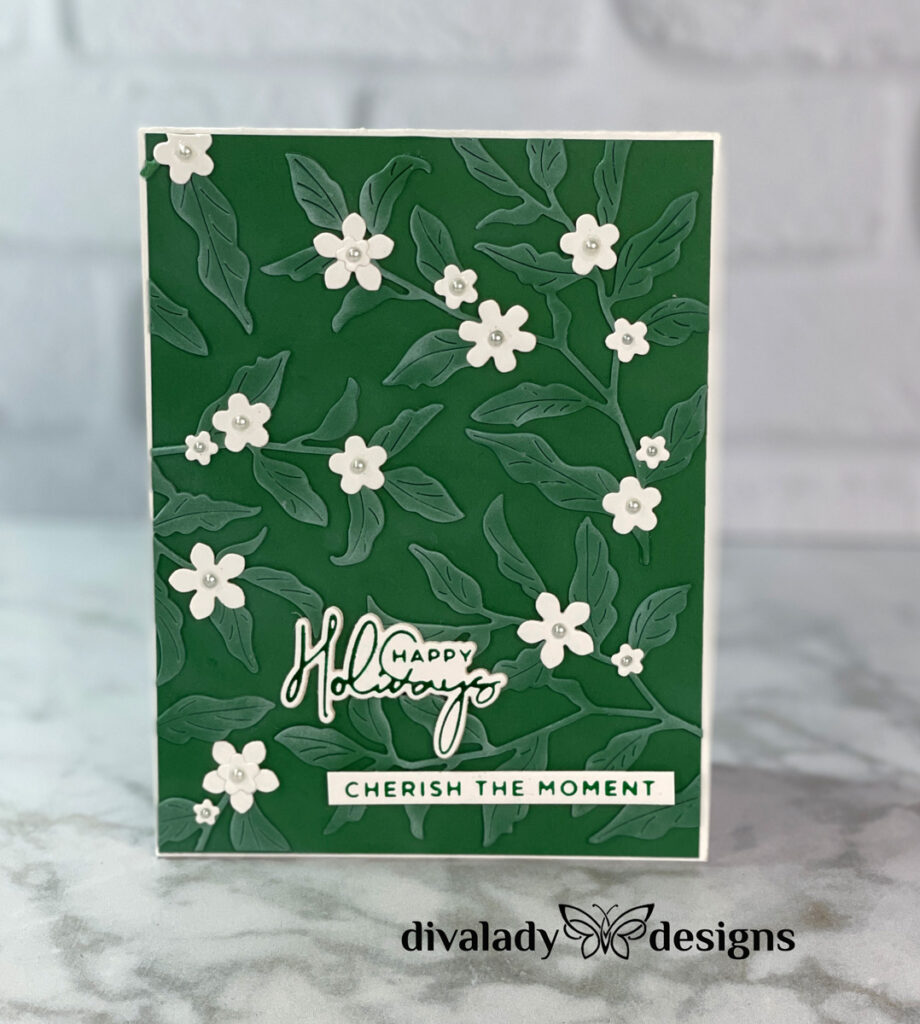
For my last card, I created another background and simply added little white flowers to the leaves. Believe it or not, I used some flowers from the Spellbinders Universal Curved Border Set which was the Large Die Of The Month for April, 2021. I love looking for fun dies in older sets. You never know what you’ll find.
My sentiment is again from Spellbinders Yana’s Christmas Sentiments Glimmer Hot Foil Plate & Die Set. I added another strip from Spellbinders Glitter Wishes Hot Foil Plate and Dies Set. I thought the two sentiments went together beautifully.
And there you are! Three totally different cards from one background technique! I hope you are inspired to create your own background and experiment with some fun ideas.
Thanks so much for reading today. All products used are linked below and I really appreciate when you click on them. Happy crafting!

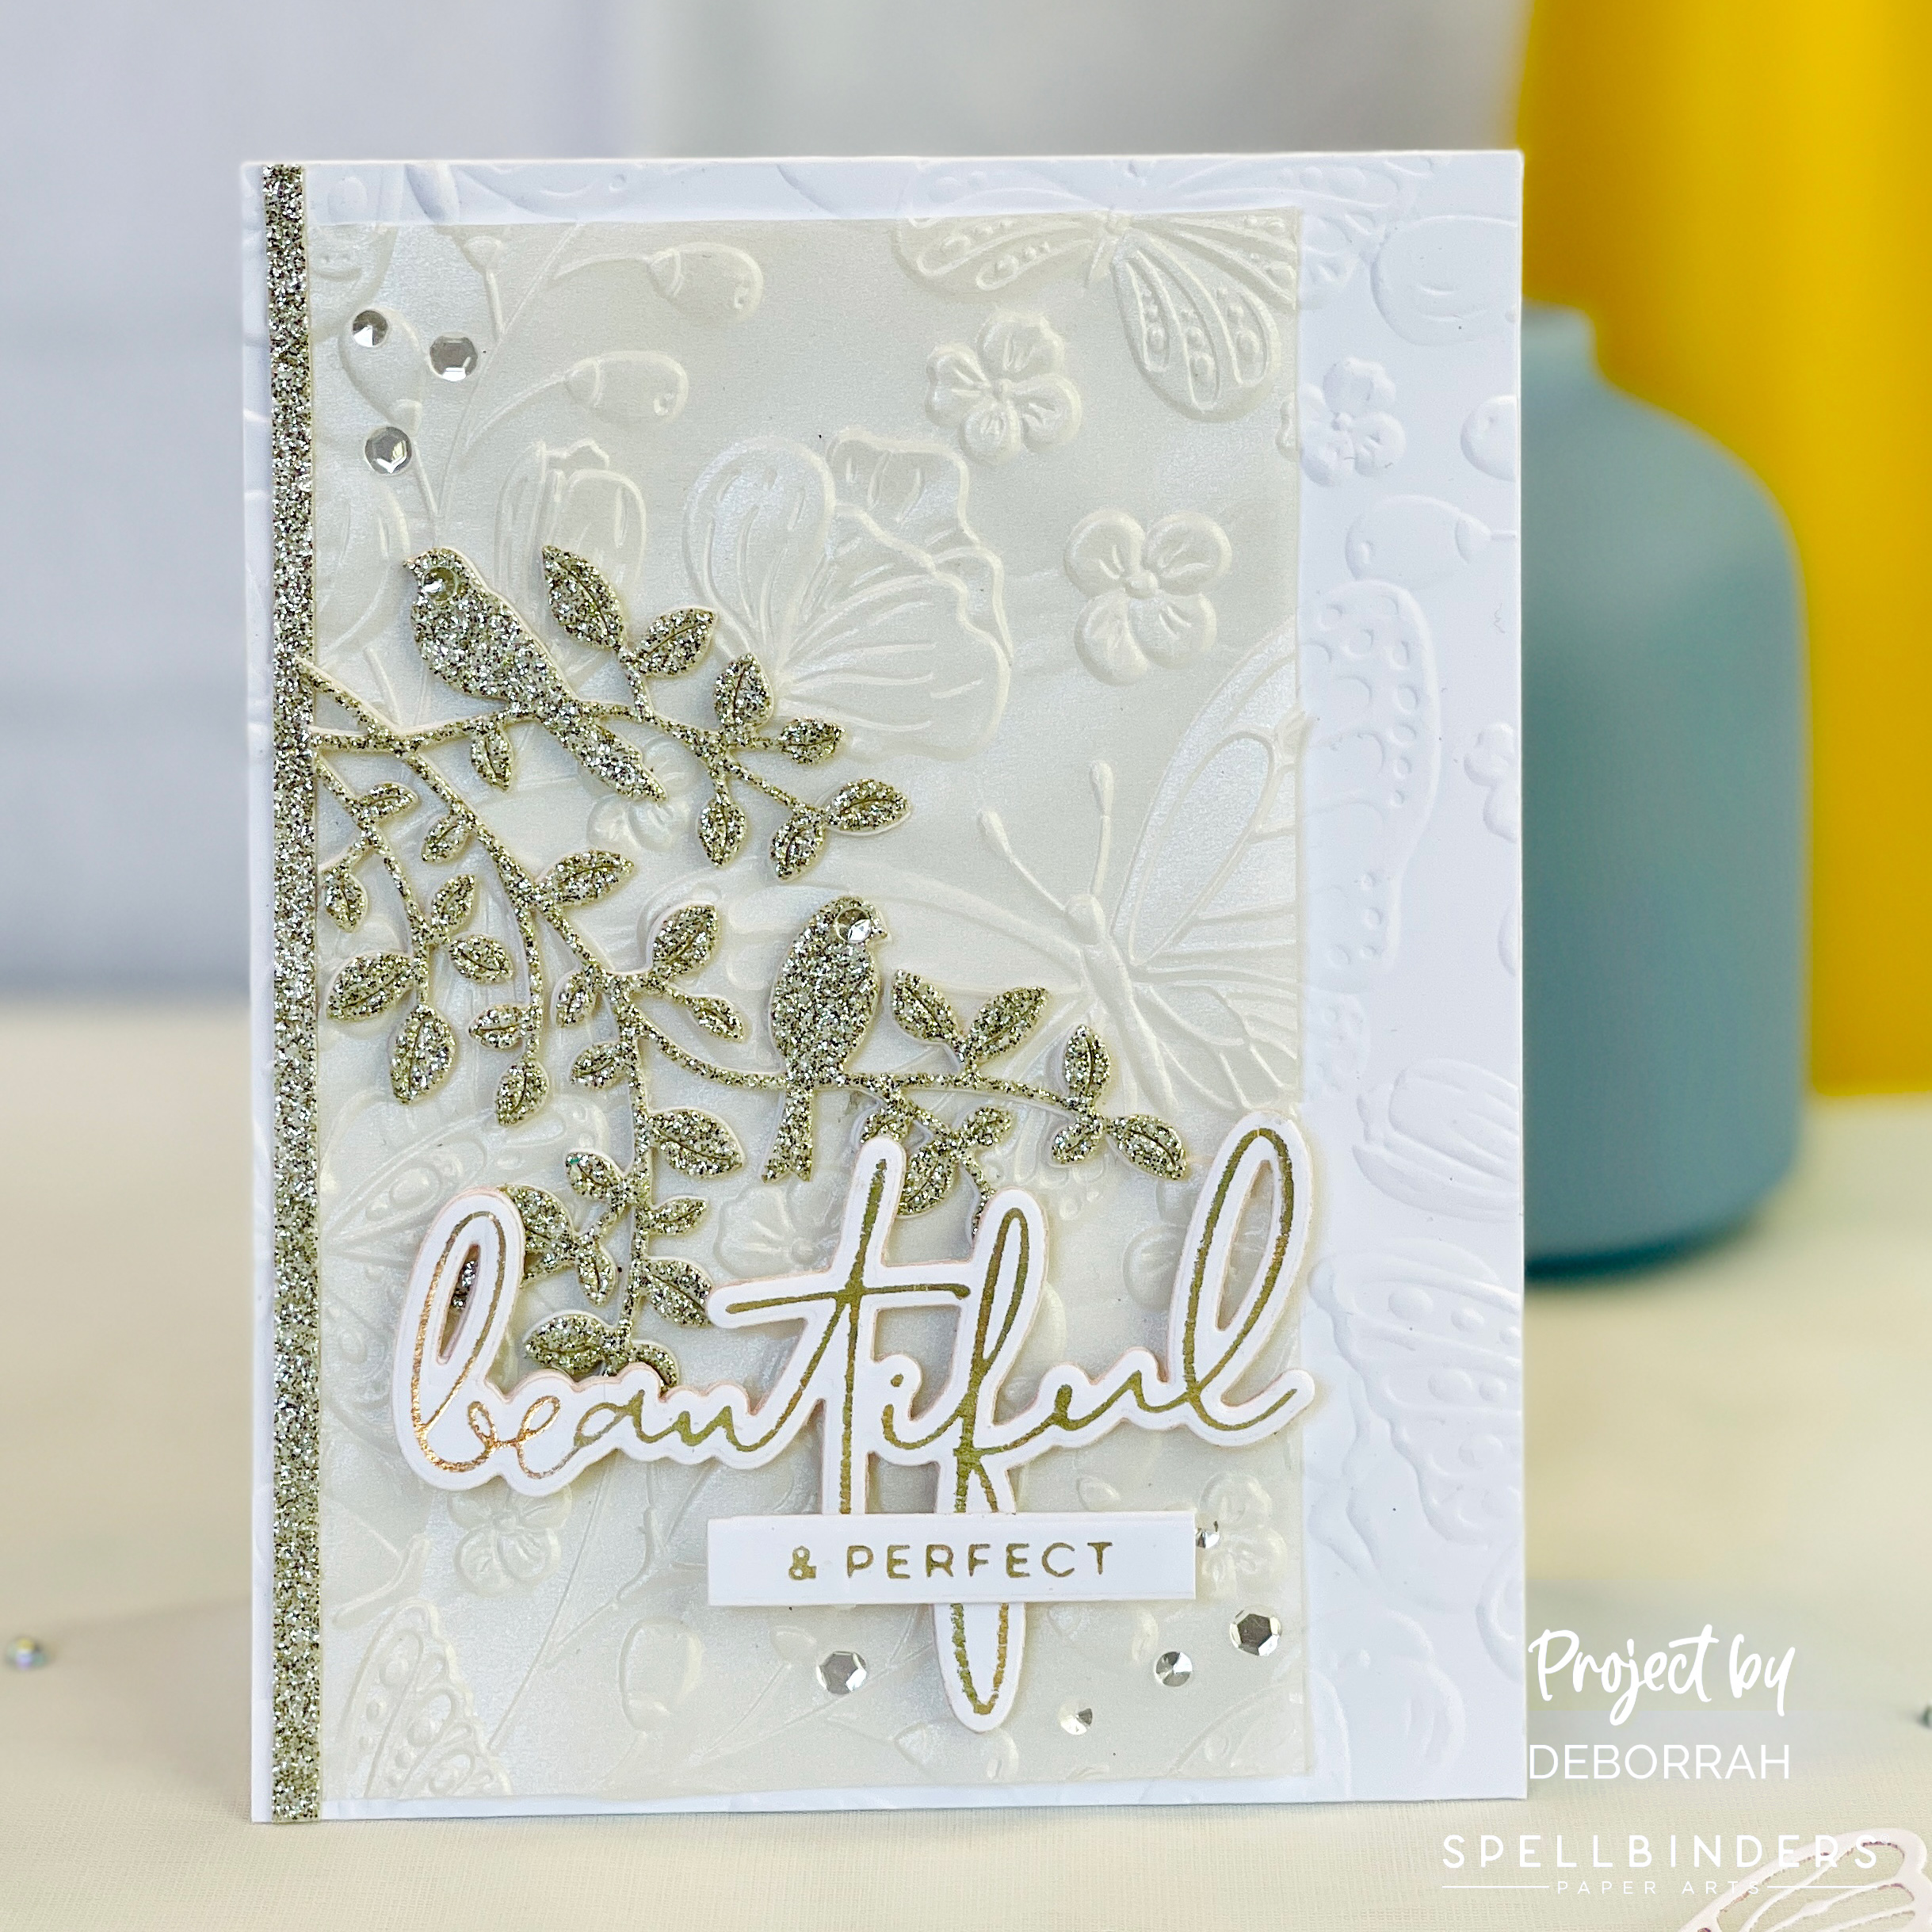 Embossing with Vellum – A Spellbinders Adventure
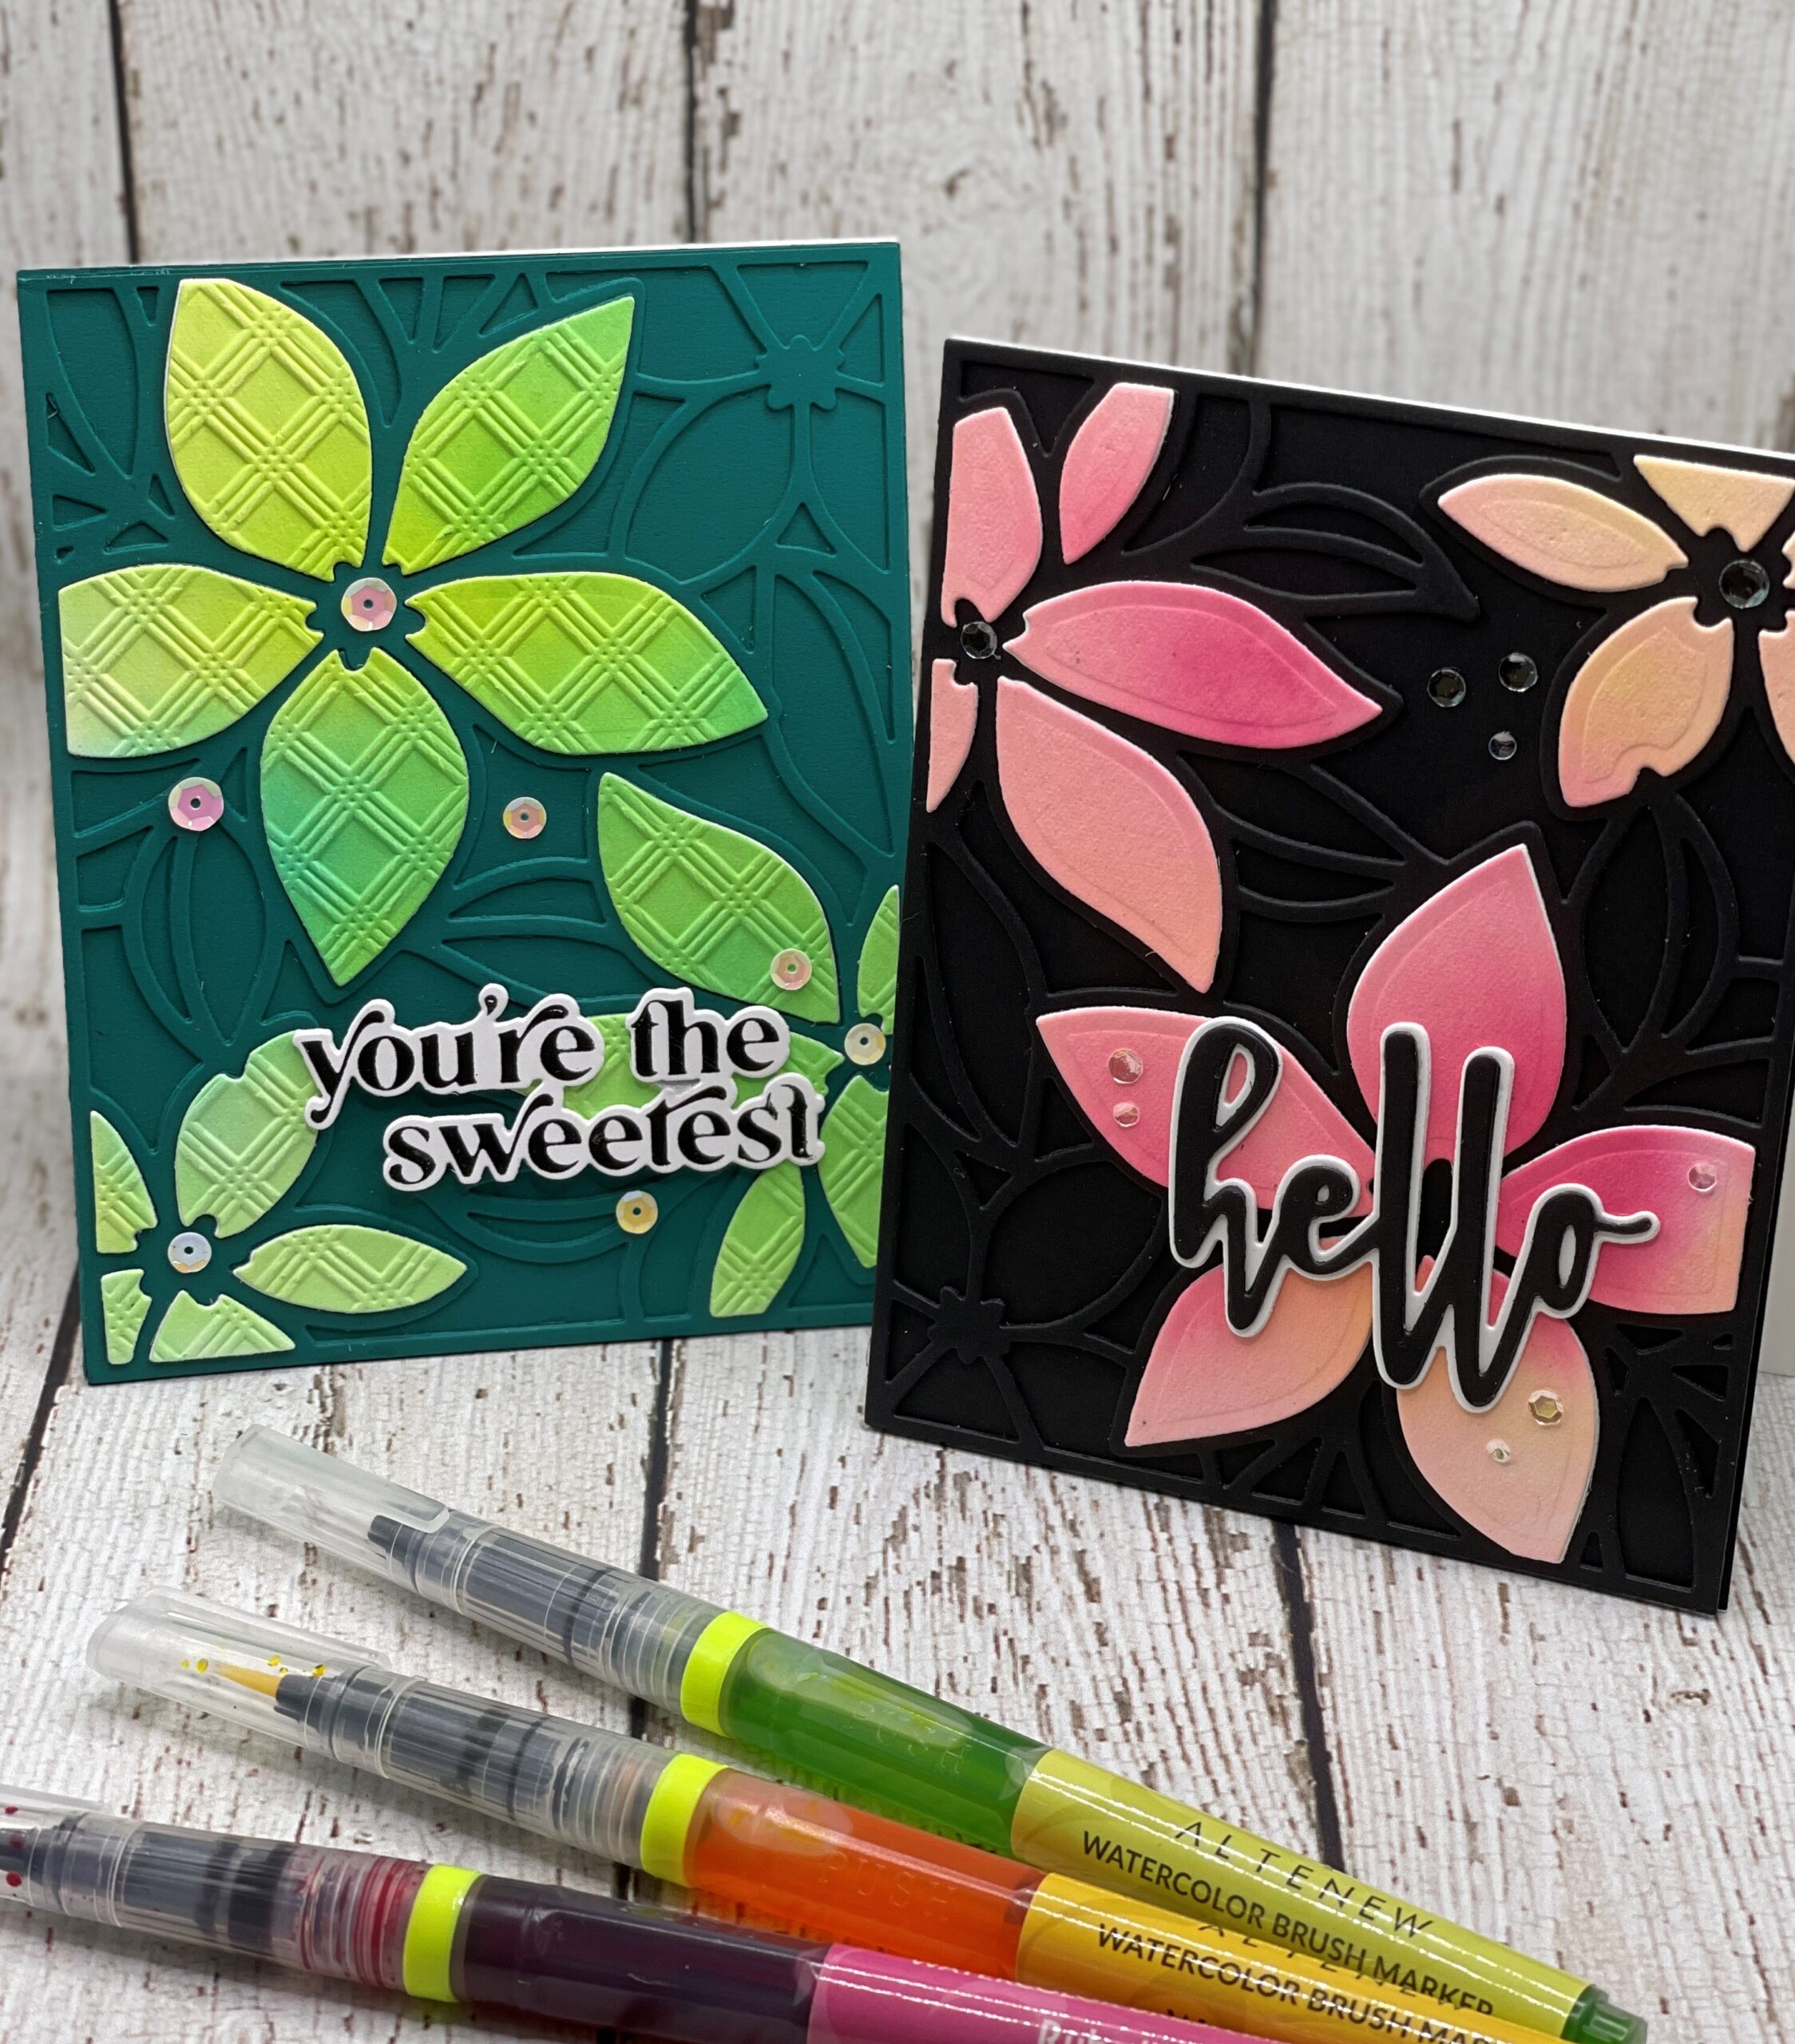 Easy Die Cutting Techniques
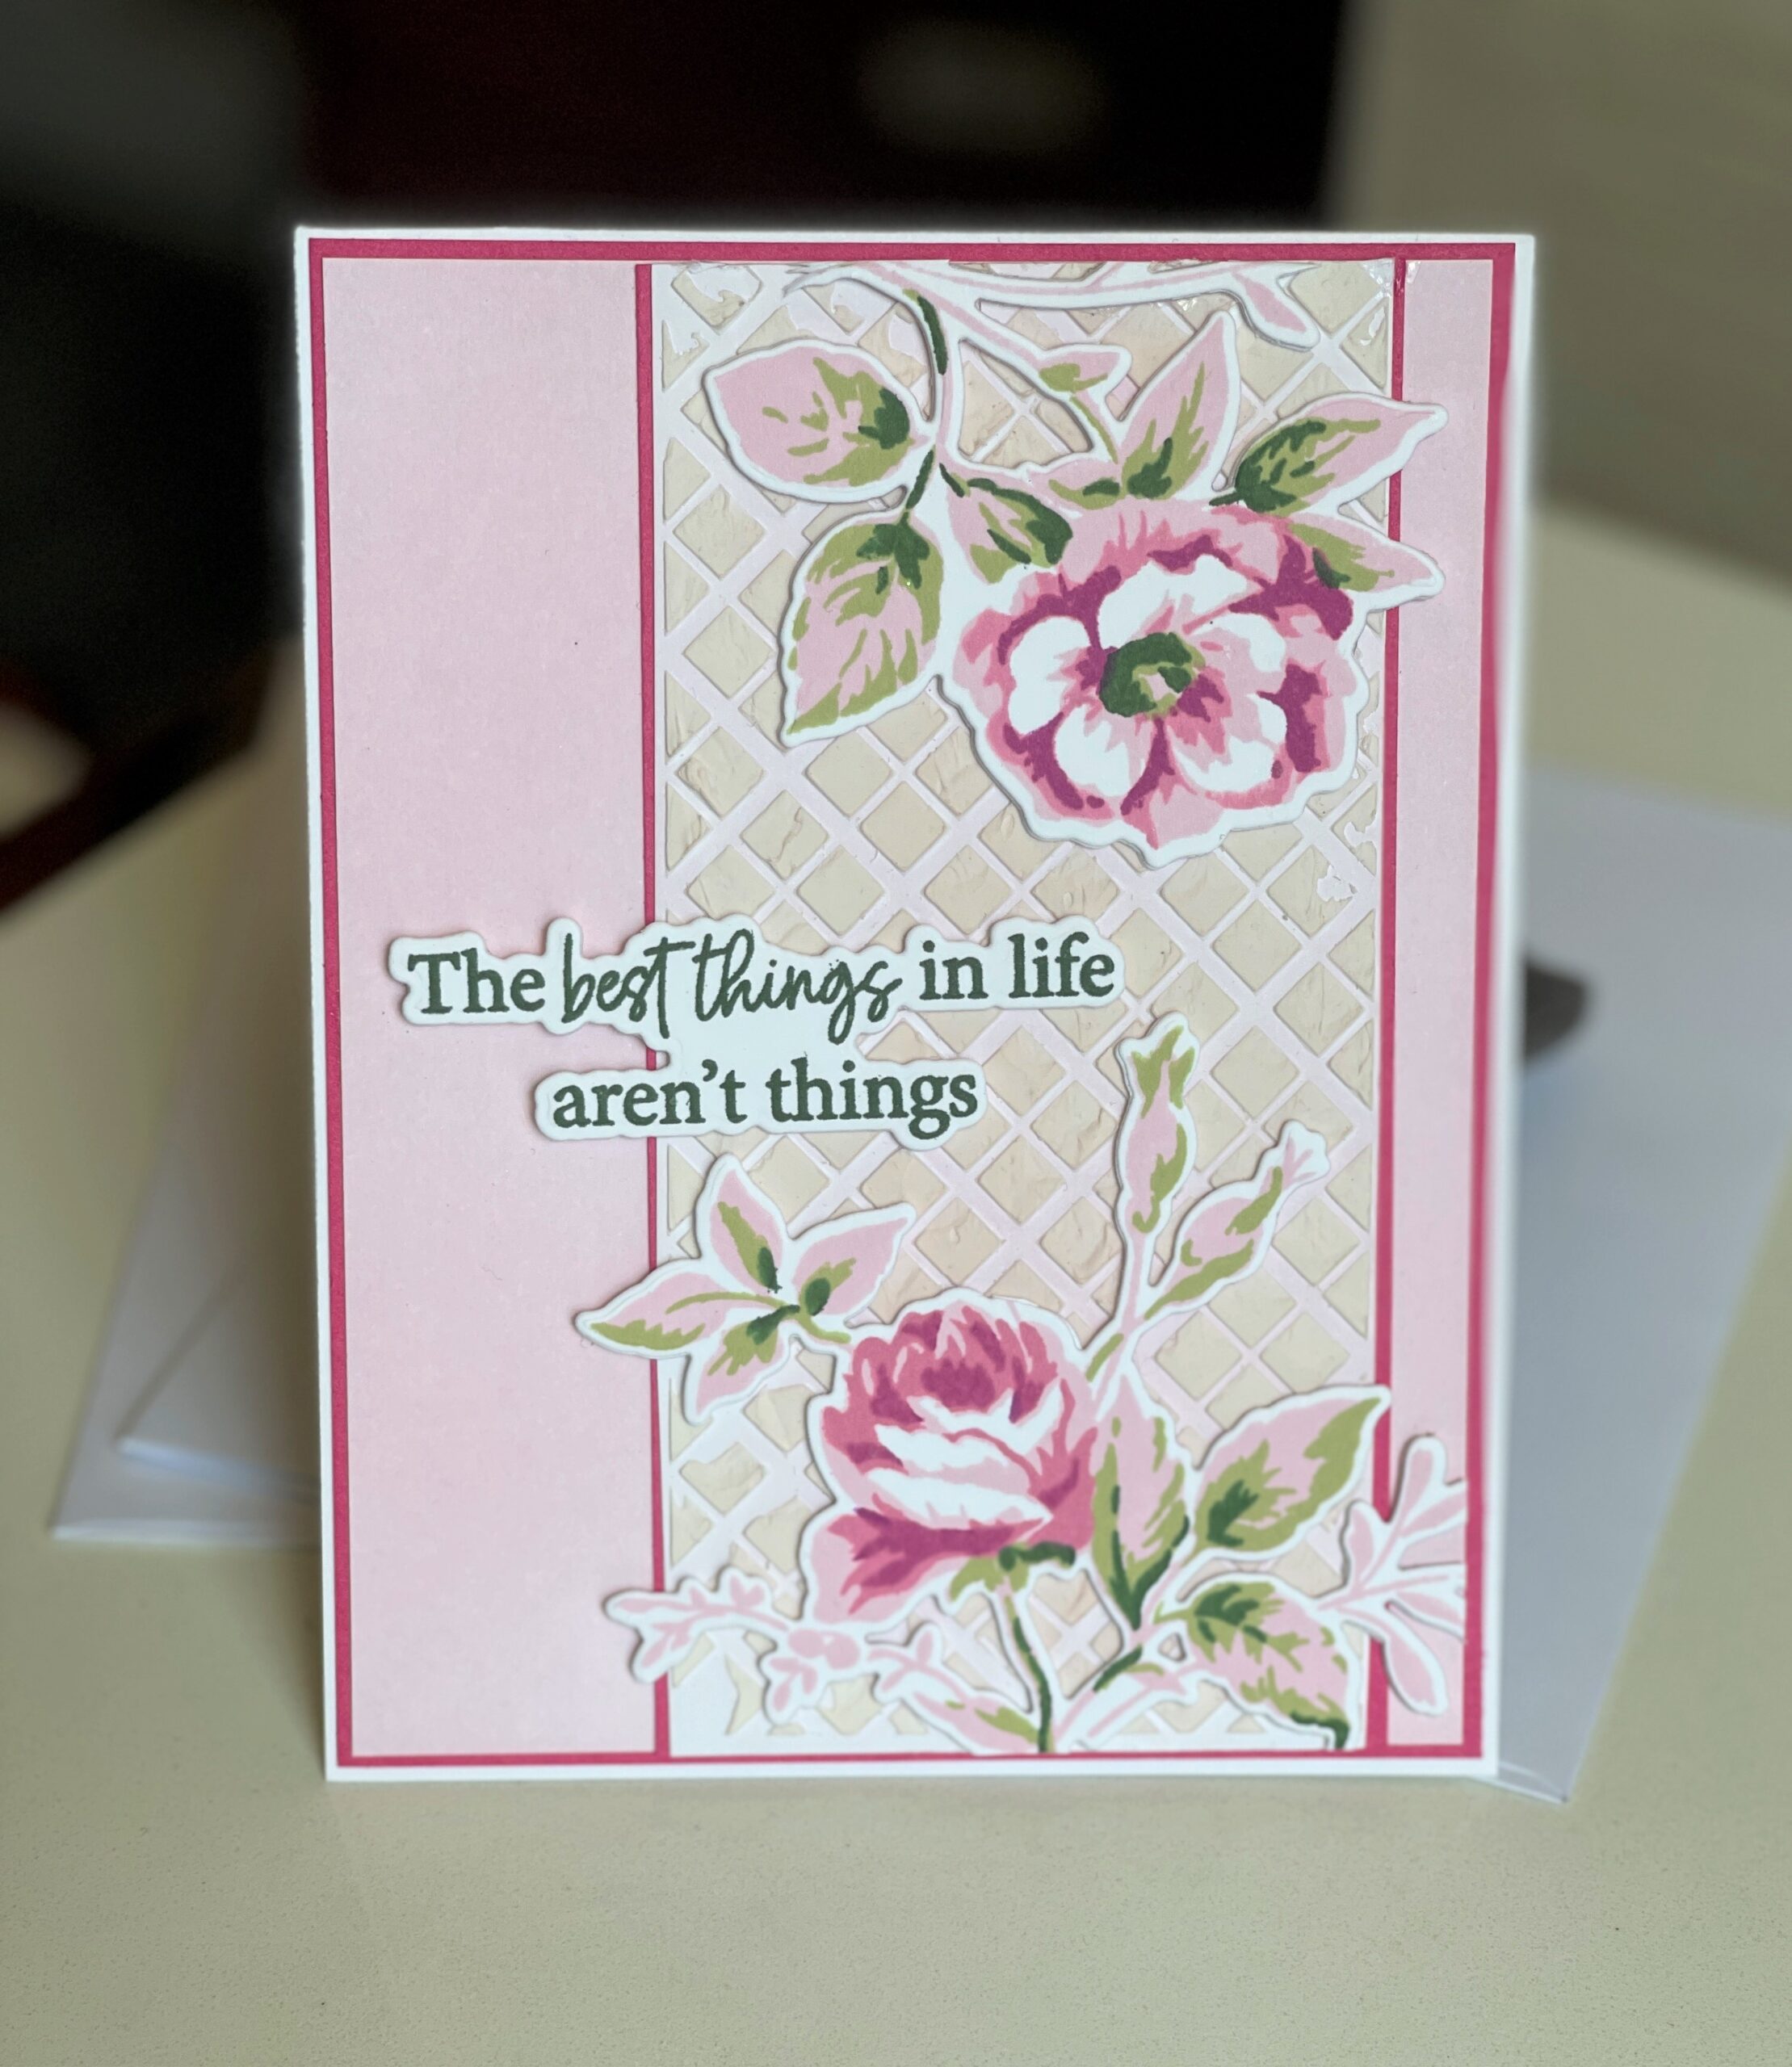 All About Layering 4: The Best Things In Life Aren’t Things
 Alcohol Markers & Vellum – One Cool Technique

