Hey everyone – thanks so much for joining me on my blog today.
Today, I’m exploring the idea of color and mood. I recently took a course at Altenew Academy entitled In The Mood For Color taught by Stephanie Klauck. In this course, she explored color and the moods that each color could inspire. It got me to thinking: what if I could take one color and invoke three different feelings through three different cards?
And thus this post. I created three different cards, each using the color purple, and each using the same layering die set. I changed the papers that I used to invoke a different mood for each card and I must say I was pleasantly surprised with the results.
Now, purple has many meanings, including wisdom, royalty, ambition, magic and wealth, just to name a few. It has long been associated with royalty and was worn by Roman magistrates, rulers of the Byzantine Empire and the Holy Roman Empire.
Purple is a combination of red and blue, and adding more less of each color changes it from a warm color to a cool color. I used this to my advantage in my cards.
For all my cards, I used the upcoming Craft-A-Flower Layering Die Set Epiphyllum from Altenew. It comes with 13 dies and makes two flowers, with dies for leaves and stamens. One of the things I love about Altenew is their layering guide. It shows you exactly what to cut and how to layer them properly. I created flowers from this set using three different papers: vellum, regular cardstock and mirrored or metallic cardstock.
You can find a walkthrough of all three cards in this YouTube Video.
Using Vellum
For my first card, I cut some heat-resistant vellum into 5 ½ x 4 ¼ inch panels and used it to cut the larger flower from the set. I also cut a stamen. Vellum is slippery, so I taped down the dies to prevent them from slipping around in the machine.
To add color to the vellum, I used two shades of Altenew Crisp Dye Ink: Cosmic Berry and Ultraviolet for the flower petals, and Warm Sunshine for the stamen. Inking on vellum can be kind of tricky. I used simple blending brushes to apply the ink, but vellum does not absorb ink like regular cardstock. It’s slippery – so as I apply the ink, I can smear it, pounce on it, whatever, but it doesn’t dry right away. In order to set the ink, I used my heat tool to dry each layer. It’s kind of cool to watch the ink dry on the vellum and you’ll see that as it dries, the ink lightens giving a sheer color.
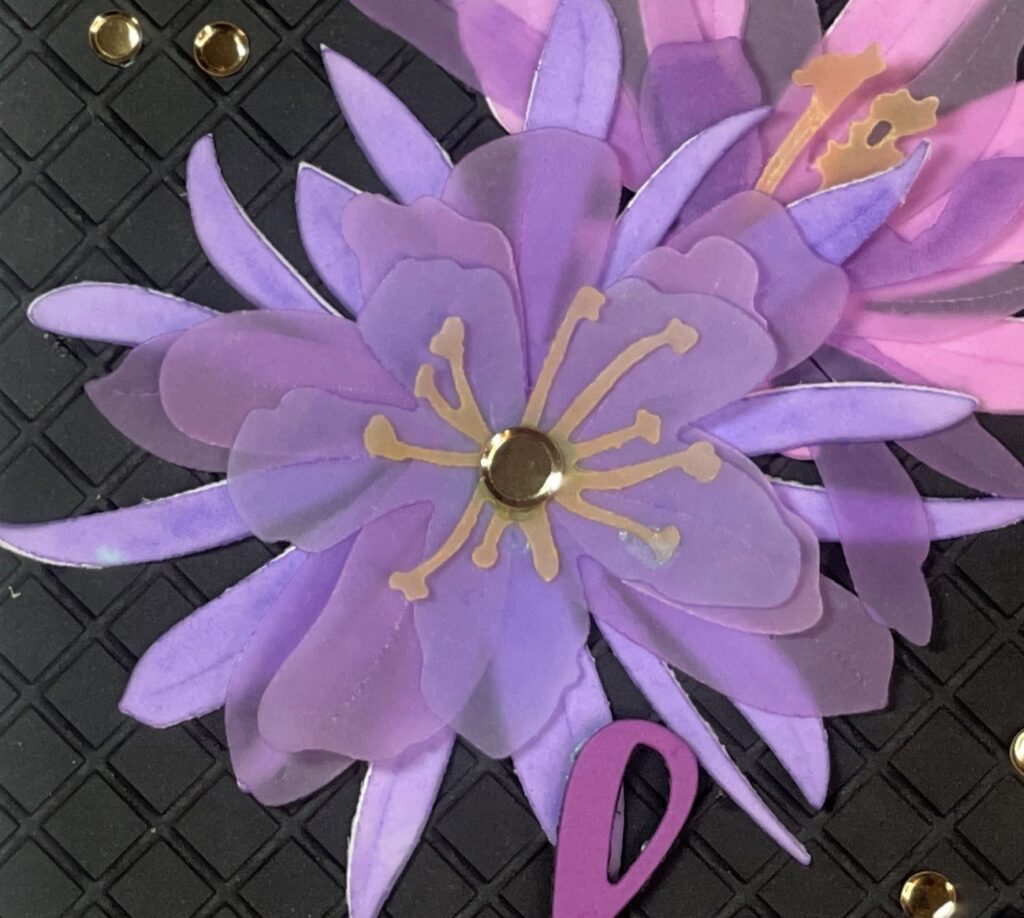
I dried all the layers of my flower, and then layered them one on top of the other. Each layer has a number and shape that is impressed on it when it’s cut, so it’s easy to put the flower together. Then I used some liquid glue to adhere them together, using the keyhole shape as a guide. It’s ok if the glue shows through. I’m going to cover up that part of the flower with a sequin later. The result is a gorgeous sheer flower which I think is perfect for a sympathy card.
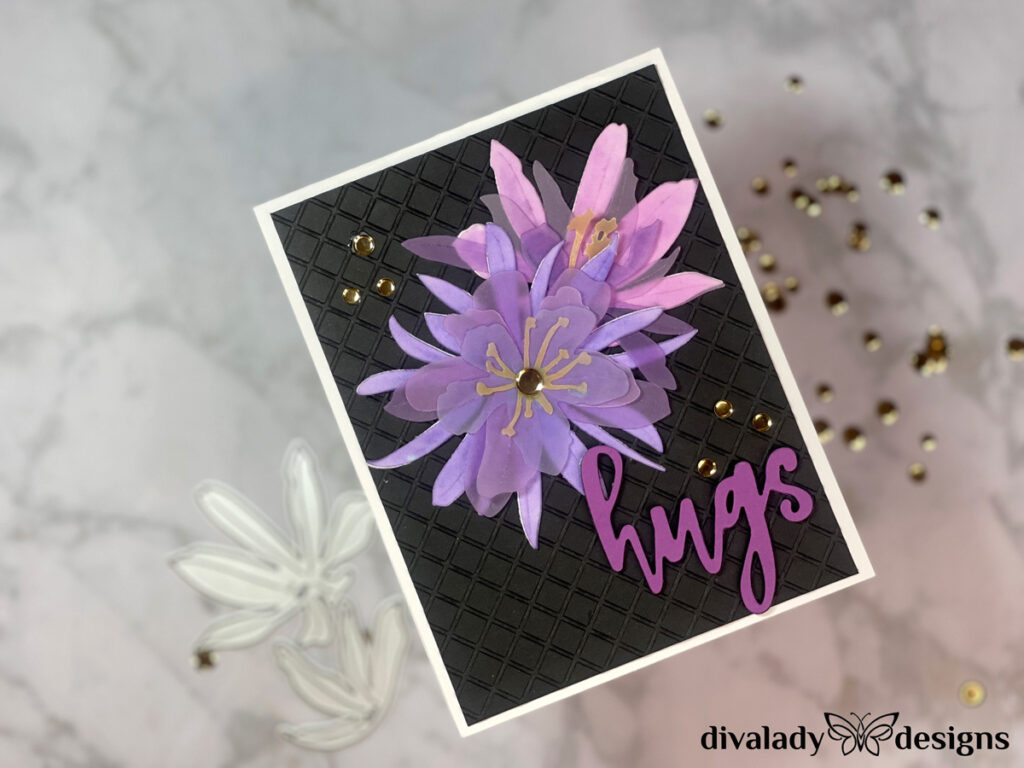
I created another flower from the CAF: Epiphyllum set and inked it as I did the other flower above. I then embossed a black panel cut to 4 x 5 ¼” using Gina K Designs Lattice Embossing Folder. I layered my two flowers, slipping the smaller flower slightly behind the larger one, and then adhered them to the black panel.
For my sentiment, I used the “Hugs” die from Altenew Hello and Hugs die set. I think this is my most favorite sentiment set from Altenew. I use it all the time. Then, I layered the black panel onto a top-folding, 4 ¼ x 5 ½” white card base. A few sequins in the center of the flowers and around the card, and it’s done!
I really loved the soft, introspective feel of this card. The soft purple contrasts with the black and has a soothing feel to it.
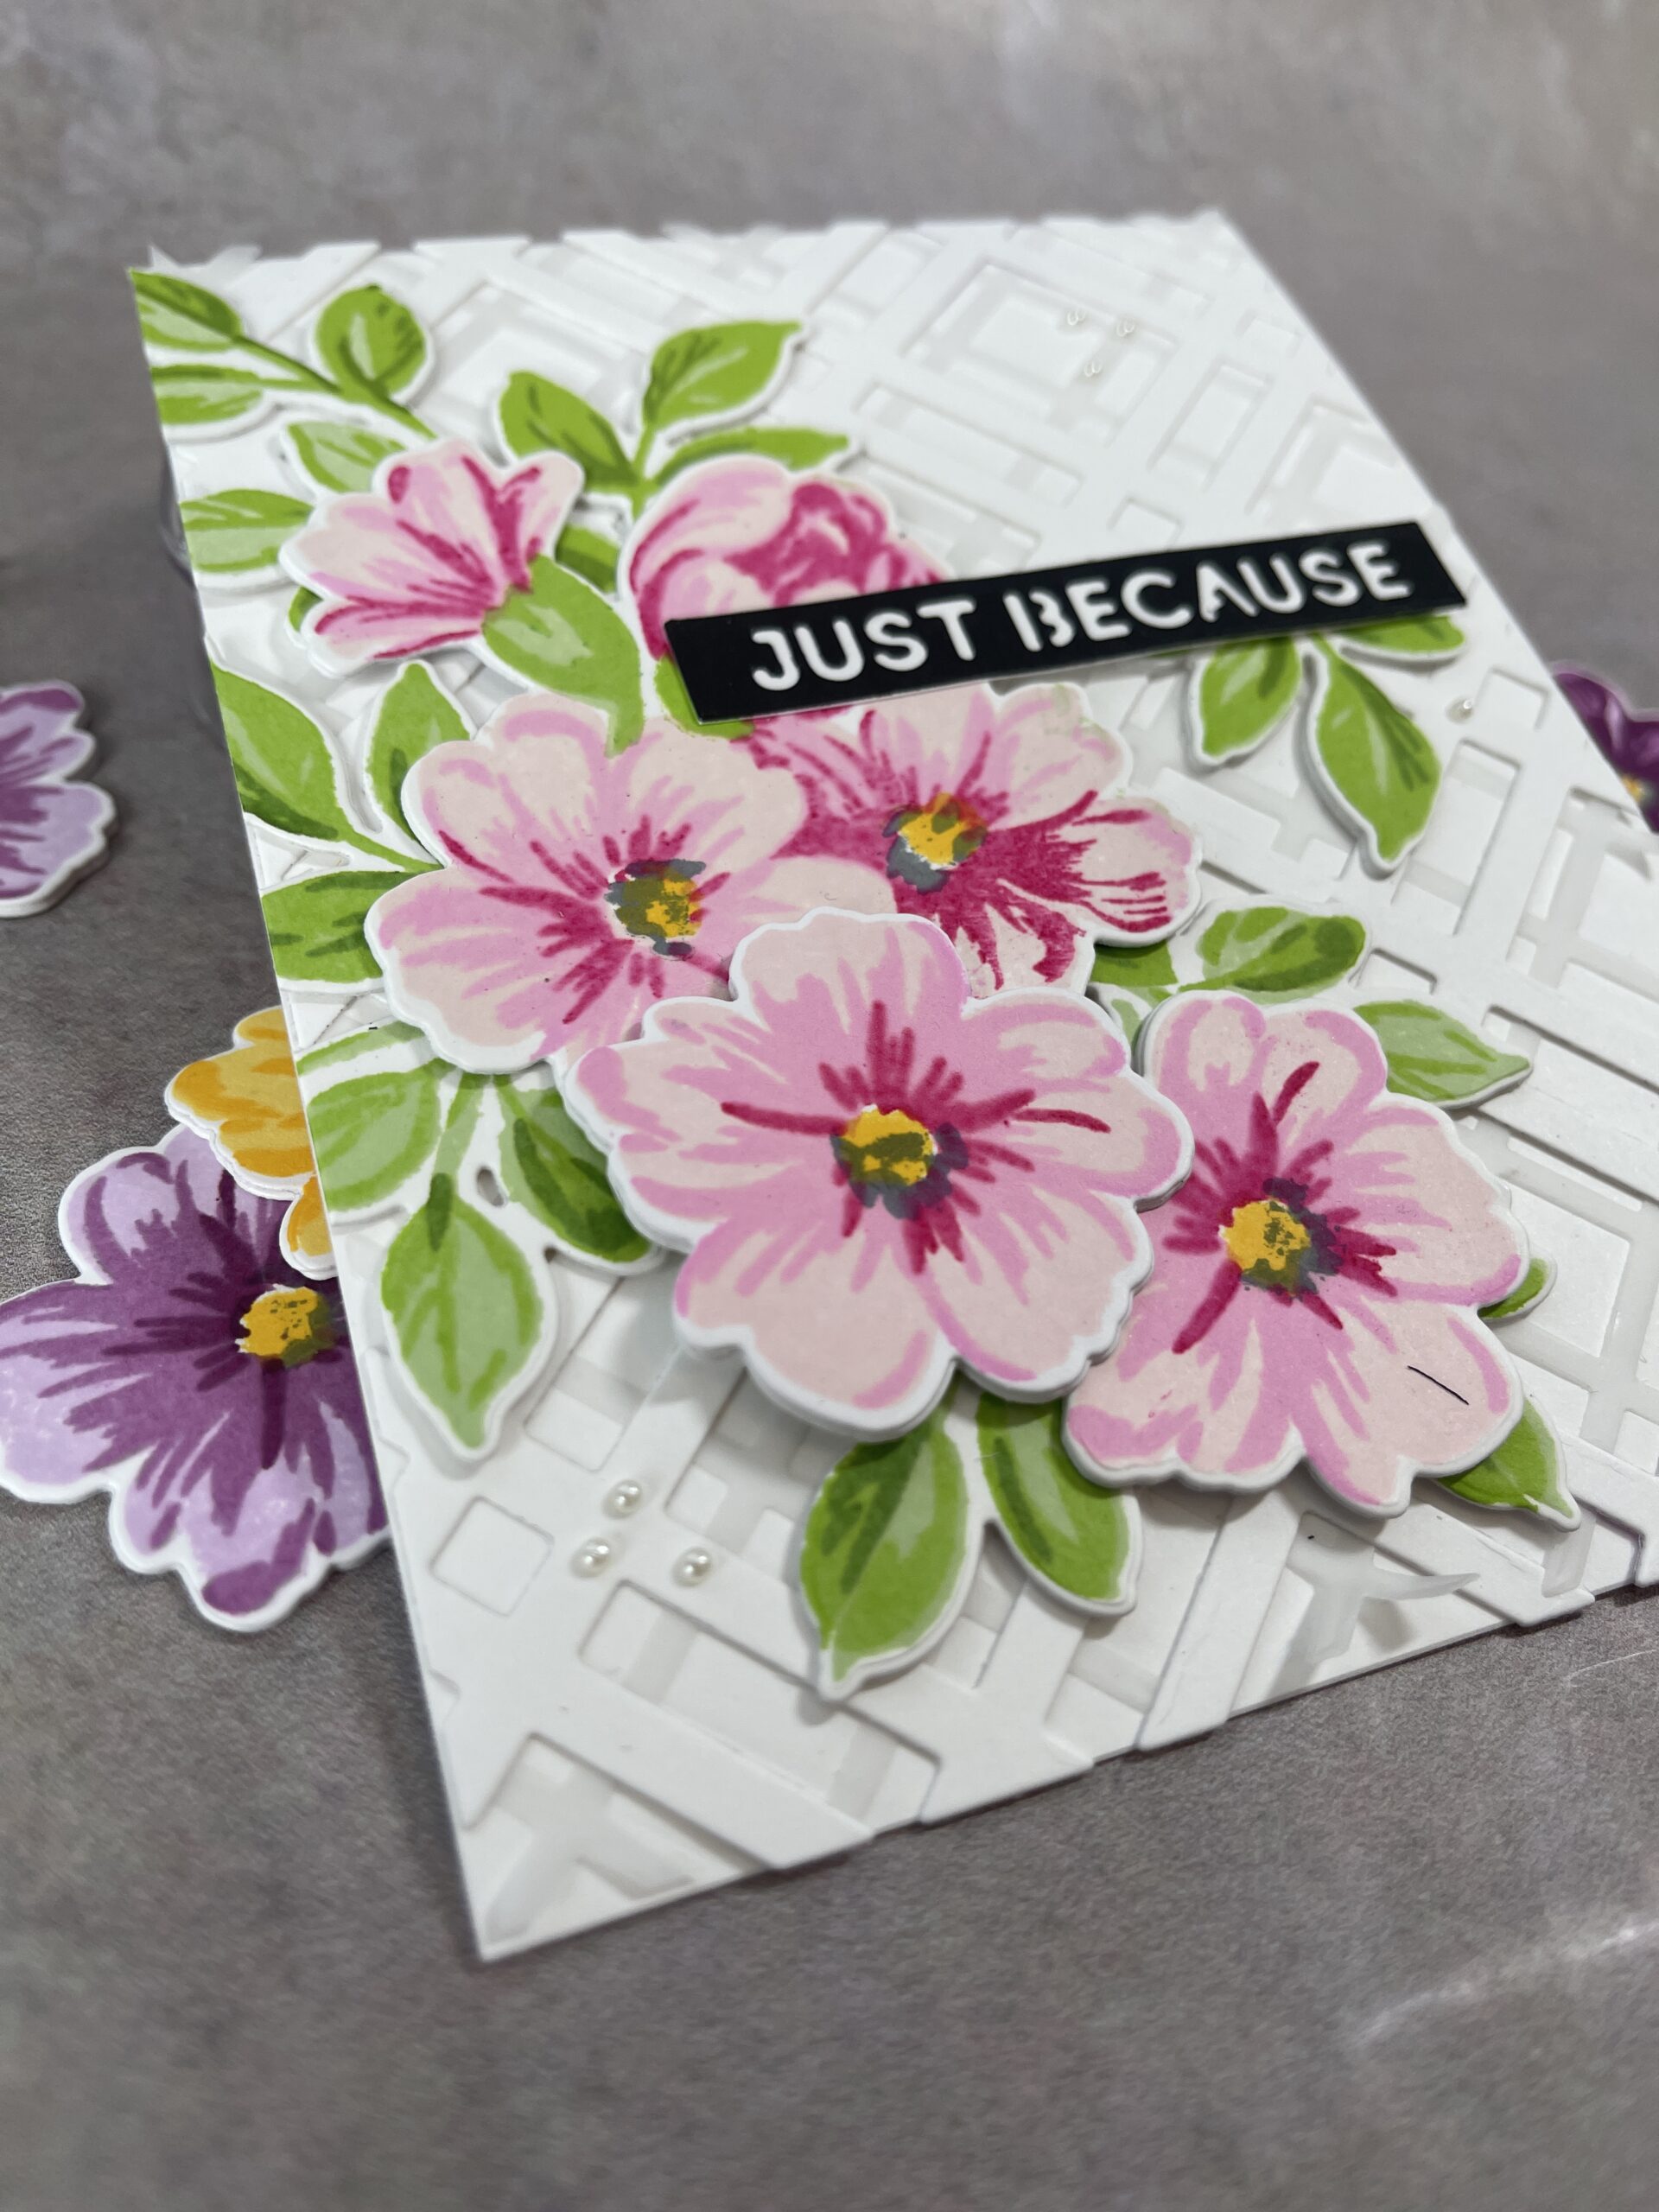
Using Cardstock
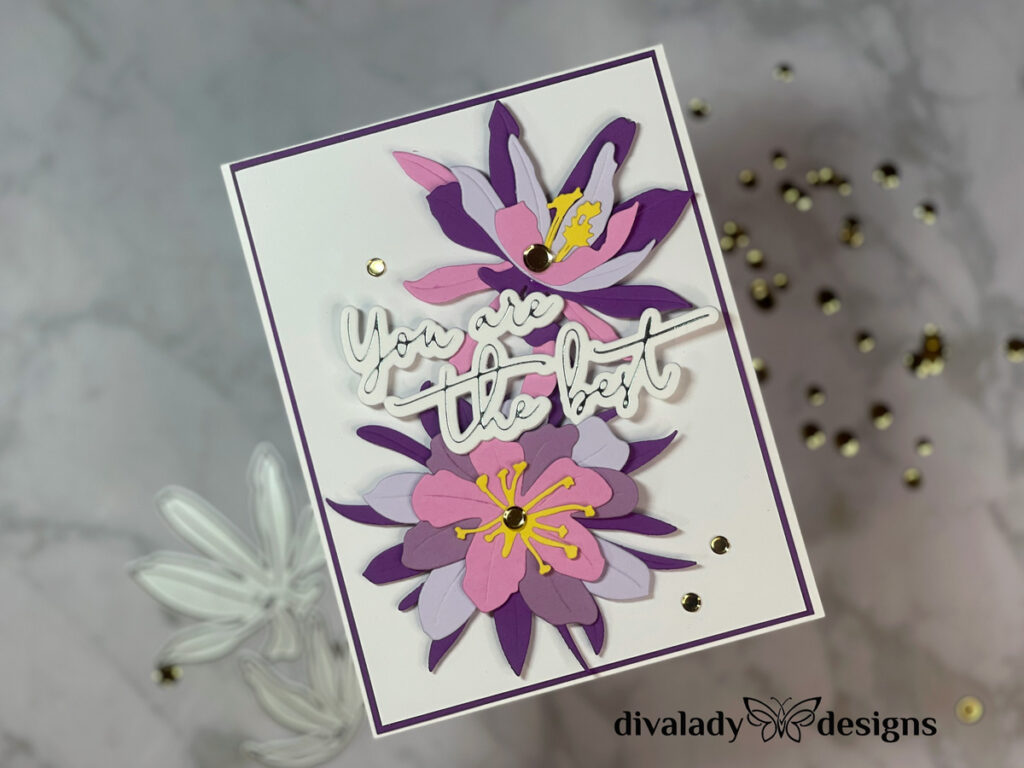
For the next flower, I cut the petals from different shades of purple cardstock. I used shades from light to dark, and used a yellow cardstock for the stamen.
As I layered the flowers together, I was filled with a bright, happy feeling! I love how the different purples worked together to make me smile. I thought it would be the perfect feel for a thank you card.
I cut a piece of Neenah Classic Crest 80lb cardstock 4 x 5 ¼ inches. I also created another flower from the Altenew set and cut it from the same colored cardstocks. I chose this wonderful sentiment – You Are The Best – from Pink Fresh Studio’s Fancy Script Words. It was in my sentiment stash and the size was perfect to place across the center of the card.
I used some foam dots on the back of the flowers since I wanted to layer one flower under the other. Then I glued the sentiment in the middle on top of the flowers. I layered the white panel on top of a dark purple panel (the same color as the darkest purple in the flower), and then adhered the whole thing onto a top folding 4 ¼ x 5 ½ inch white card base. I also used some solid gold sequins from Spellbinders to the center of the flowers and around the card.
This bright, happy card may be my favorite of the three!
Using Metallic Cardstock
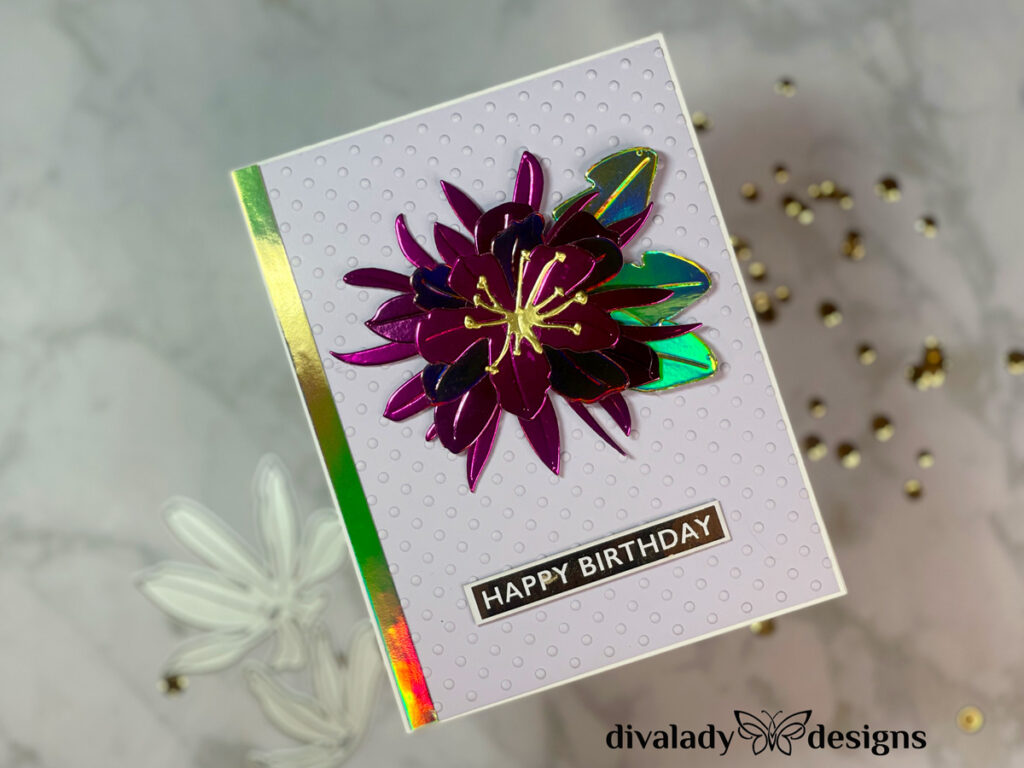
For my final flower, I used a fabulous product I only recently discovered! Tonic studios has a series of gorgeous mirrored and metallic matte cardstocks. I used three different shades of purple, including one iridescent purple. The shine and elegance the cardstock gave my flower just blew me away! I knew I would be making a Happy Birthday card with this flower.
I cut a panel of lilac cardstock 4 1/8 x 5 3/8 inches. I used this beautiful Swiss Dot embossing folder from Gina K Designs to emboss the panel. I wanted to give the card an elegant feel, but didn’t want to take away from the beauty of the flower. The embossed texture was perfect for the background.
I used some Altenew foam tape behind the flower and adhered it to the top middle of the panel. I also cut some of the leaves from a gorgeous, and I mean gorgeous, iridescent Seafoam Green cardstock from Tonic Studios.
For my sentiment, I used a Happy Birthday strip from Julie Hickey Designs Die Cut Foilables. It was so easy to foil using Deco Foil and a laminator! I love foiling, and I’m working on a foiling video/post for mid October, so stay tuned!
Finally, I finished the card by adding a ¼ inch strip of the seafoam green iridescent cardstock to the left edge and adhering the panel to a 4 ¼ x 5 ½ inch top folding white card base.
I really think the metallic flower gives such an elegant feel to this birthday card.
Look at that! Three different moods created using the same layering die set and the same color scheme. Color is so powerful! I’m going to be exploring more of this idea of mood and color in future posts.
Thanks so much for joining me. I’ve linked all supplies used below – happy crafting!
 My Altenew Educator Adventure
 Some Guy Time
 Alcohol Markers & Vellum – One Cool Technique
 Painting with Shimmer


I LOVE coming here 🙂 The addition of vellum on that black card is just WOW. An incredible variation of projects! Well done, as always!
Thanks so much, Erum! These were a lot of fun to make!
Your cards astound me every time!! Gorgeous!
Thank you so much!