
Hello everyone and welcome to my blog. I’m so excited you chose to join me today!
Well, as you can see from the image to the right, I DID IT!! I passed my Level 1 Final and have now earned the Level 1 Educator badge. YAY! It’s the little things, you know …
Now, I am working on the classes for Level 2 and boy are they fun! There will be 10 total classes for me to take and create with, so look out for some fun things coming your way. Today, I begin with Beyond Basic Backgrounds!
Beyond Basic Backgrounds explored the ways you can step up backgrounds with color and pattern. Our teacher, Lydia Evans, used a lot of different techniques to inspire us. I really liked her experimentation with bright colors, creating patterns and inlaid die cuts.
I just received Altenew Circle Quilt Cover Die and was dying to play with it, so I decided to use that die to create some fun, colorful and definitely “beyond basic” backgrounds.
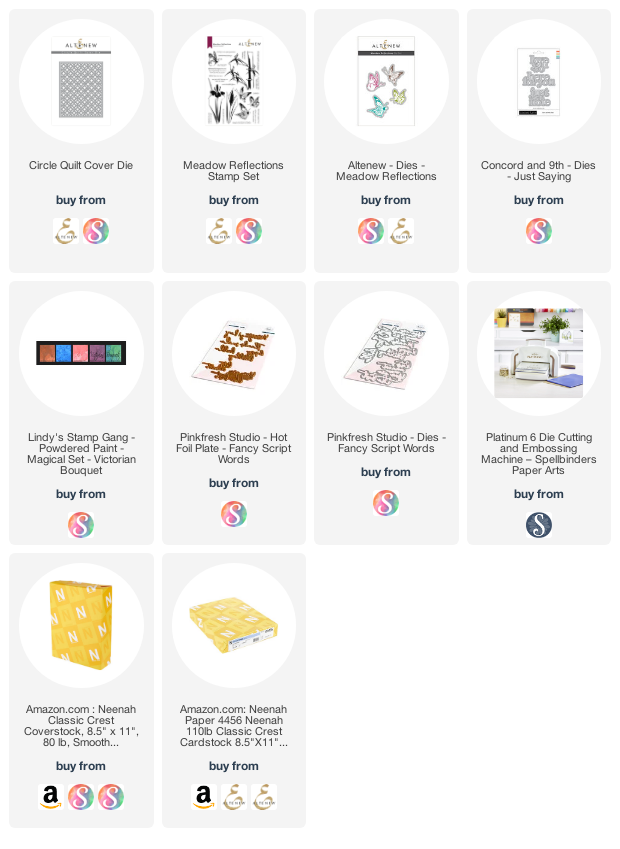
Featured Products
Lindy’s Magical Powdered Paint – Victorian Bouquet
Altenew Circle Quilt Cover Die
PinkFresh Studio Fancy Script Words Hot Foil Plate
PinkFresh Studio Fancy Script Words Dies
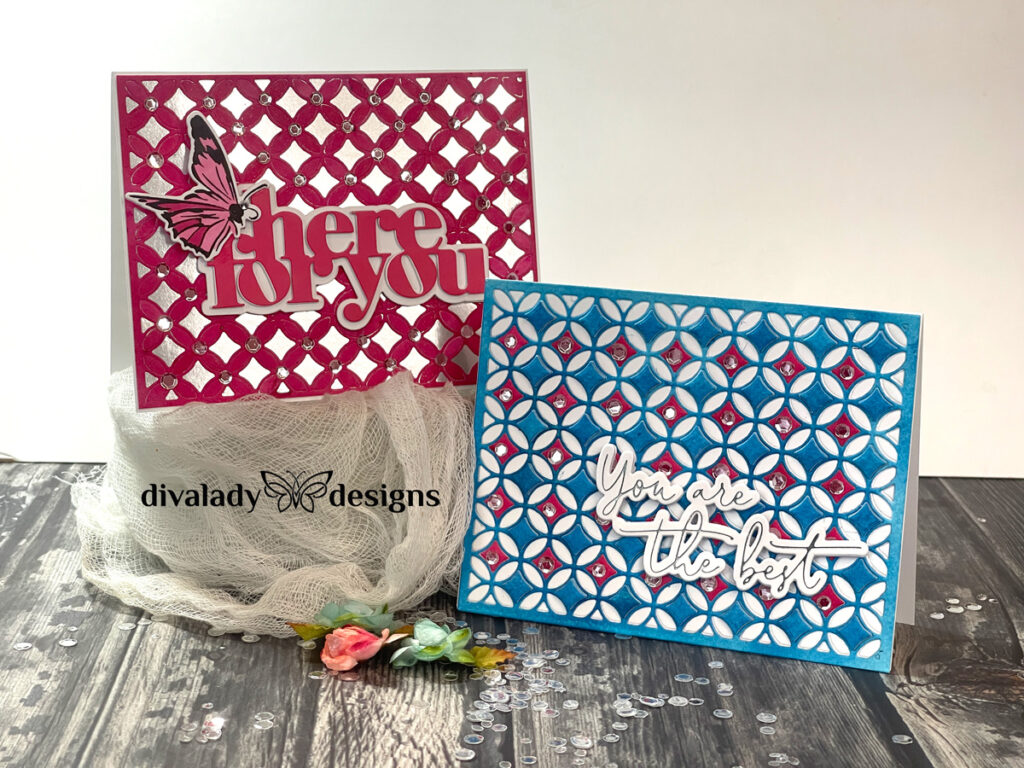
My vision was to create a pattern, as Lydia had done with her stamp, but with the Altenew Circle Quilt Cover Die. I wanted one color for the outline of the pattern, and another color to fill in the centers. And, I wanted some shine. The perfect product for this was Lindy’s Magical Powdered Paint. These amazing powders mix with water to create incredible backgrounds that are full of shine and depth.
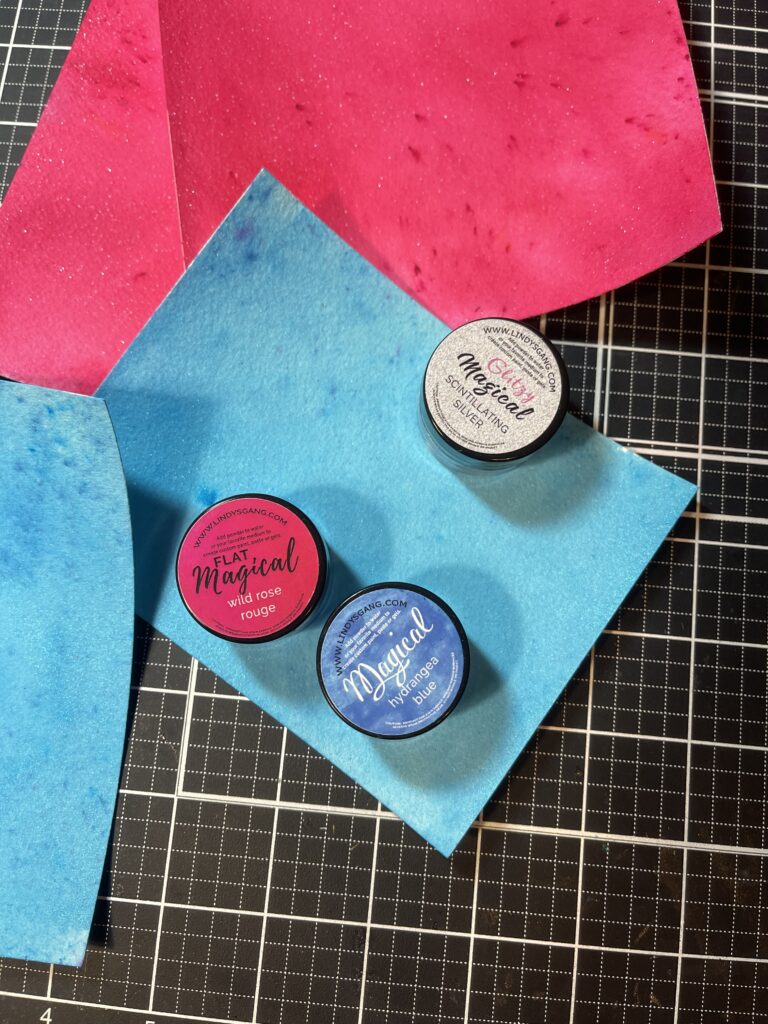
I cut some watercolor paper to the standard A2 card size, prepped it with water, then sprinkled the powder onto the surface. When I spritzed it again, the color began to flow around the cardstock. I created four background panels in two different colors and set them aside to dry.
Once the panels were dry, I used them with my Altenew Circle Quilt Cover Die. I carefully pushed out each piece of the die. I placed the blue centers into one small container, the pink ones into another.
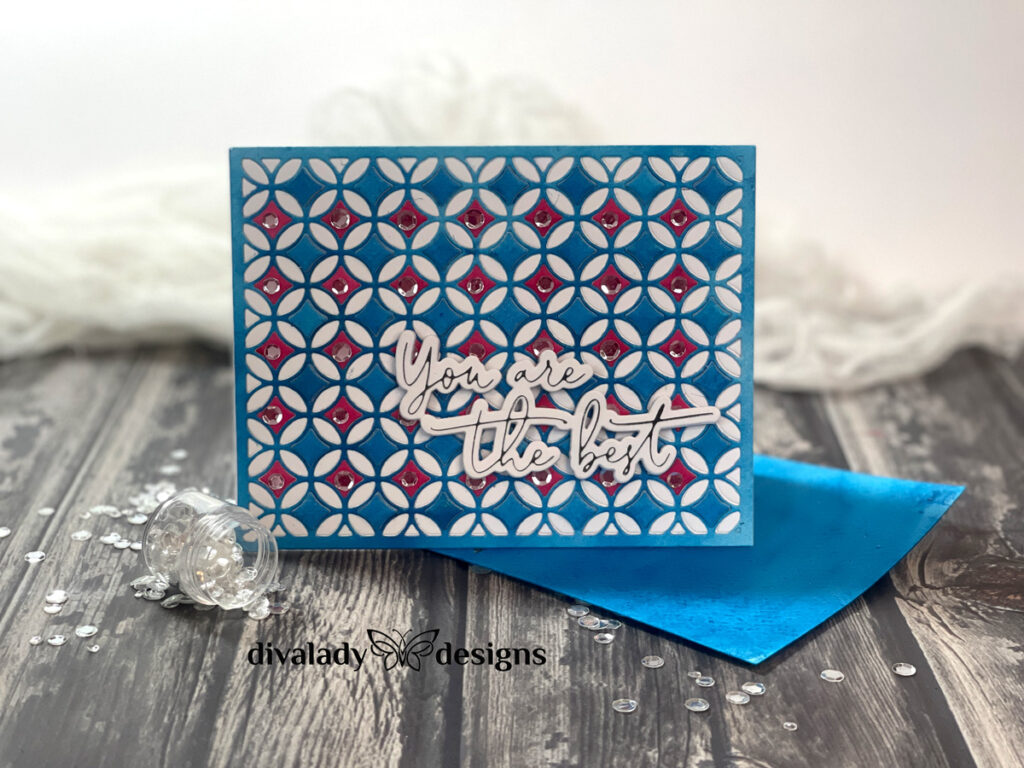
I adhered the blue outline onto a piece of white cardstock and began to assemble the pattern. Beginning with the top row of diamond centers, a placed pink diamonds in each circle center, then placed blue diamonds in the centers of the row beneath. I continued the pattern, alternating colors, until all the centers were filled. Then, I went back and glued more blue centers on top of the ones already there to build up dimension. I used three blue pieces on each center.

The resulting pattern was just gorgeous! The stacked blue centers gave the depth I wanted, but the pink centers didn’t do it for me. So, I took some sparkly sequins and glued one in the center of each pink diamond. Perfect!
I finished up with a foiled sentiment from PinkFresh Studio from my stash. Card 1 was complete.
Featured Products
Altenew Circle Quilt Cover Die
Concord & 9th Just Saying Dies
Altenew Meadow Reflections Stamp & Die Bundle
Simon Says Stamp Matte Glossy Silver Cardstock
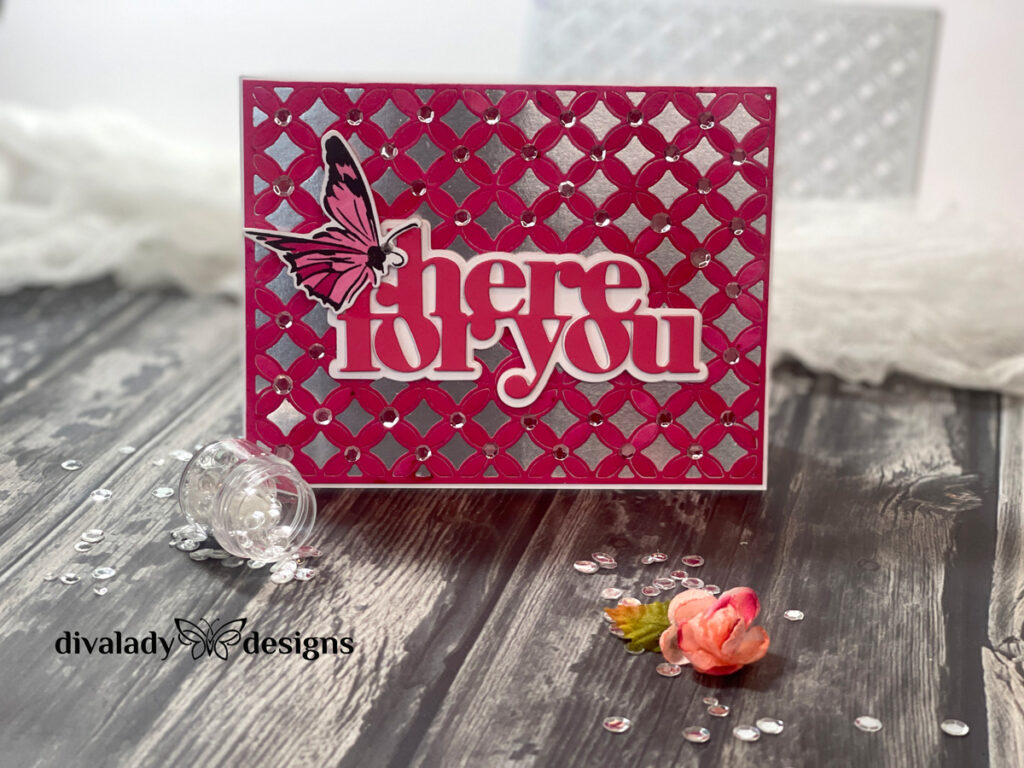
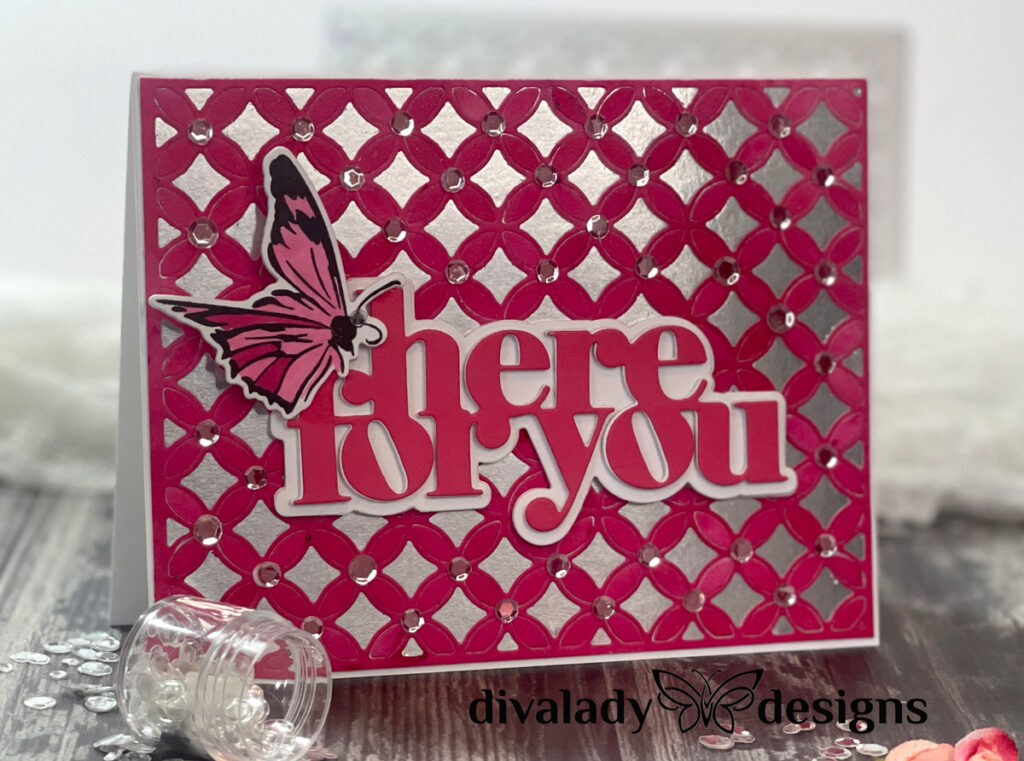
For my next card, I decided to use the pink outline I had left over from the first card, but this time I wanted to use more of the die. I had been careful when removing the centers of the circles, so most of the flower petals were still in the outline. I adhered this outline to the top of an A2 sized Matte Silver Glossy cardstock panel. I really loved how the pink shone against the silver! Any petals that had fallen out, I glued back in. I glued those sparkly sequins to the center of each flower, then placed a large sentiment in the center of the card.
It still needed something, so I looked through a container I keep on my desk of items made for other cards but not used. And wouldn’t you know it? One of the butterflies I had created for my Silhouette Scenes cards was PERFECT! Lesson: NEVER throw away things you create but don’t use. I can’t tell you the number of times I’ve been so happy to find that perfect finishing touch from that stash!
I’m so happy with how these cards turned out. I really enjoyed the Beyond Basic Backgrounds class – it inspired me to use colors and products in ways I had not considered before.
Thanks for visiting – happy crafting!
 Magical Masking Techniques
 Layers and Butterflies
 Super Easy Heat Embossing Technique


Wow. This must have taken you a while to create! They look gorgeous! Thank you for submitting your work to the AECP assignment gallery.