Hey everyone! Thanks so much for visiting my blog today. My apologies that I haven’t posted in a while; I got hit with a flu back in October and then COVID two weeks ago, so I’ve been out of commission for over two months. I’m so happy to be back in the crafting seat again.
Today’s post is all about die cuts. I love using die cuts and often challenge myself to use the same dies to achieve different looks. So, I chose four die sets and set out to create four different cards with them. I’m pretty pleased with the results, and I hope you will be too. Below you will find each card with the featured die sets under the photo. I’ve also listed all products used at the end of the post.
UPDATE: Spellbinders has their Glimmer Hot Foil Machine and Die Cutting machines ON SALE RIGHT NOW! Here the links for your convenience, if you’re interested:
Original Platinum 6 Die Cutting And Embossing Machine – 6″ Platform
Original Platinum Die Cutting And Embossing Machine – 8.5″ Platform
Glimmer Hot Foil System
So, let’s start with my first card!
Sealed Sprigs & Blooms
Spellbinders Sealed Blooms Etched Dies
Spellbinders Sealed Leaf Sprigs Etched Dies
Spellbinders Everyday Sentiments II Hot Foil Plates
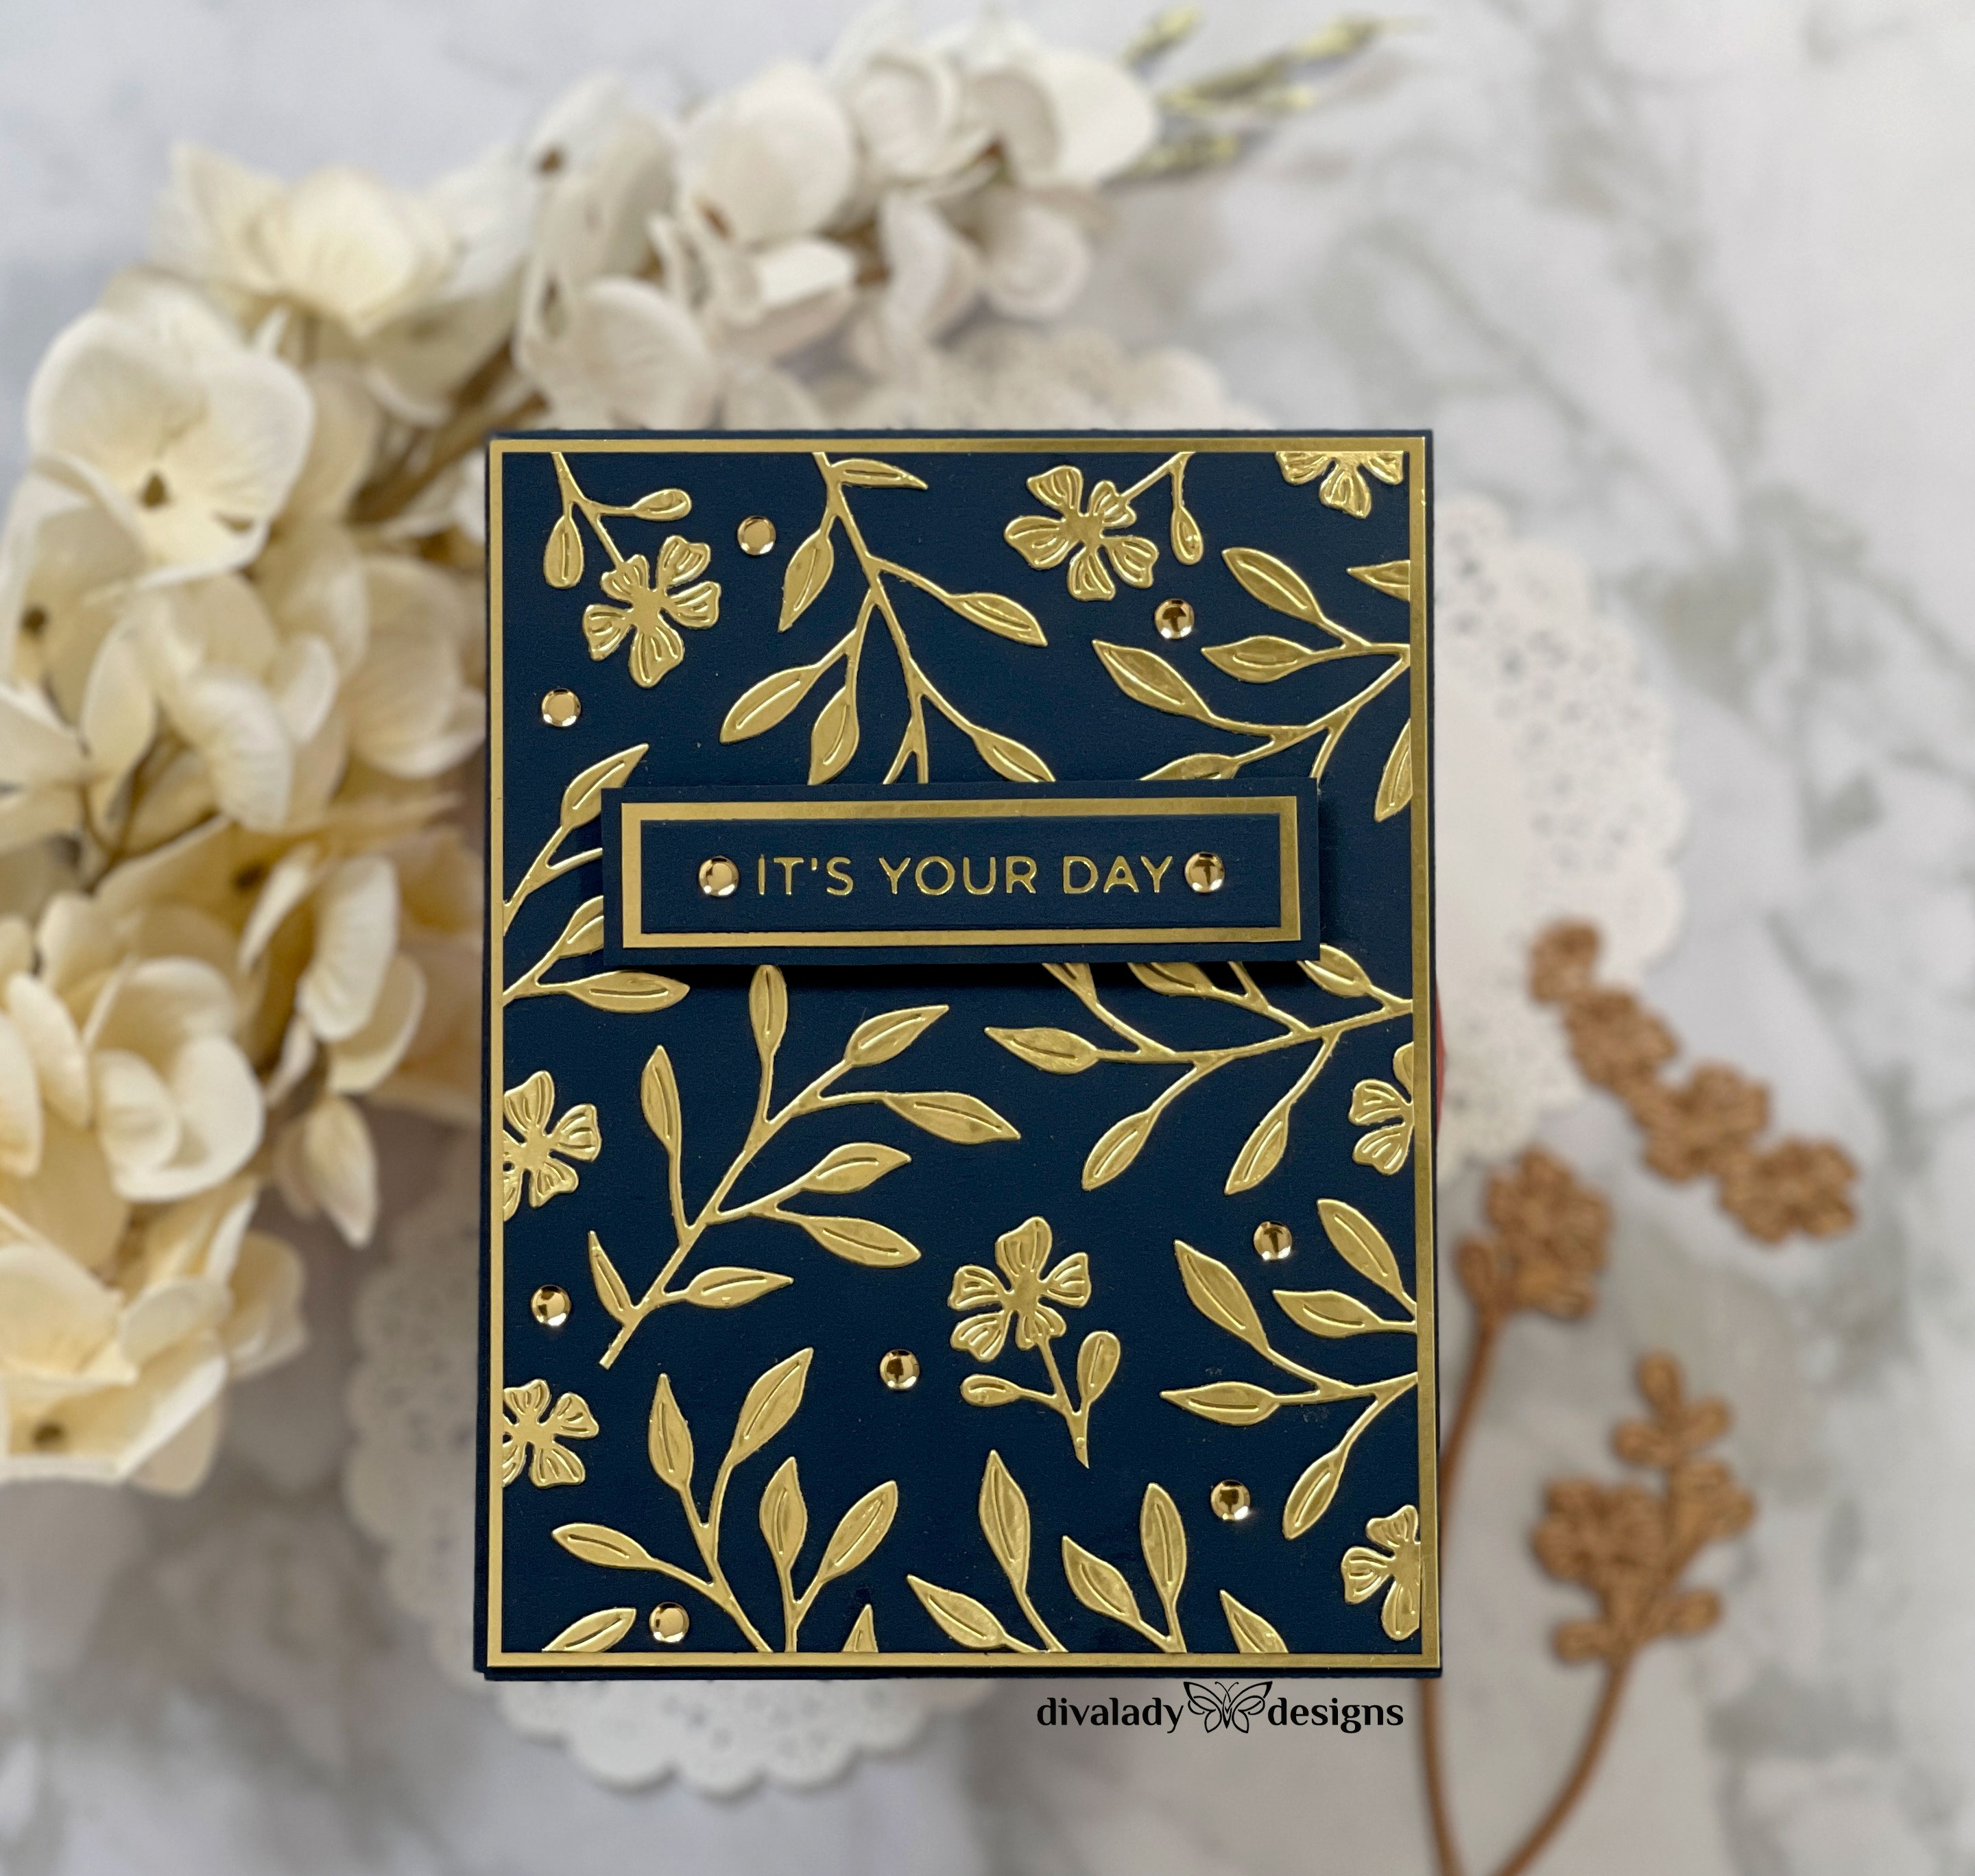
My first card uses a classic design for leaves and blooms. I cut a panel of Gina K Designs In the Navy cardstock to 4 x 5 ¼”. Then, I die cut LOTS of leaves and blooms Simon Says Stamp Matte Gold Cardstock using the Spellbinders die sets Sealed Blooms Etched Dies and Sealed Leaf Sprigs Etched Dies. I arranged them around the panel to create a background adhering them in place when I was pleased with the arrangement. Then, I layered the navy panel onto a matte gold panel cut slightly bigger (4-1/8 x 5″), and adhered that to an A2 card base cut from the same navy cardstock.
For the sentiment, I foiled “It’s Your Day” from the Spellbinders Everyday Sentiments II Hot Foil Plates using gold foil on navy cardstock. I layered the sentiment the same as the card itself, and then placed it on the card base using foam squares to give it dimension. Spellbinders Flat Gold Sequins finished the card. A classic, simple design that you can create with any flower or leaf dies you might already have. So elegant, yet so simple to make!
Sealed Blooms & Diamonds
Spellbinders Essential Floral Reflection Etched Dies
Spellbinders Sealed Blooms Etched Dies
Spellbinders Sealed Glimmer Sentiments
Spellbinders Geometric Diamond Background Hot Foil Plate
Spellbinders Layered Geometric Diamond Stencils
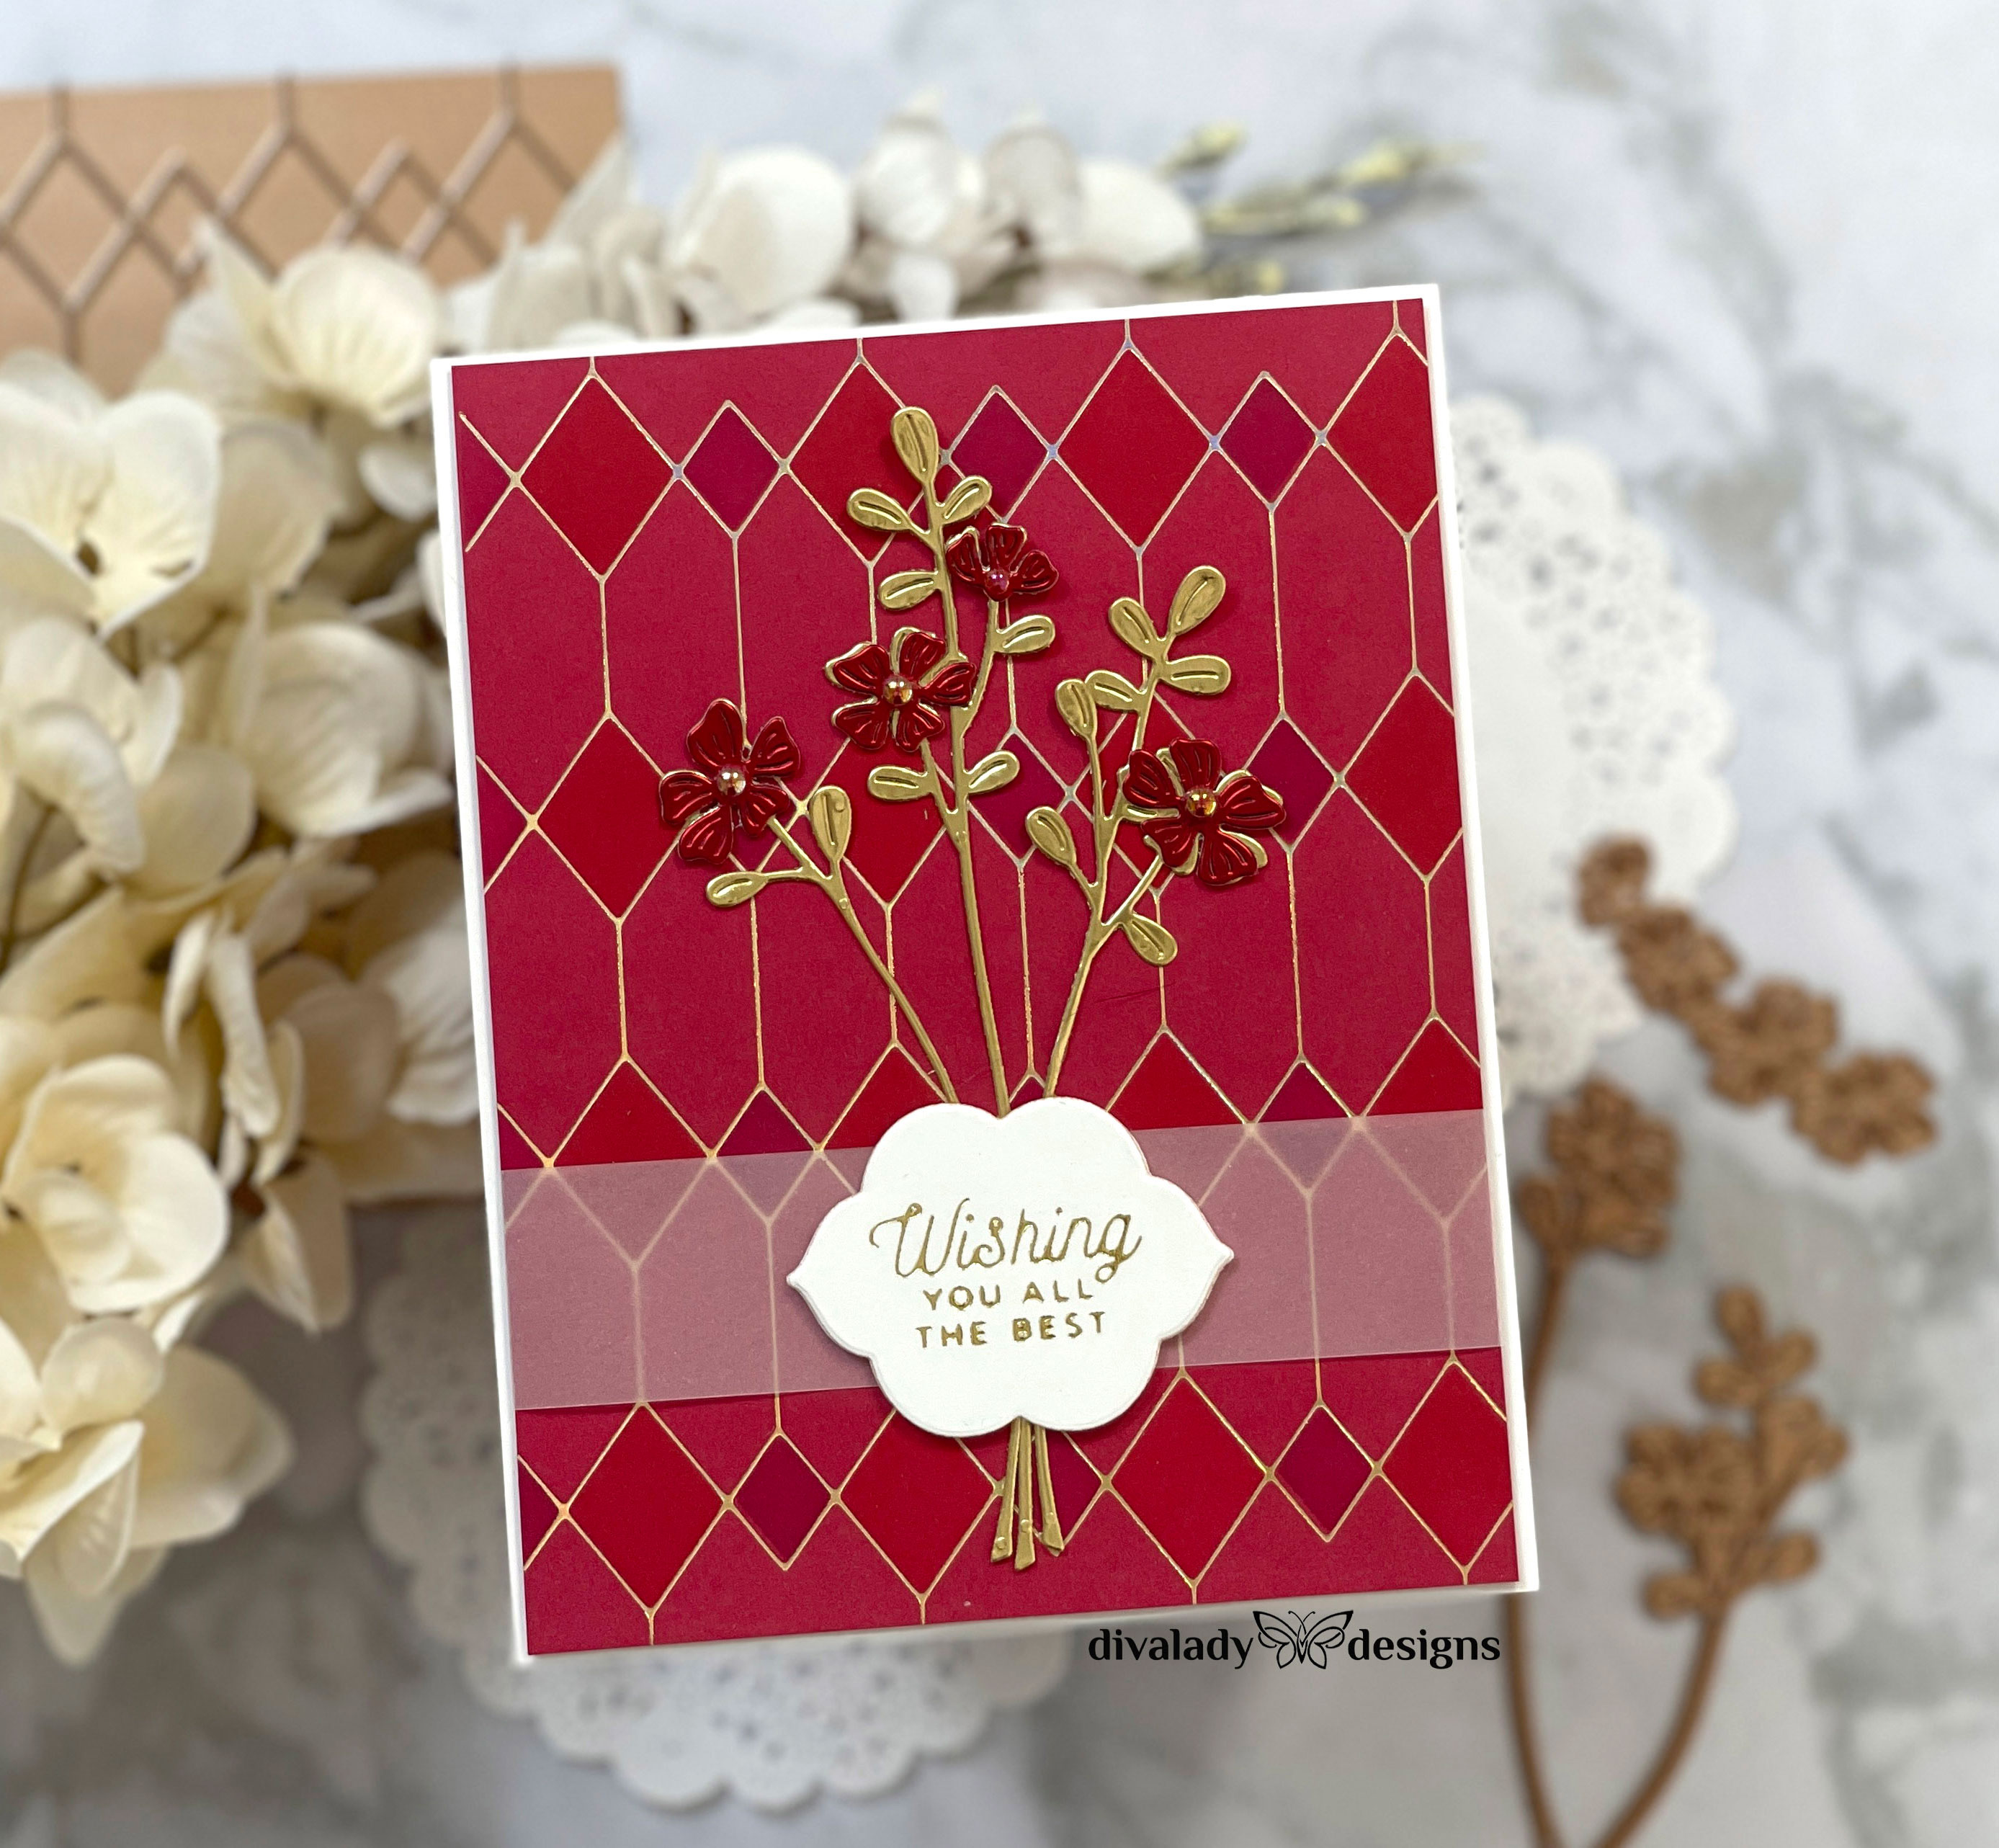
For my next card, I stepped things up a bit. I created a background using Spellbinders Geometric Diamond Background Hot Foil Plate using gold foil on reddish/pink cardstock. Then, using Spellbinders Layered Geometric Diamond Stencils, I applied different colors of red ink to the diamond shapes. Just that little bit of ink added an amazing amount of texture and interest to the background. I die cut my flowers using Spellbinders Sealed Blooms Etched Dies and Simon Says Stamp Matte Gold Cardstock. The die set comes with a die for additional flowers to add to the blooms, so I cut a few of those from a metallic red cardstock – I love the added interest it gave.
For my sentiment, I foiled “Wishing You All the Best” from Spellbinders Sealed Glimmer Sentiments using gold foil. Then, I die cut it out with one of the small Spellbinders Essential Floral Reflection Etched Dies. I’m really loving this set and you’ll see me use it in many future cards. I love the nesting frame shapes – so so versatile! I centered my sentiment in the middle of a strip of vellum and placed it across the bottom of the floral stems. To adhere the vellum, I wrapped the ends around the back of the panel and placed a small drop of glue behind the sentiment. It’s always important to hide where you glue down your vellum. A few red pearls in the center of the flowers finishes the card.
Sealed Silhouette Birds
Spellbinders Sealed Birds Etched Dies
Spellbinders Dazzling Dots Embossing Folder
Spellbinders Sealed Blooms Etched Dies
My next two cards feature the Spellbinders Sealed Birds Etched Dies. I think this is my favorite of the sealed sets. I adore the intricate leaves and stems and how the birds are perched on them. It creates a gorgeous silhouette. The set comes with a second die so you can cut out extra birds, but I didn’t choose to use that die for these cards.
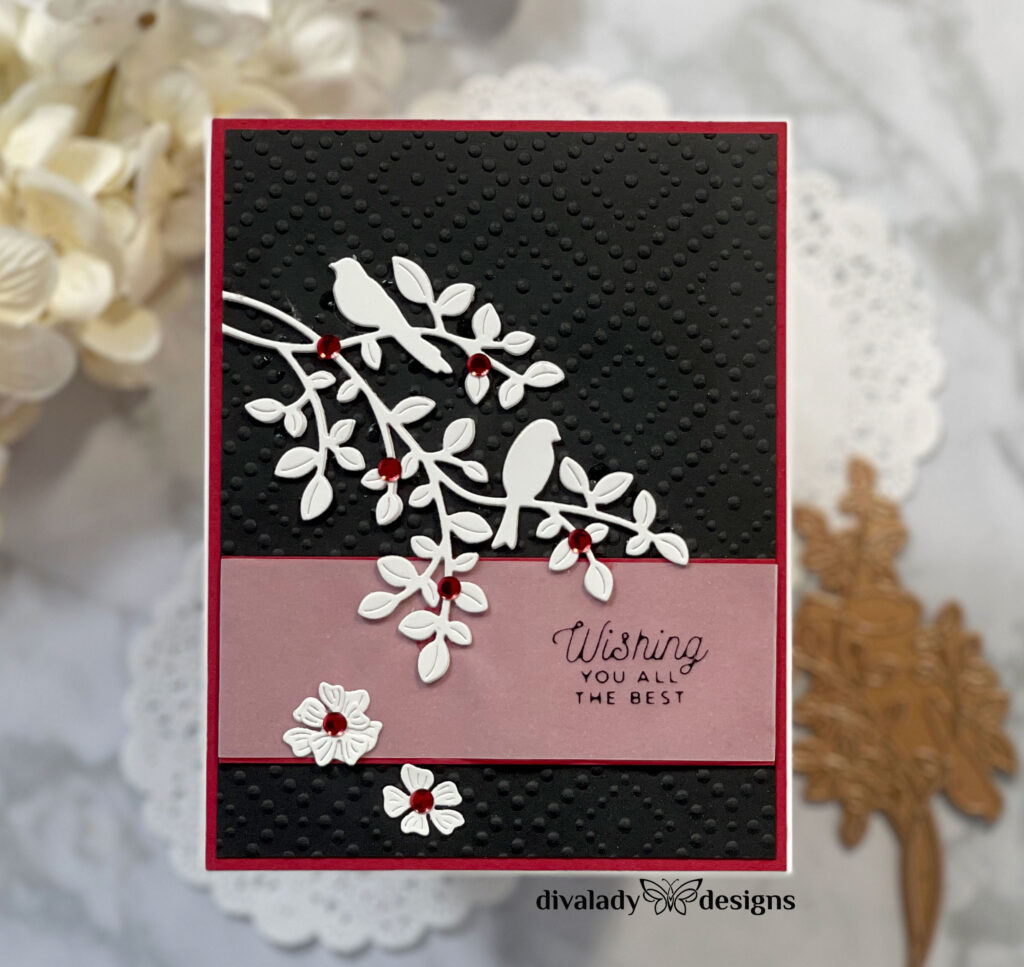
To begin this first card, I die cut the perched birds twice – once from heavy white cardstock, and once from Simon Says Stamp Glossy White Cardstock. I adhered the two together. I also cut a some of the blooms from Spellbinders Sealed Blooms Etched Dies from the glossy cardstock. Then, I embossed a panel of black cardstock with Spellbinders Dazzling Dots Embossing Folder.
Before adhering the bird die cut on the black panel, I created my sentiment using Spellbinders Sealed Glimmer Sentiments. I foiled “Wishing You All The Best” on heat resistant vellum using Spellbinders Black Glimmer Hot Foil. I was nervous about foiling on vellum, but had no problem at all. I love the look! I trimmed the vellum to 5 x 1-3/8″ then layered it over a panel of Gina K Designs Red Hot cardstock (4 x 1½”), wrapping the edges onto the back on the two sides to adhere it down. Then, I assembled the card as shown. Originally, I was going to place the flowers on the branches, but ended up letting them “fall” toward the bottom of the card for movement. I added a few red flat scarlet sequins, and then layered the black panel onto red, and then onto a white A2 card base. I love the white silhouette against the black!
Spellbinders Essential Floral Reflection Etched Dies
Spellbinders Sealed Blooms Etched Dies
Spellbinders Sealed Glimmer Sentiments
Spellbinders Sealed Birds Etched Dies
Spellbinders Dazzling Dots Embossing Folder
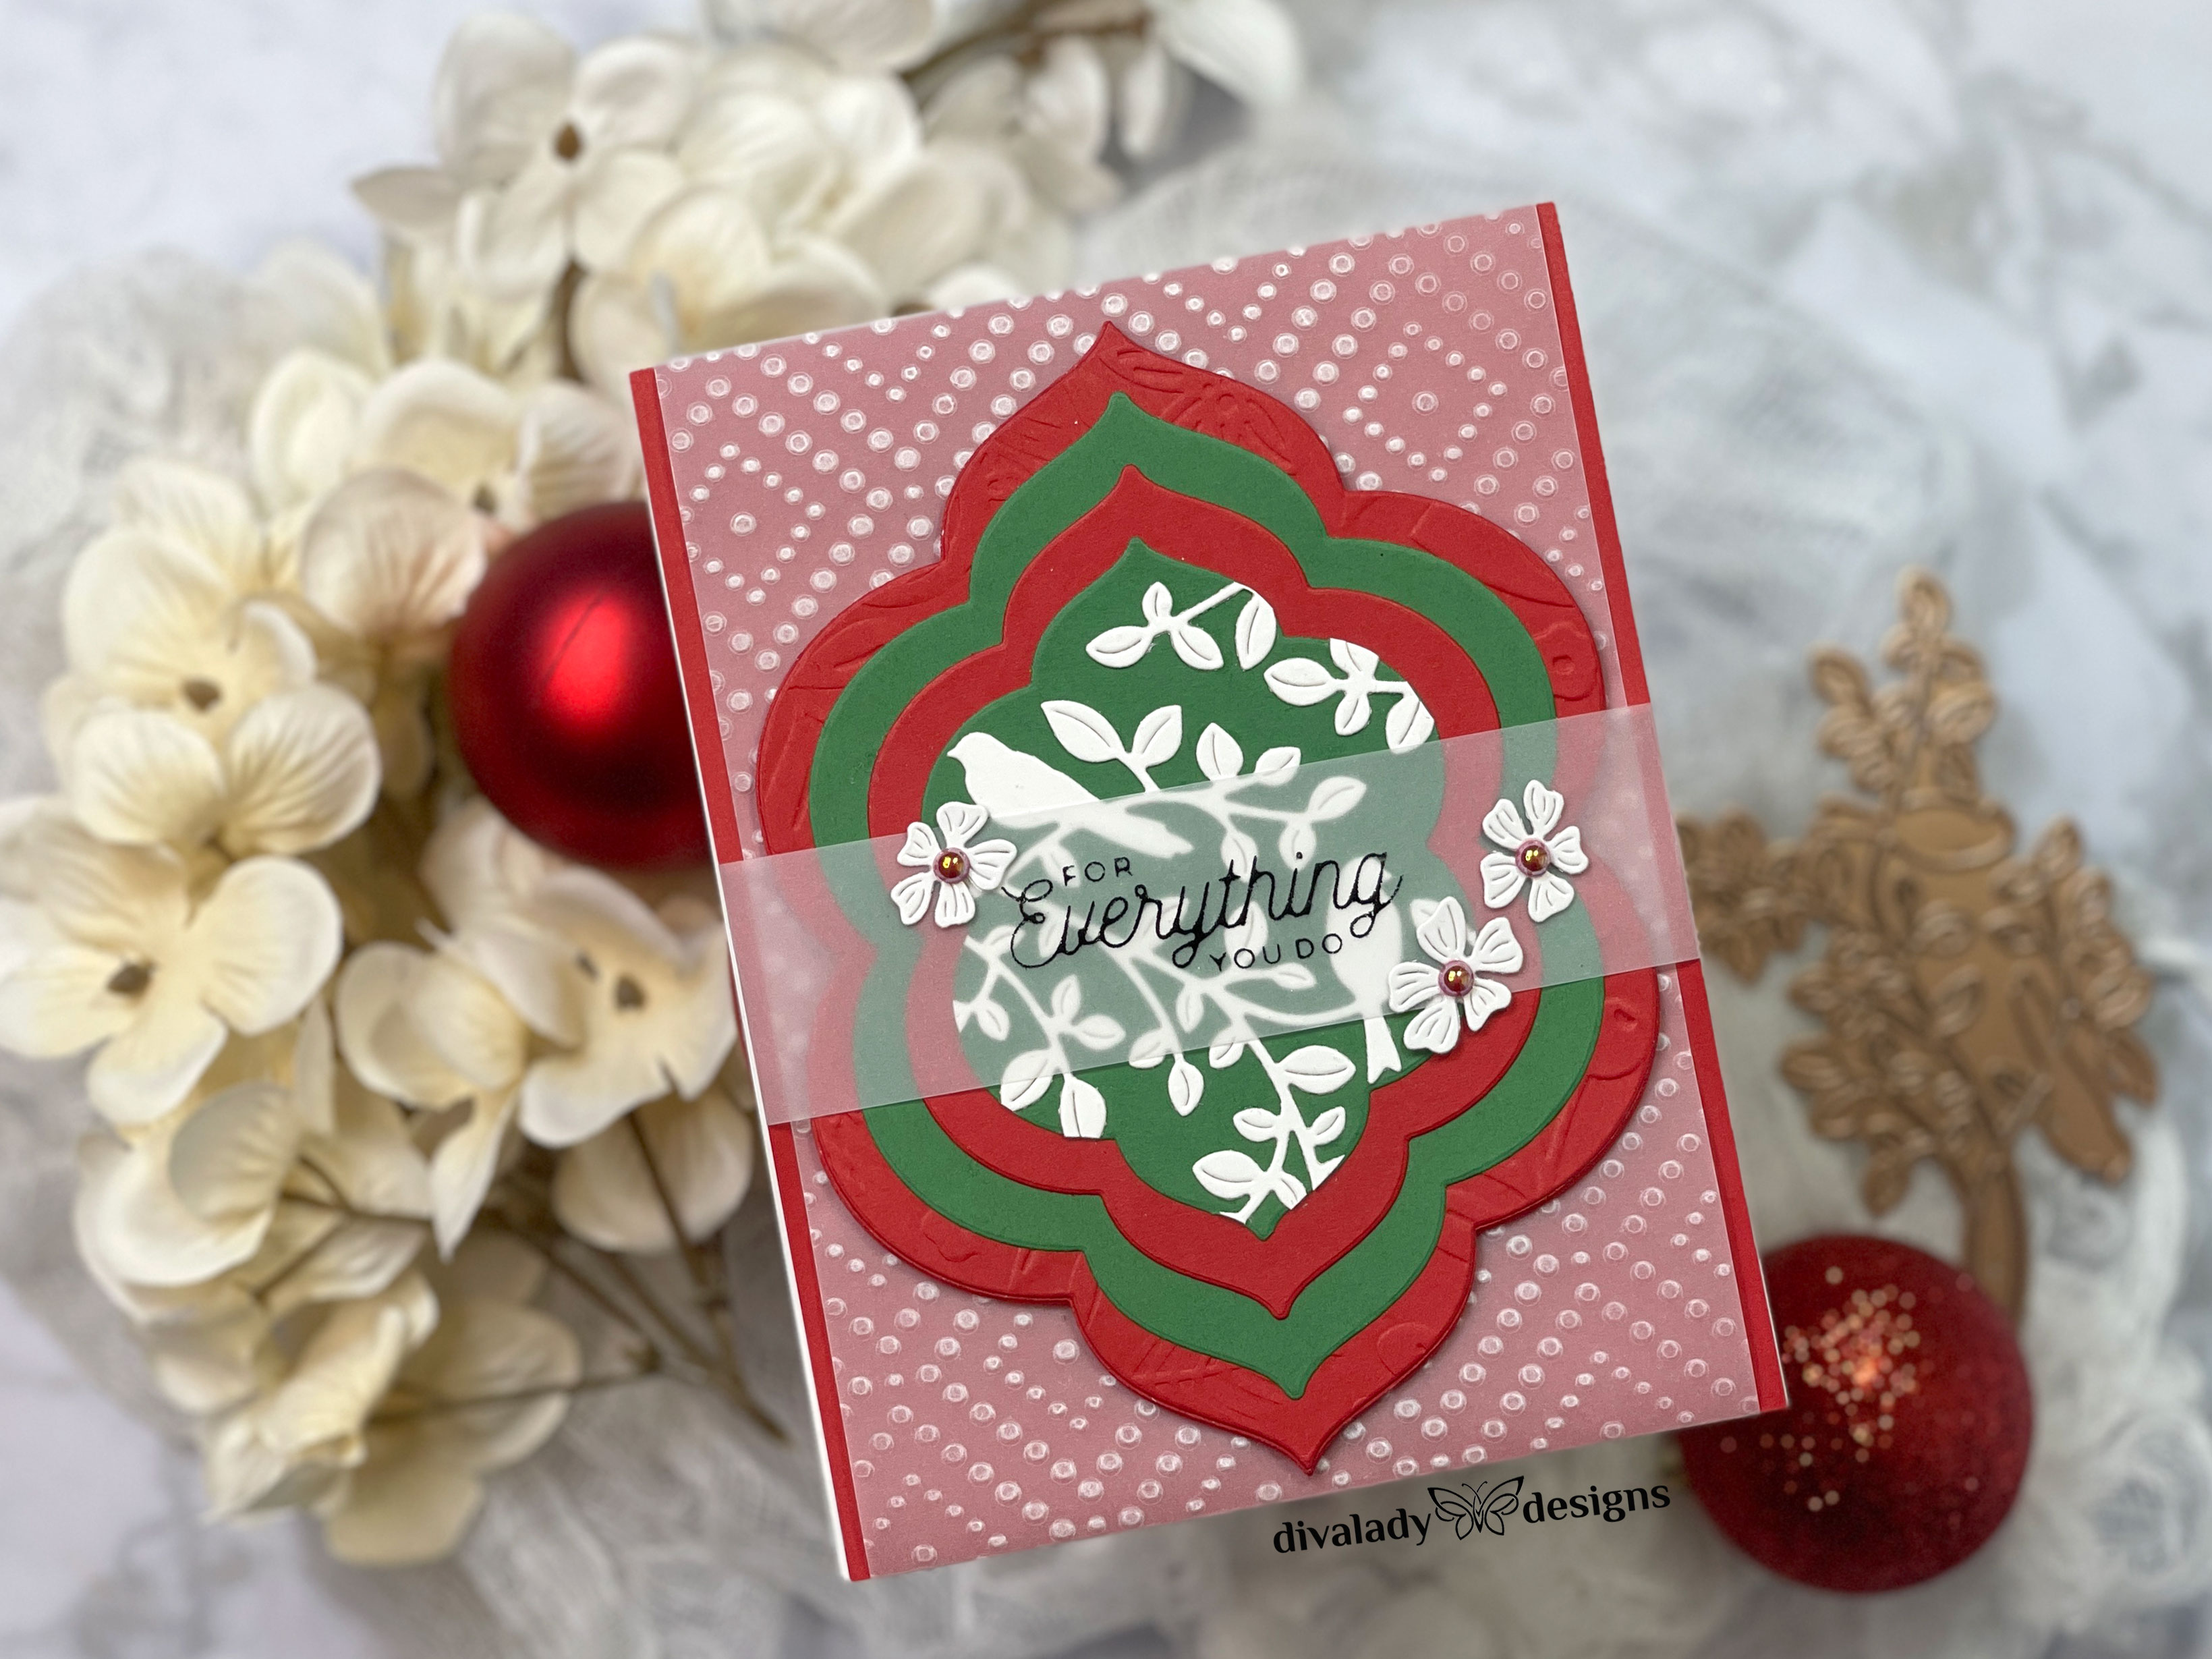
For my last card, I tried something totally different. This would make a great card to accompany a gift or with a gift card enclosed. I began by die cutting several pieces of Spellbinders Essential Floral Reflection Etched Dies in red and green. I had the idea of embossing the cut panels before layering them, but decided I didn’t like it. I had already embossed the large red one and used it as the base. Then, I layered the other frame panels, alternating colors. The center green panel I set aside.
I die cut the bird branch from Spellbinders Sealed Birds Etched Dies from heavy, white cardstock and arranged it over the smaller green panel I had set aside, trimming off any excess hanging over the edge. Once adhered, I glued it onto the other layered frames. I also cut a some of the blooms from Spellbinders Sealed Blooms Etched Dies from the white cardstock.
For my background, I embossed a 4 x 6-1/2″ piece of vellum using Spellbinders Dazzling Dots Embossing Folder. I’m loving the simple texture of this embossing folder! I layered the vellum onto a panel of Gina K Designs Red Hot cardstock, folding the edges over the edge of the panel and placing my glue on the back. Then, I placed my frame focal piece in center of the vellum panel. Before adhering it to a white top-folding A2 card base, I created my sentiment as I did in my previous card, foiling onto a piece of vellum using Spellbinders Sealed Glimmer Sentiments and Spellbinders Black Glimmer Hot Foil. I layered the vellum over the frame, folding the edges on the back, and then added a few white blooms as an accent.
Whew! Four different die sets-four different cards. Such fun to create! I hope this inspires you to pull out some die sets and experiment! Happy crafting!
 Whimsical Shine
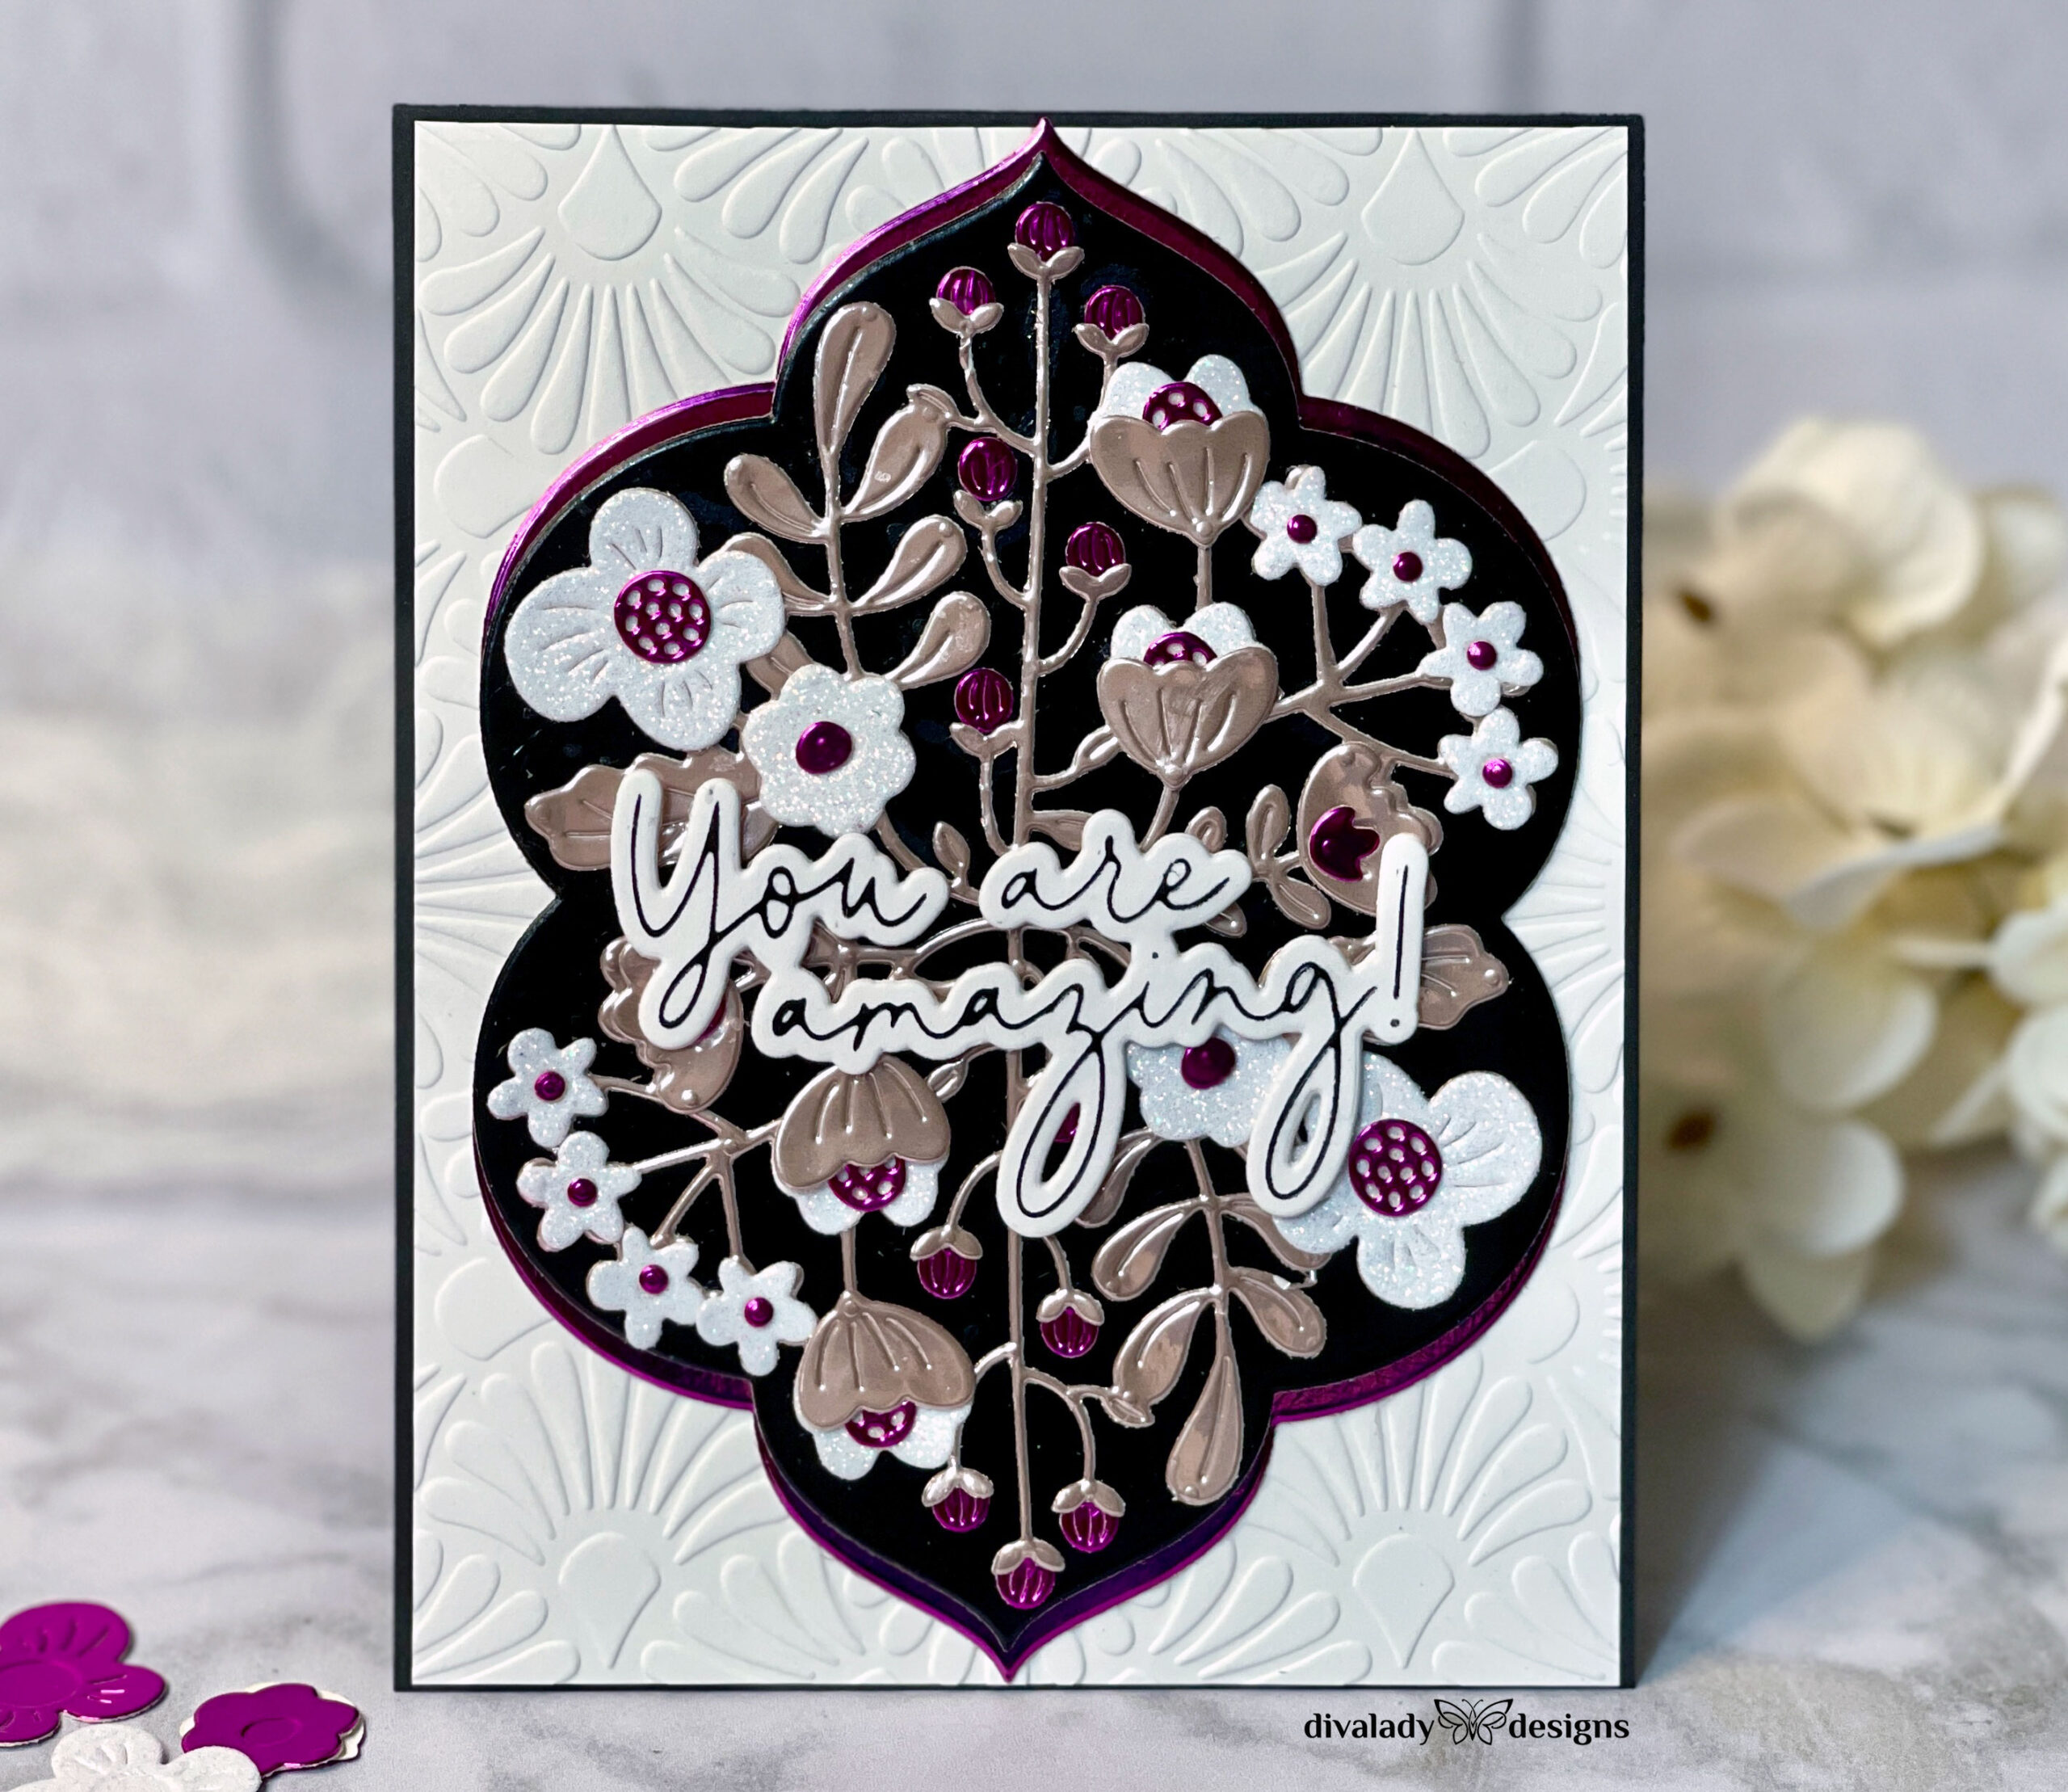 My Favorite Color Rule
 My Favorite Card-Making Formula
 Background Bonanza
